
Brinjal Colour-Drenched Room Transformation
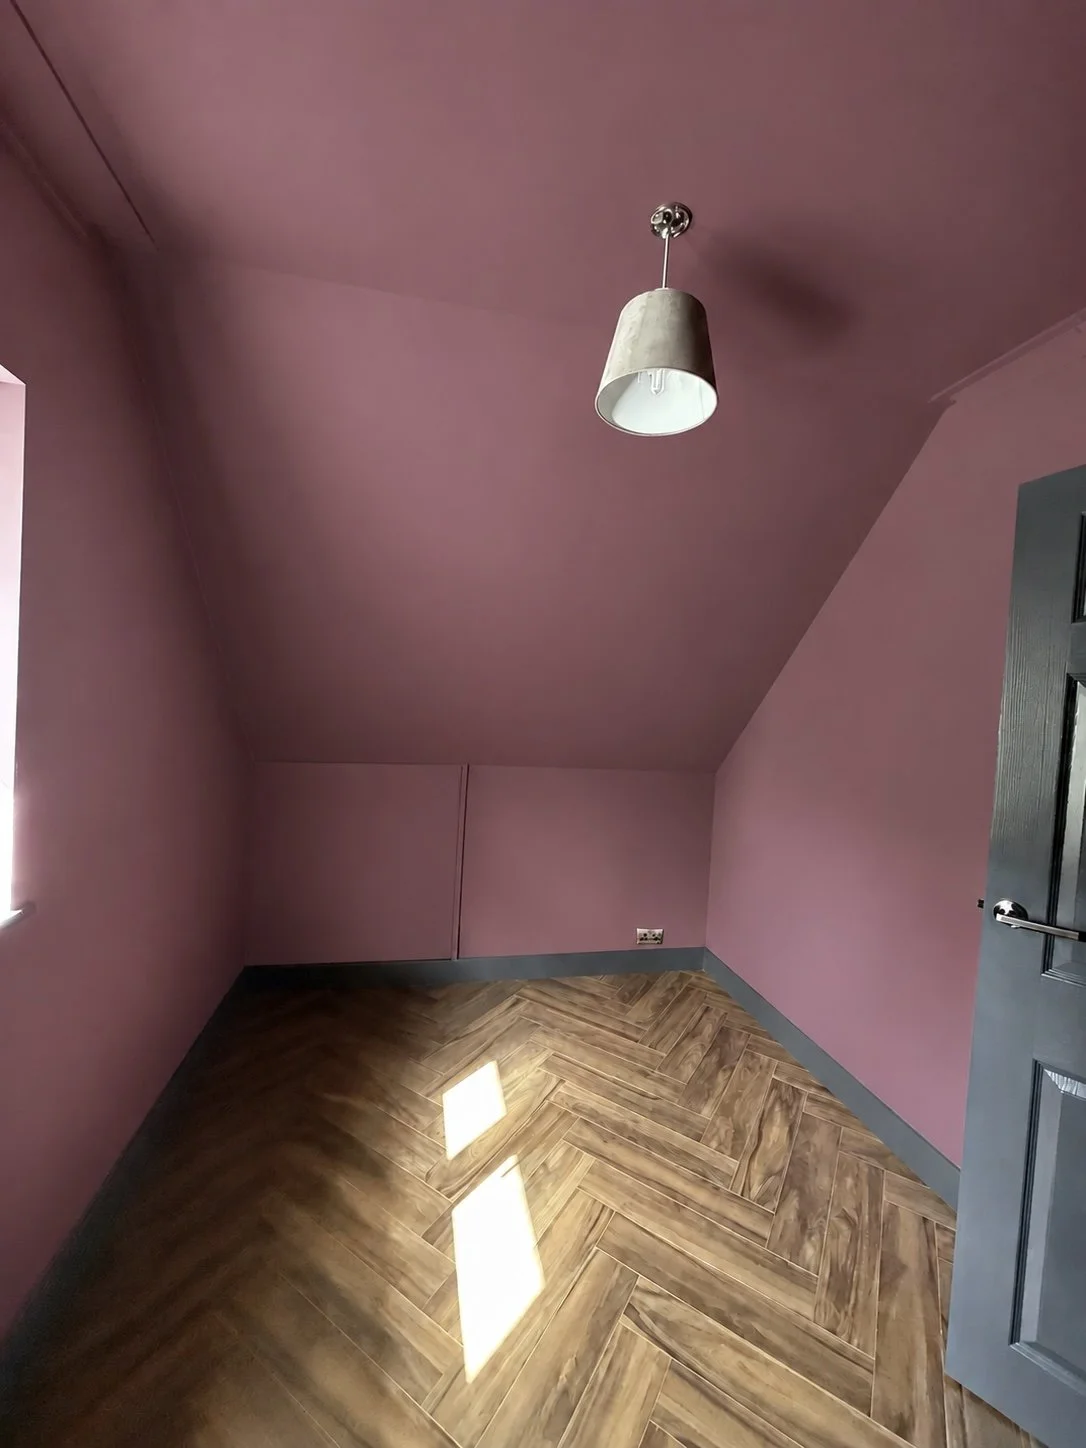
A rich Farrow & Ball Brinjal scheme carried across the walls and sloping ceiling, with extensive preparation of newly plastered surfaces throughout.
Overview
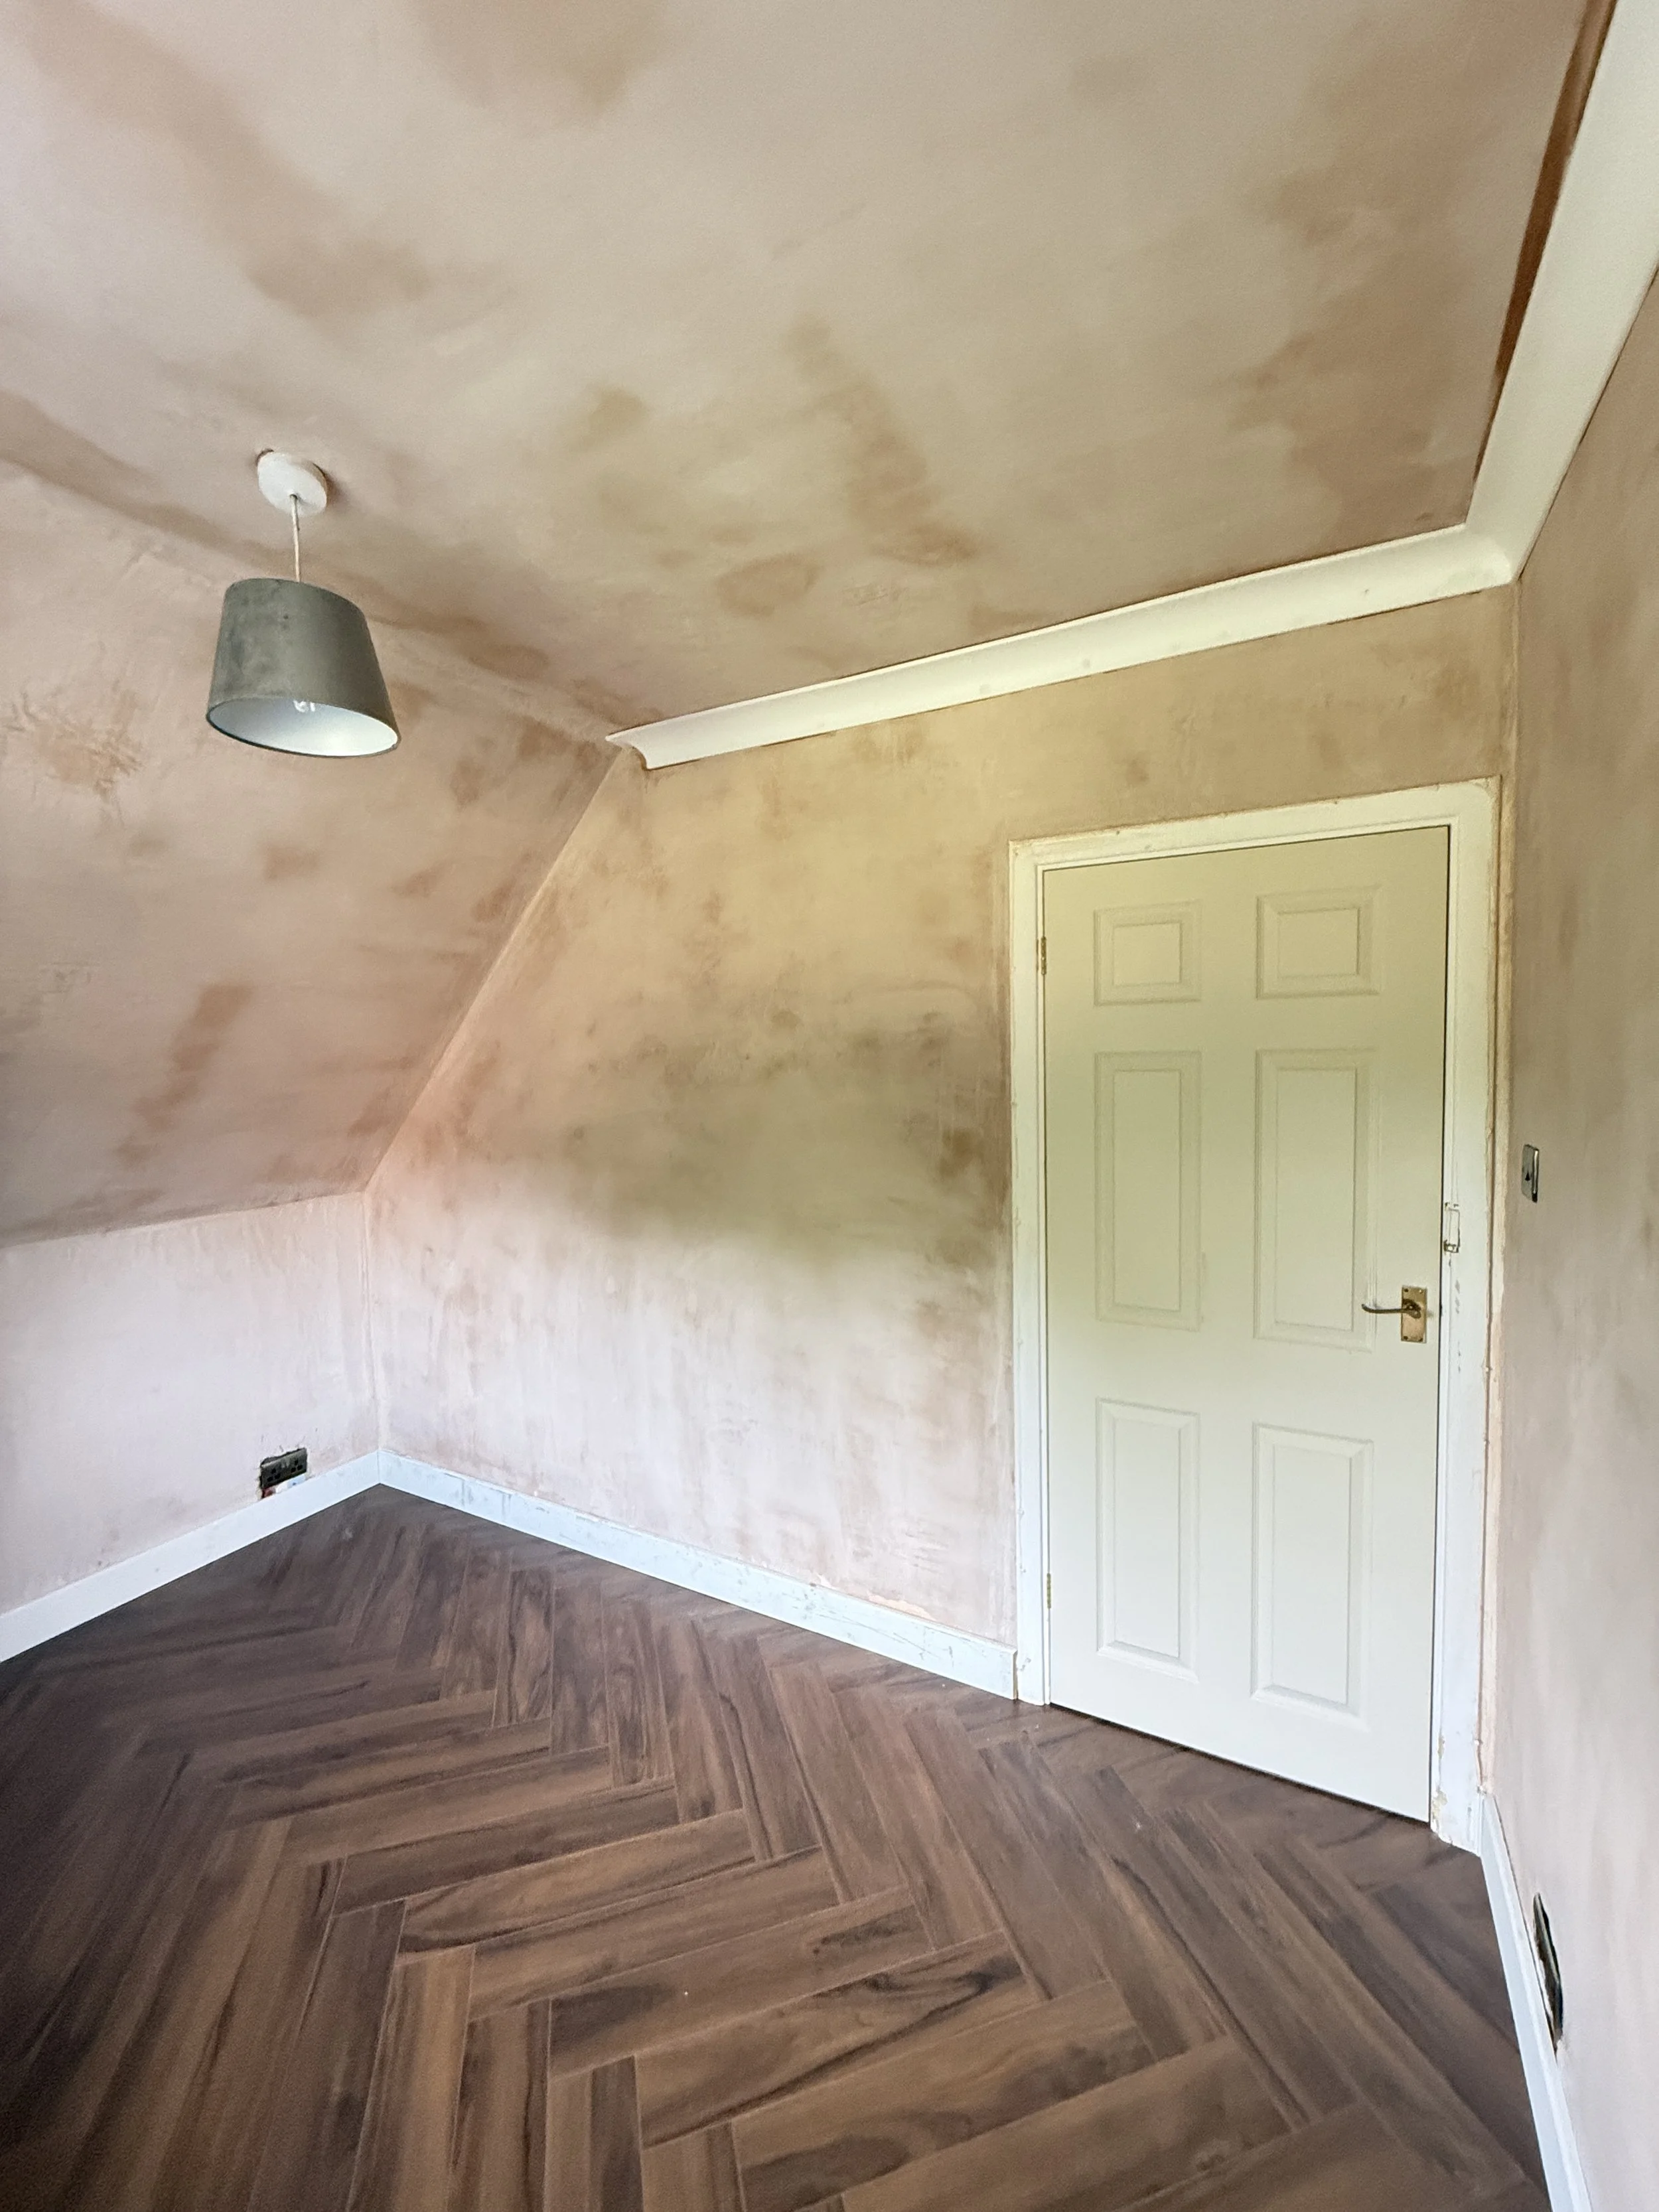
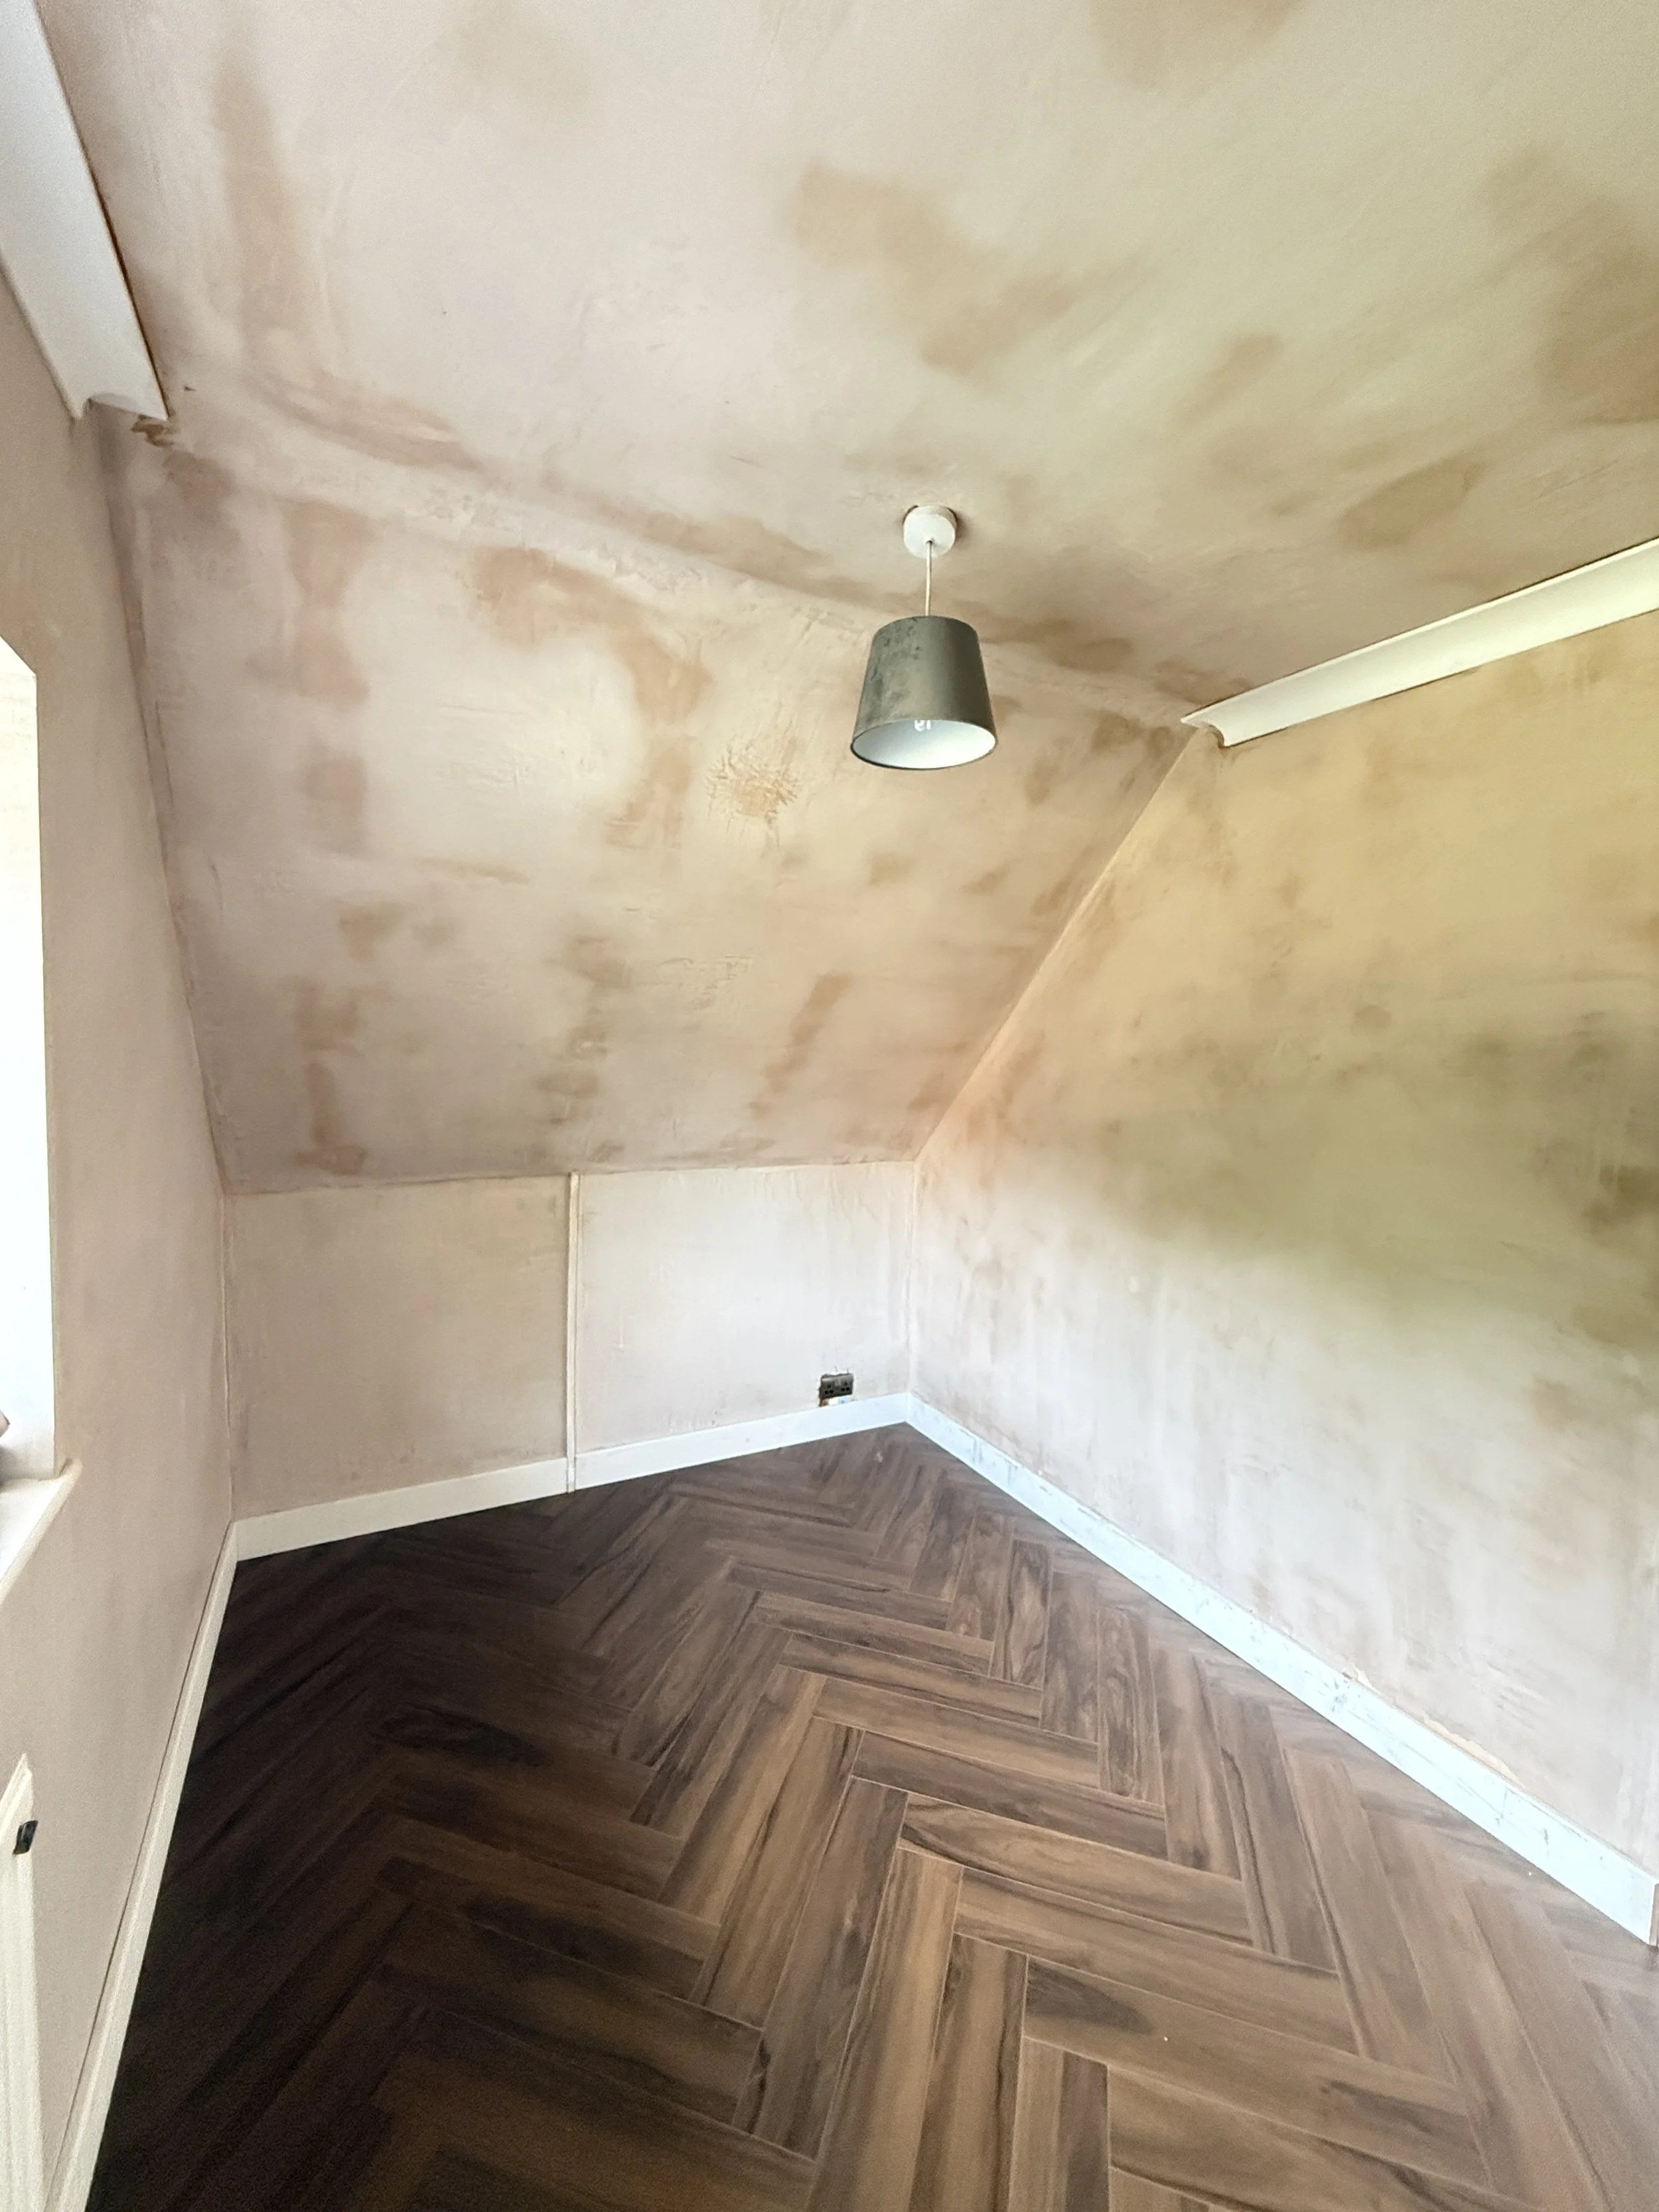
This room formed part of the larger interior redecoration project and had recently been fully plastered, including the walls and ceiling, with new coving also installed.
With the room effectively starting from fresh plaster, the focus was on getting every new surface properly prepared and creating a consistent base before introducing the deep Brinjal colour scheme across the walls and sloping ceiling.
The Brief
The aim was to create a bold, colour-drenched interior using Farrow & Ball Brinjal No. 222, while achieving the clean lines and refined finish needed to make such a rich colour work successfully.
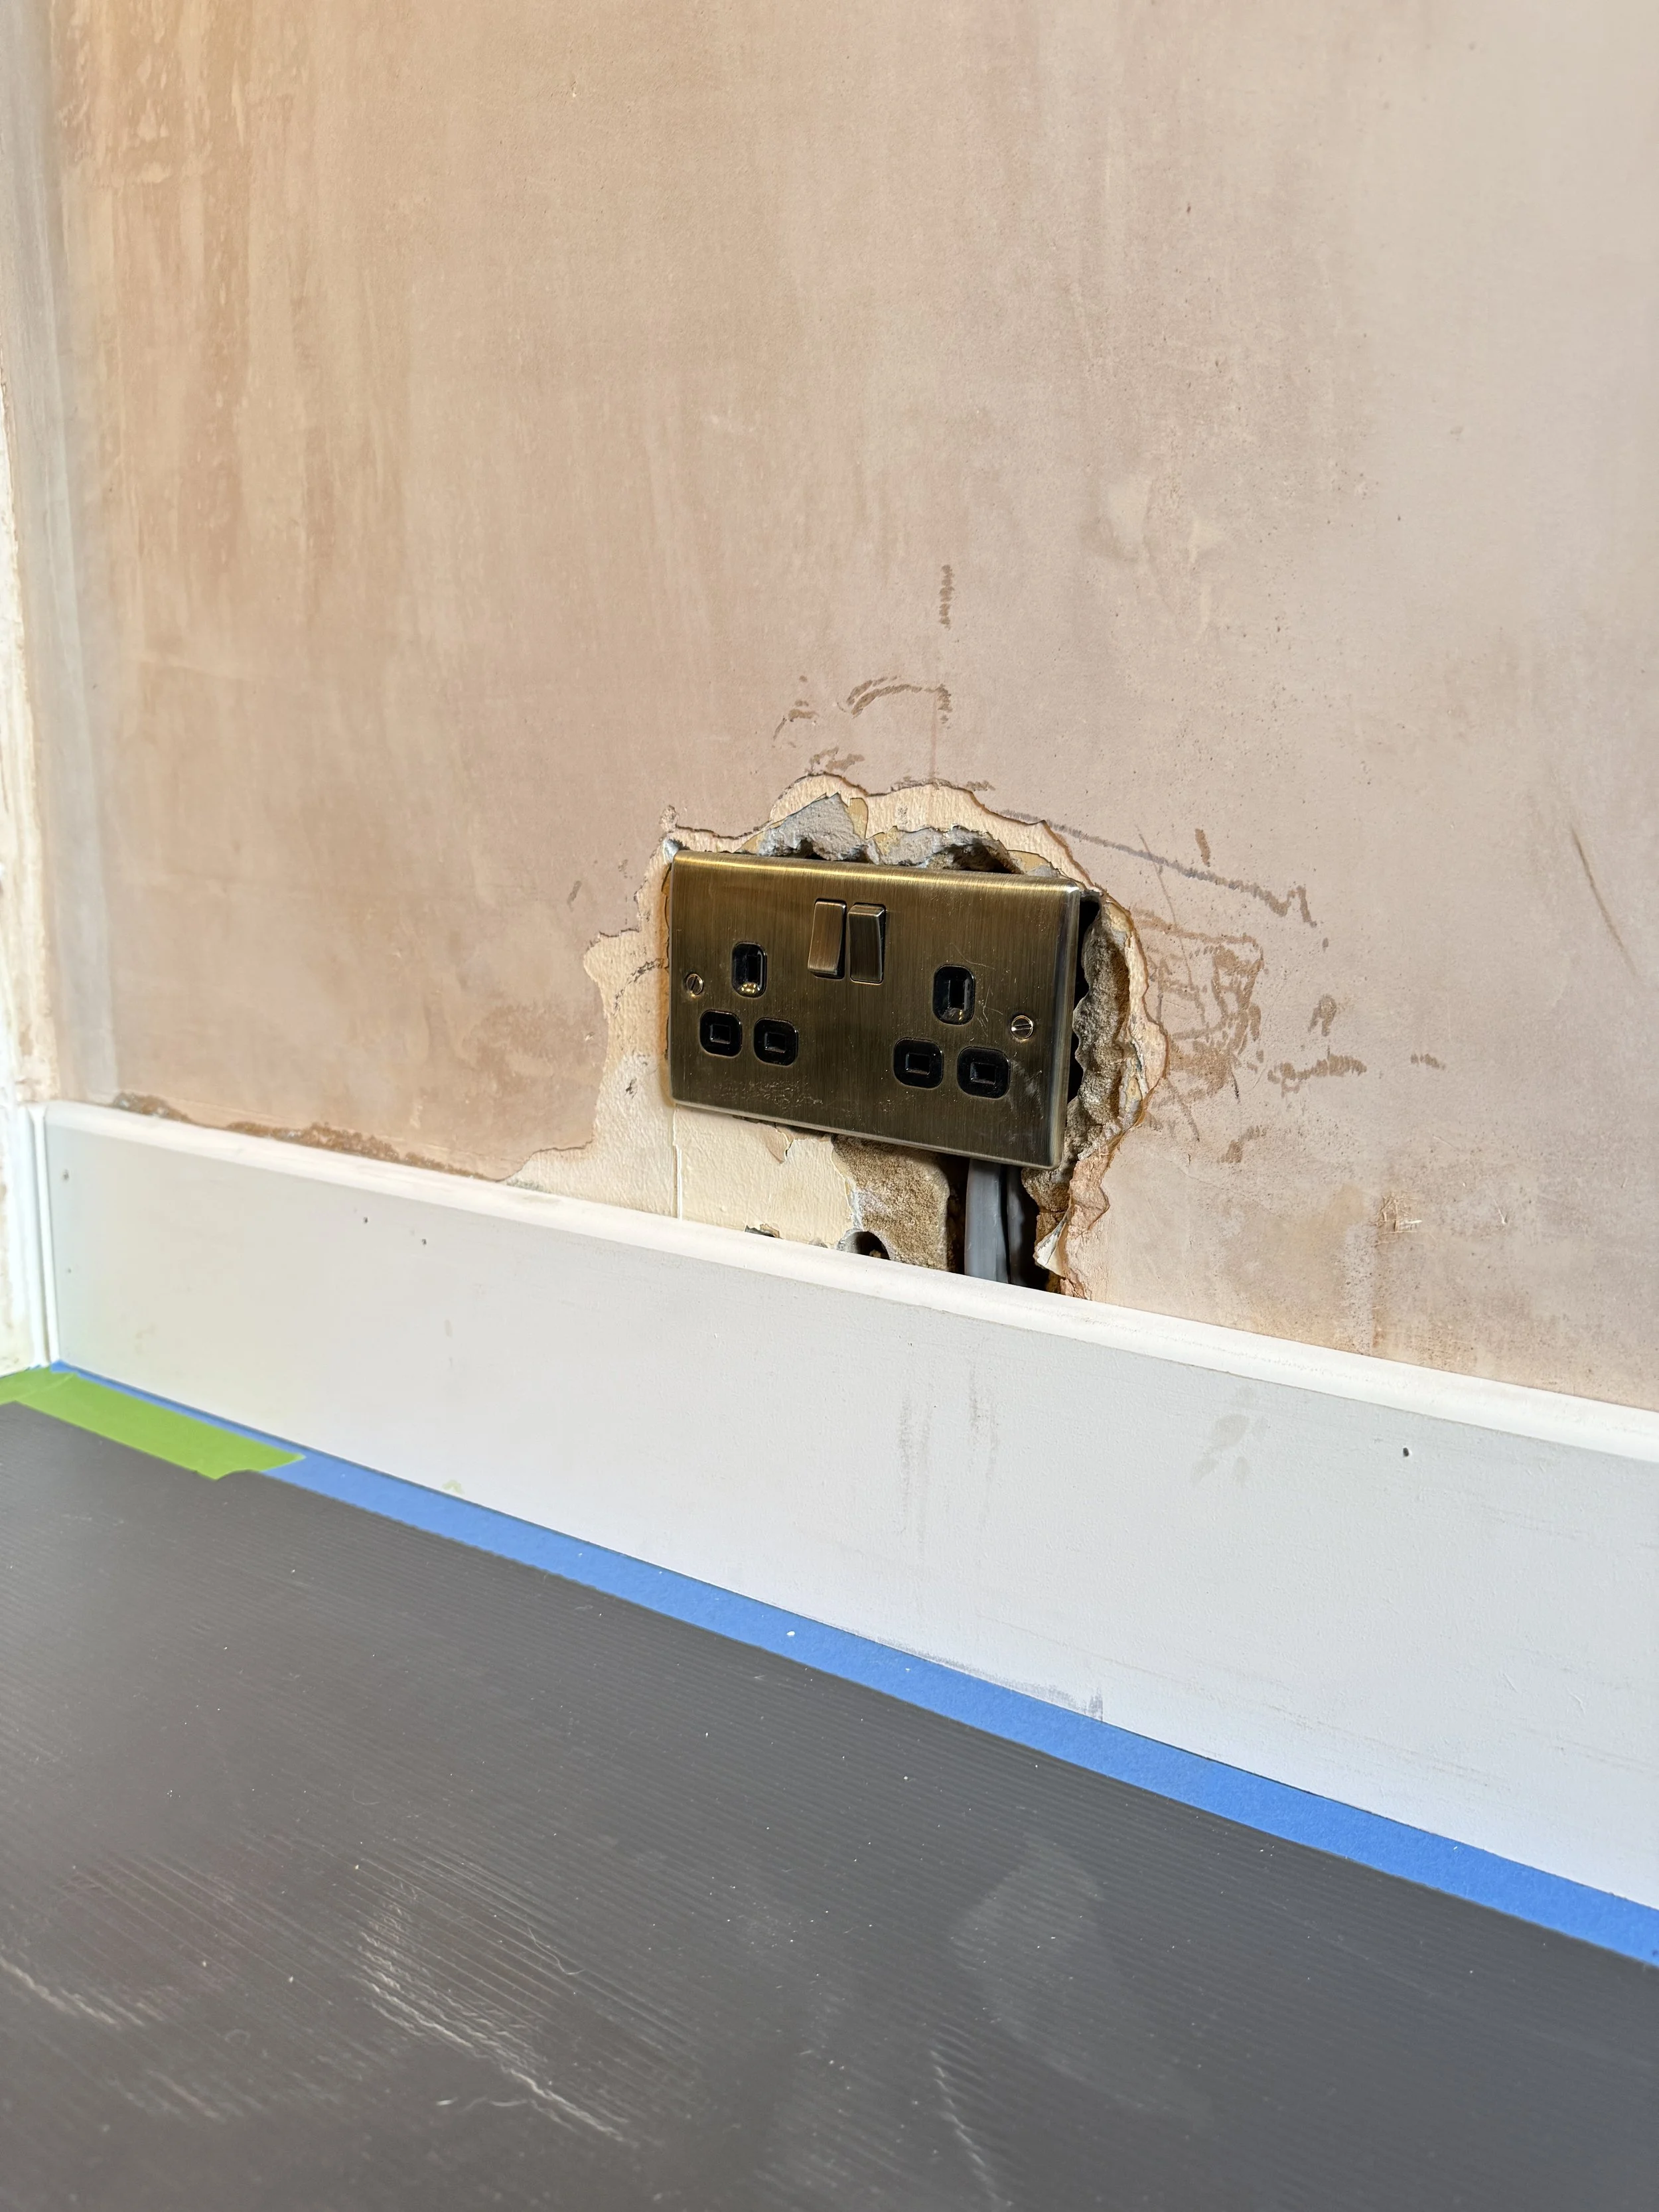
Although the plasterwork was new, it still required thorough preparation before decorating. The newly installed coving and woodwork also needed attention, while a poorly finished area around a new plug socket required a more substantial repair before painting could begin.
Before We Started
The new flooring was thoroughly protected before any preparation took place. Masking tape was carefully applied around the perimeter before floor protection was laid and securely taped down.
The new bare plaster was then assessed along with the recently installed coving, woodwork and damaged area surrounding the new electrical socket.
Preparing these surfaces correctly was particularly important because the final scheme would carry the same deep aubergine shade across both the walls and sloping ceiling, making consistency in the underlying finish essential.
Preparation & Repairs
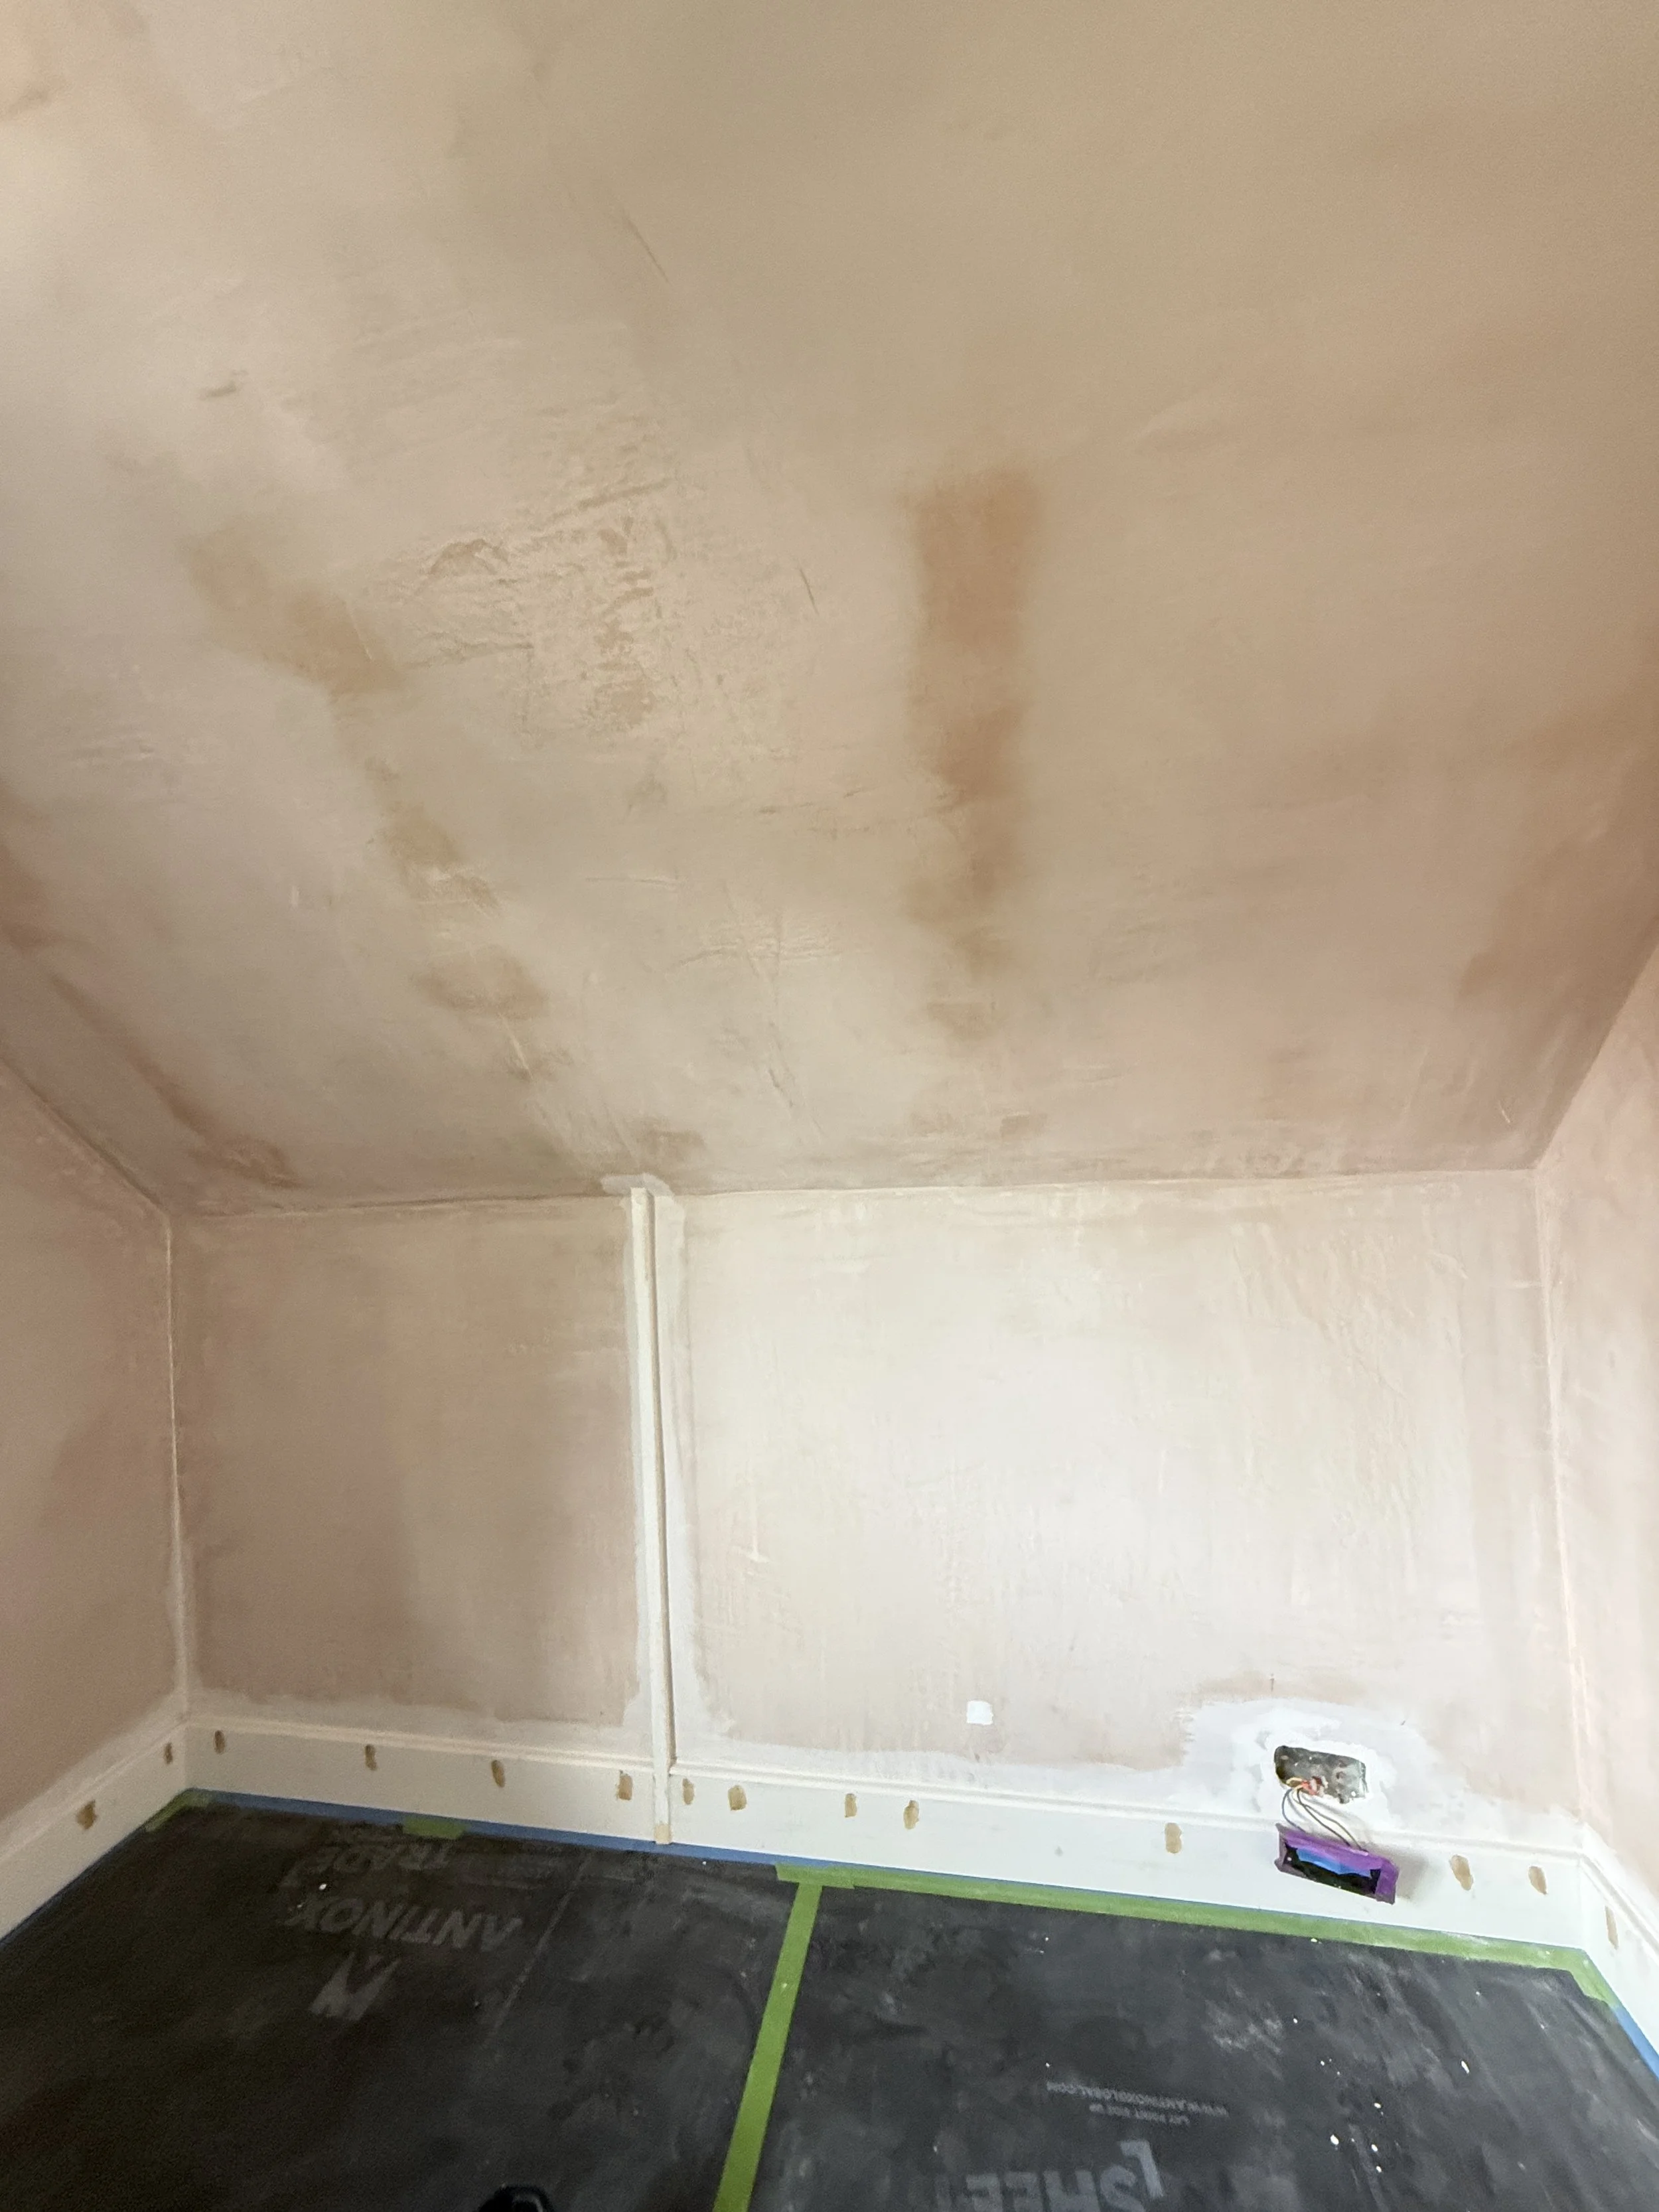
All of the new bare plaster walls and ceiling were thoroughly sanded using dust-extracted sanding equipment to remove imperfections and create a smooth, consistent surface ready for priming.
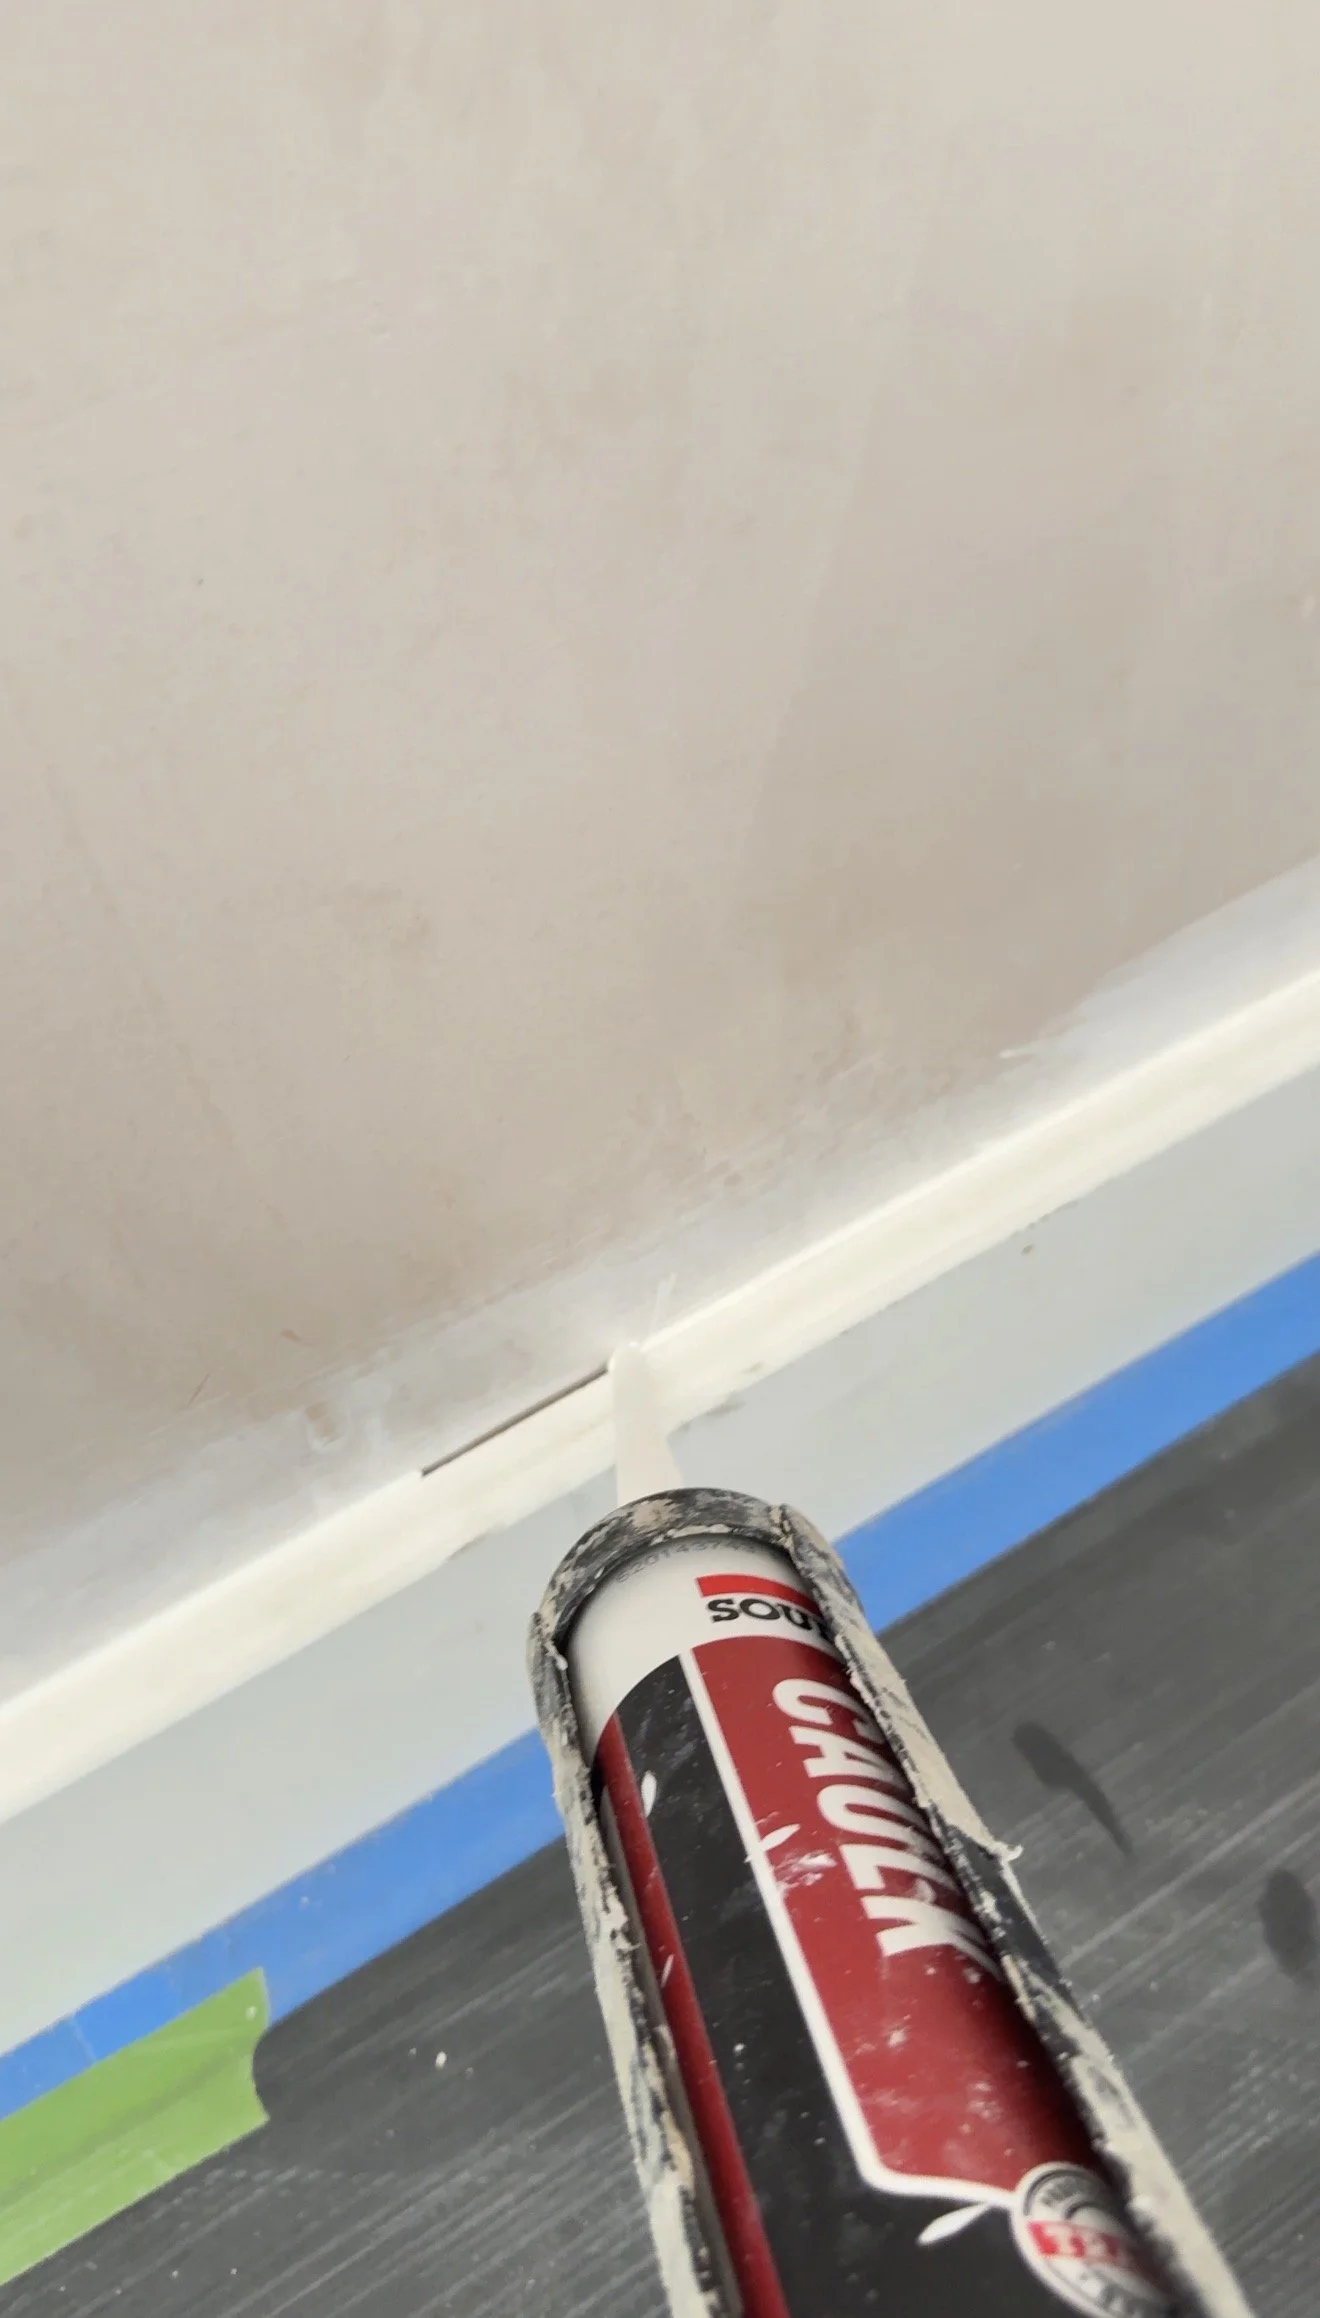
Pin holes from the installation of the new coving were individually filled and sanded, with the coving and surrounding woodwork caulked where required to refine the junctions before painting.
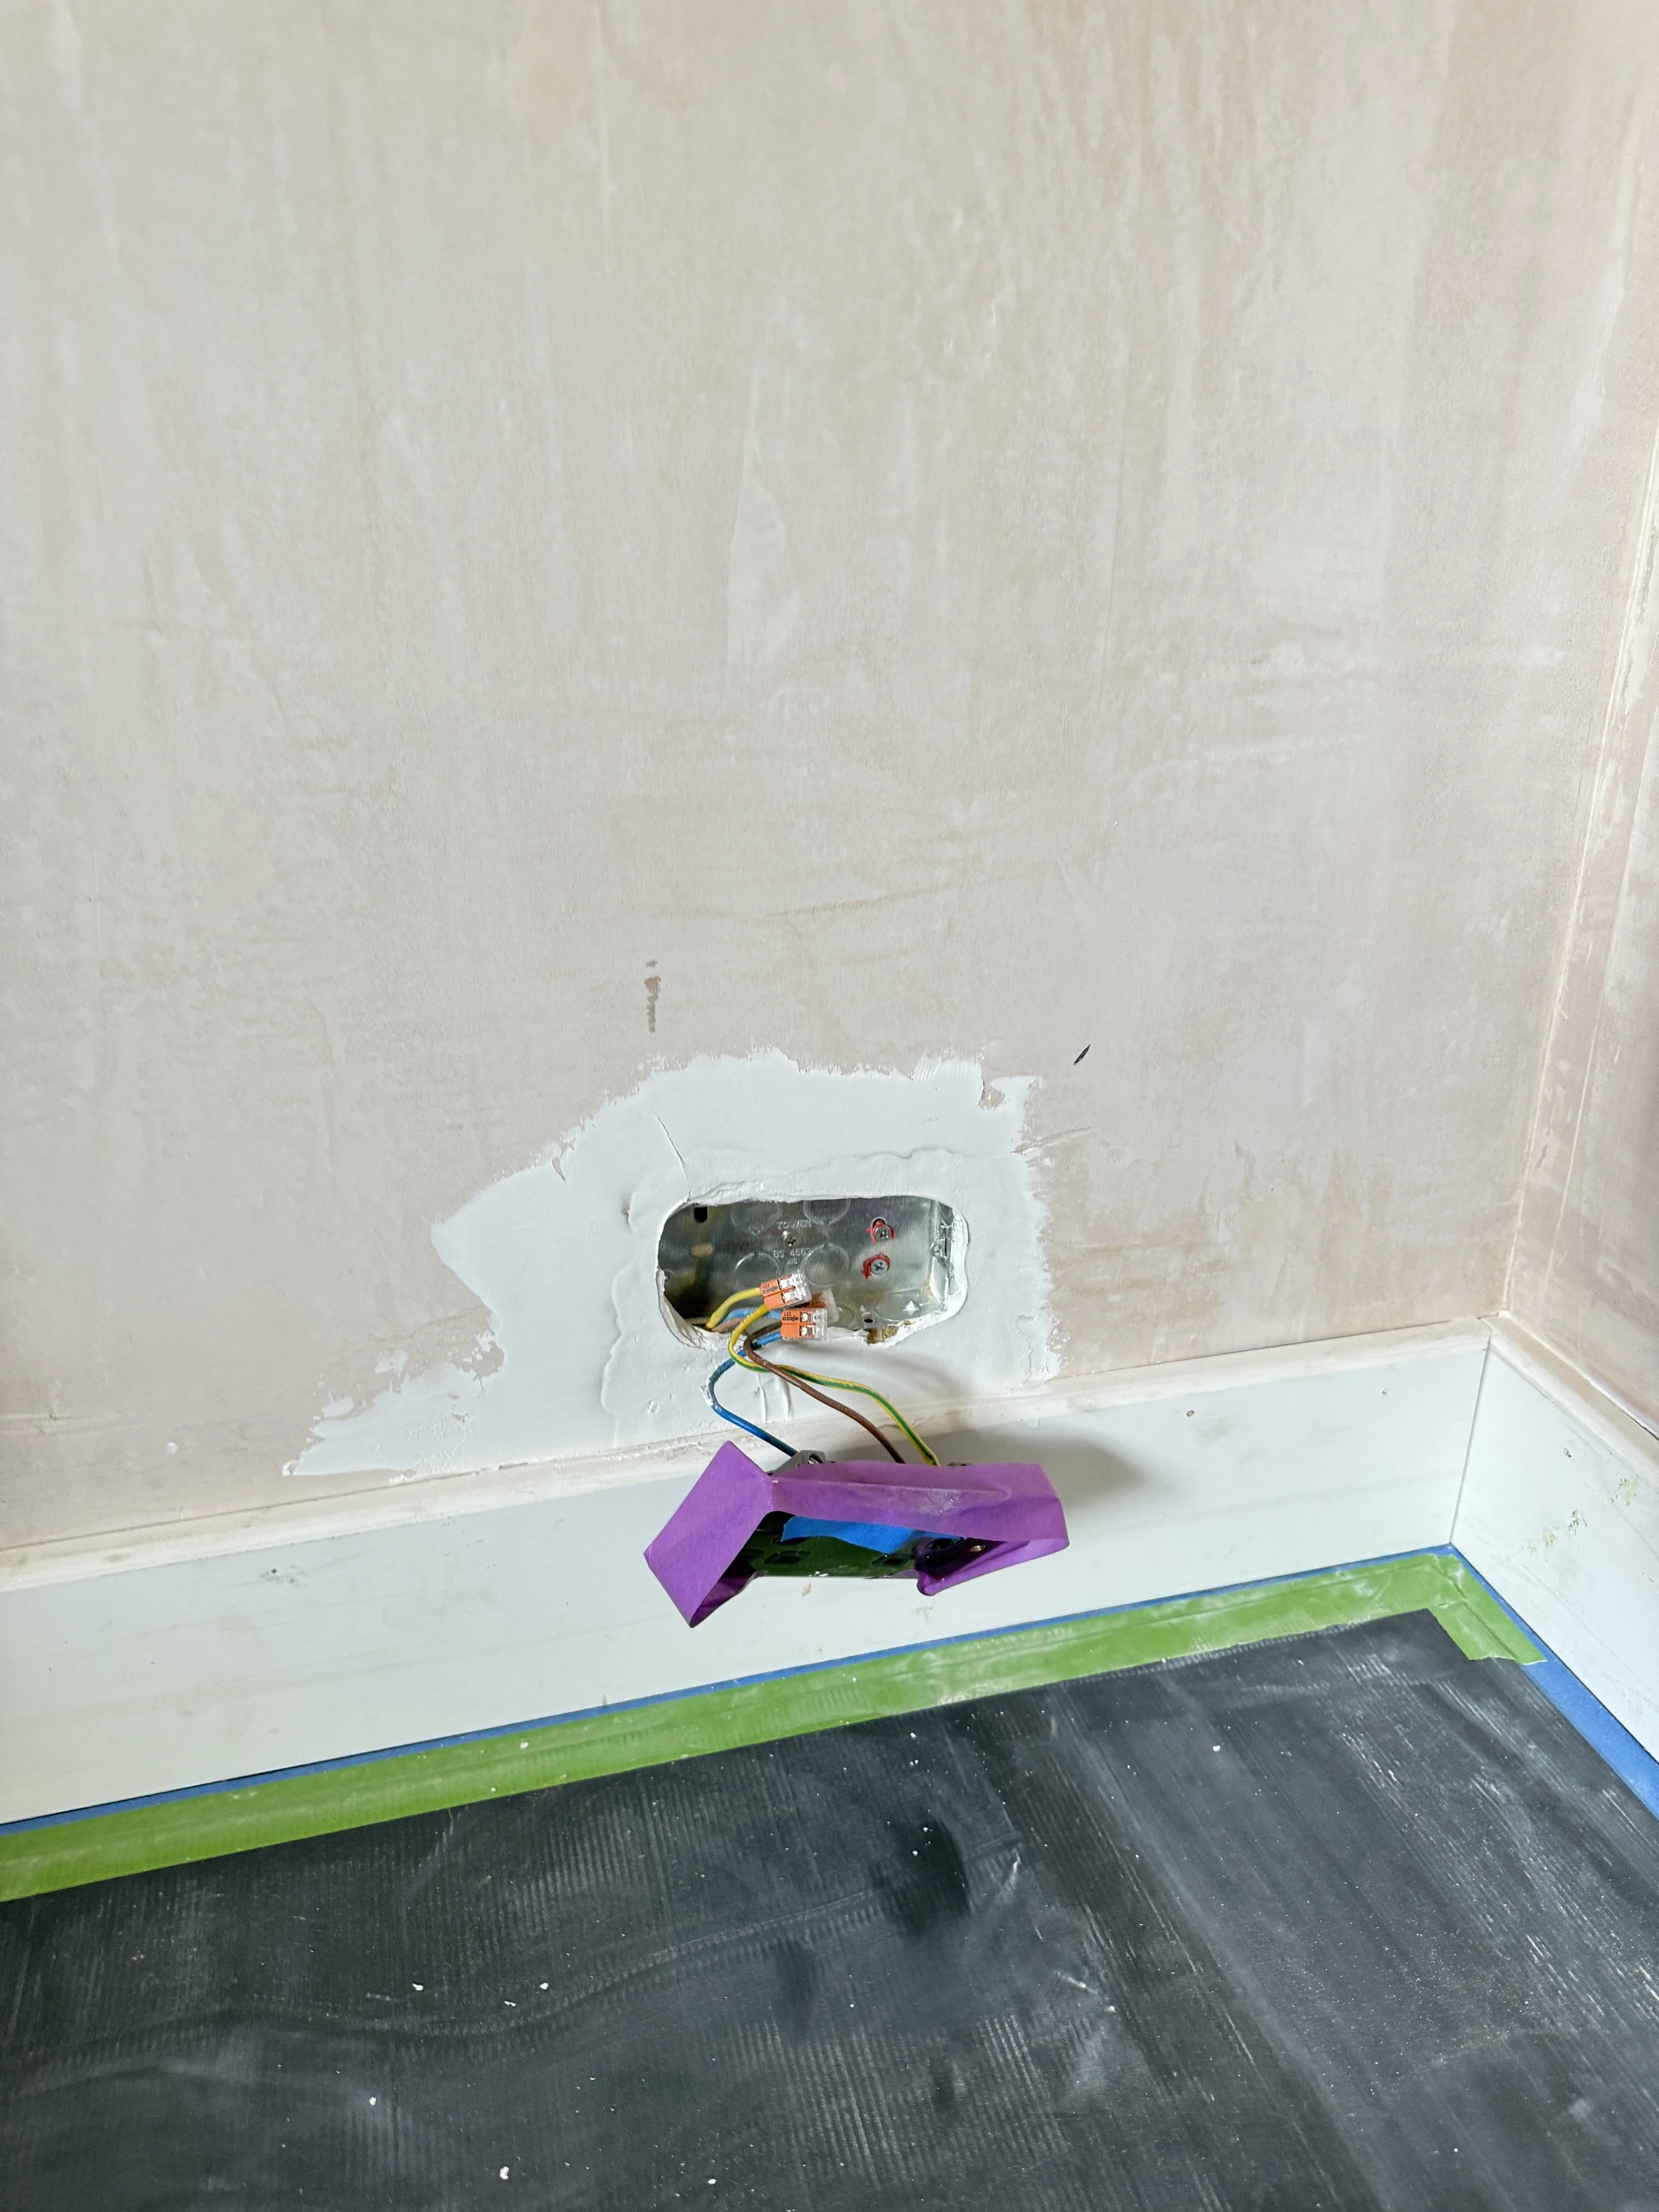
The area surrounding one newly fitted plug socket required more extensive making good. The loose and dusty substrate was first treated with Zinsser Gardz to stabilise the surface and provide a sound foundation for the repair. The damaged area was then progressively rebuilt using multiple applications of filler, with sanding between stages before the final repair was feathered into the surrounding plaster.
Once the preparation and repairs were complete, the bare plaster walls and ceiling were fully sealed using Tikkurila Optiva Primer. This provided a consistent base across the new plaster before the finishing coats were applied.
The skirting boards, door, frame and architraves were also thoroughly prepared. Surfaces were sanded, pin holes and other imperfections filled where required, and joints caulked before priming with Dulux Aqua UniPrimer.
The Work
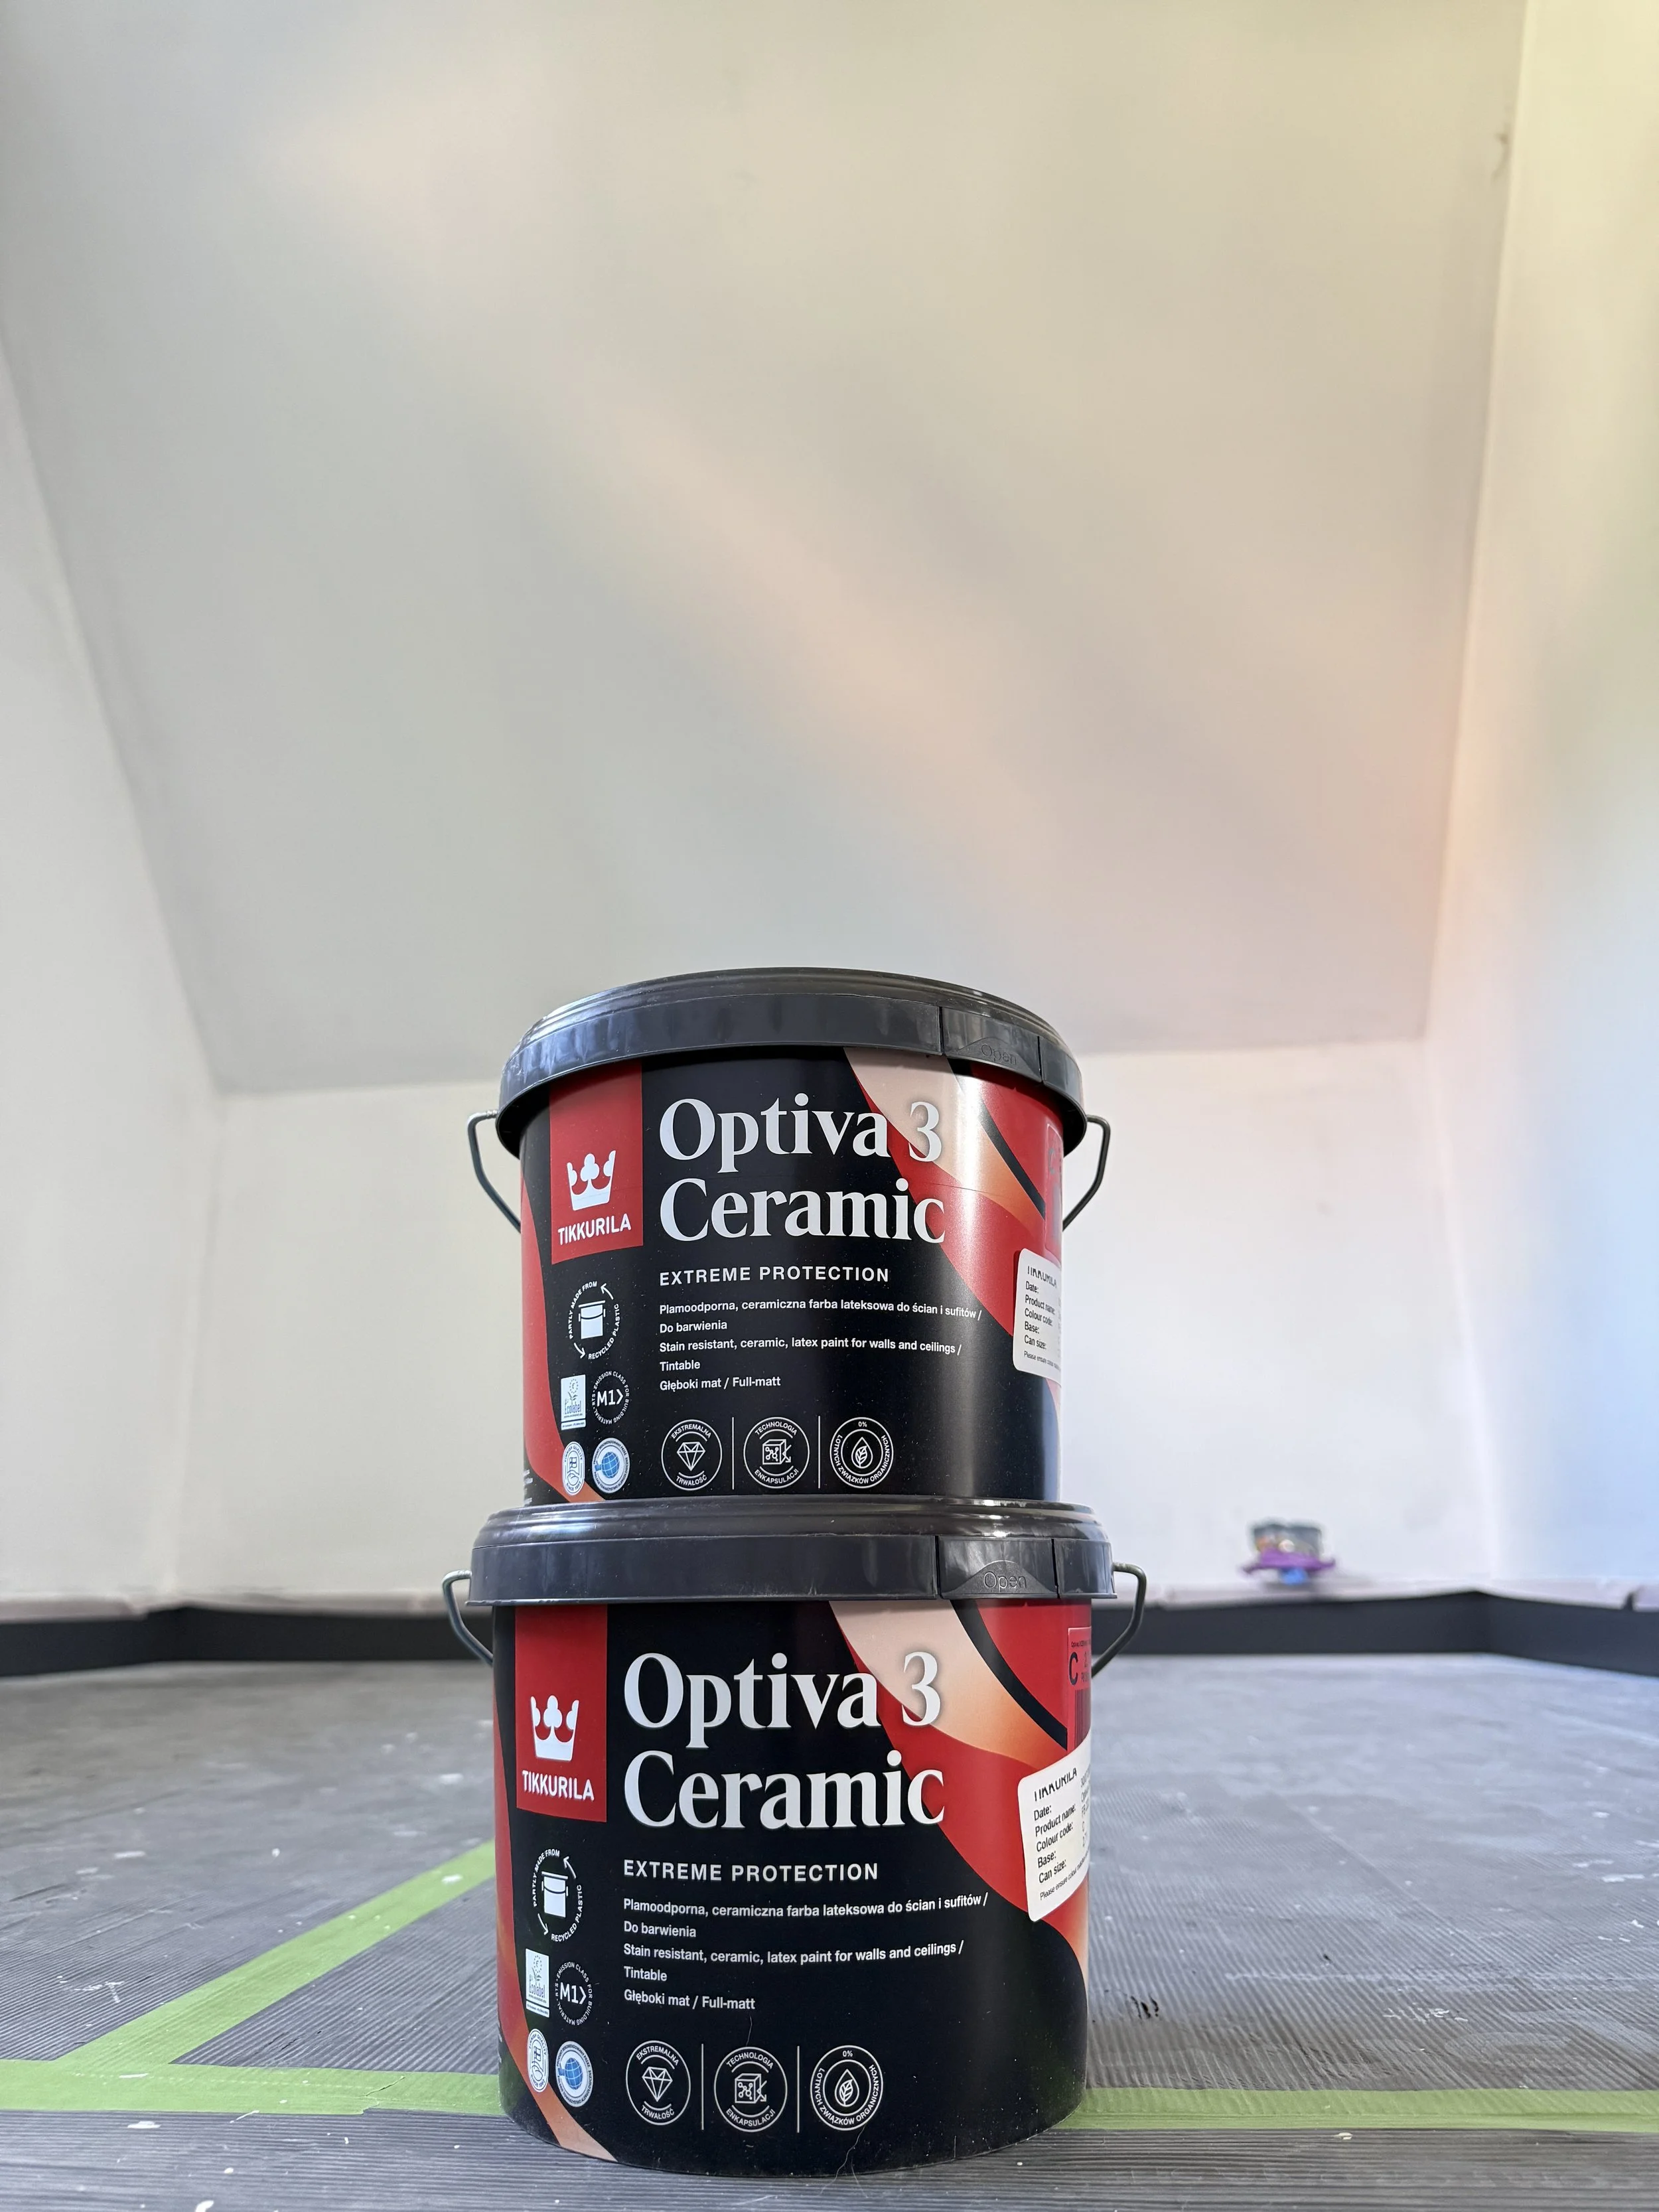
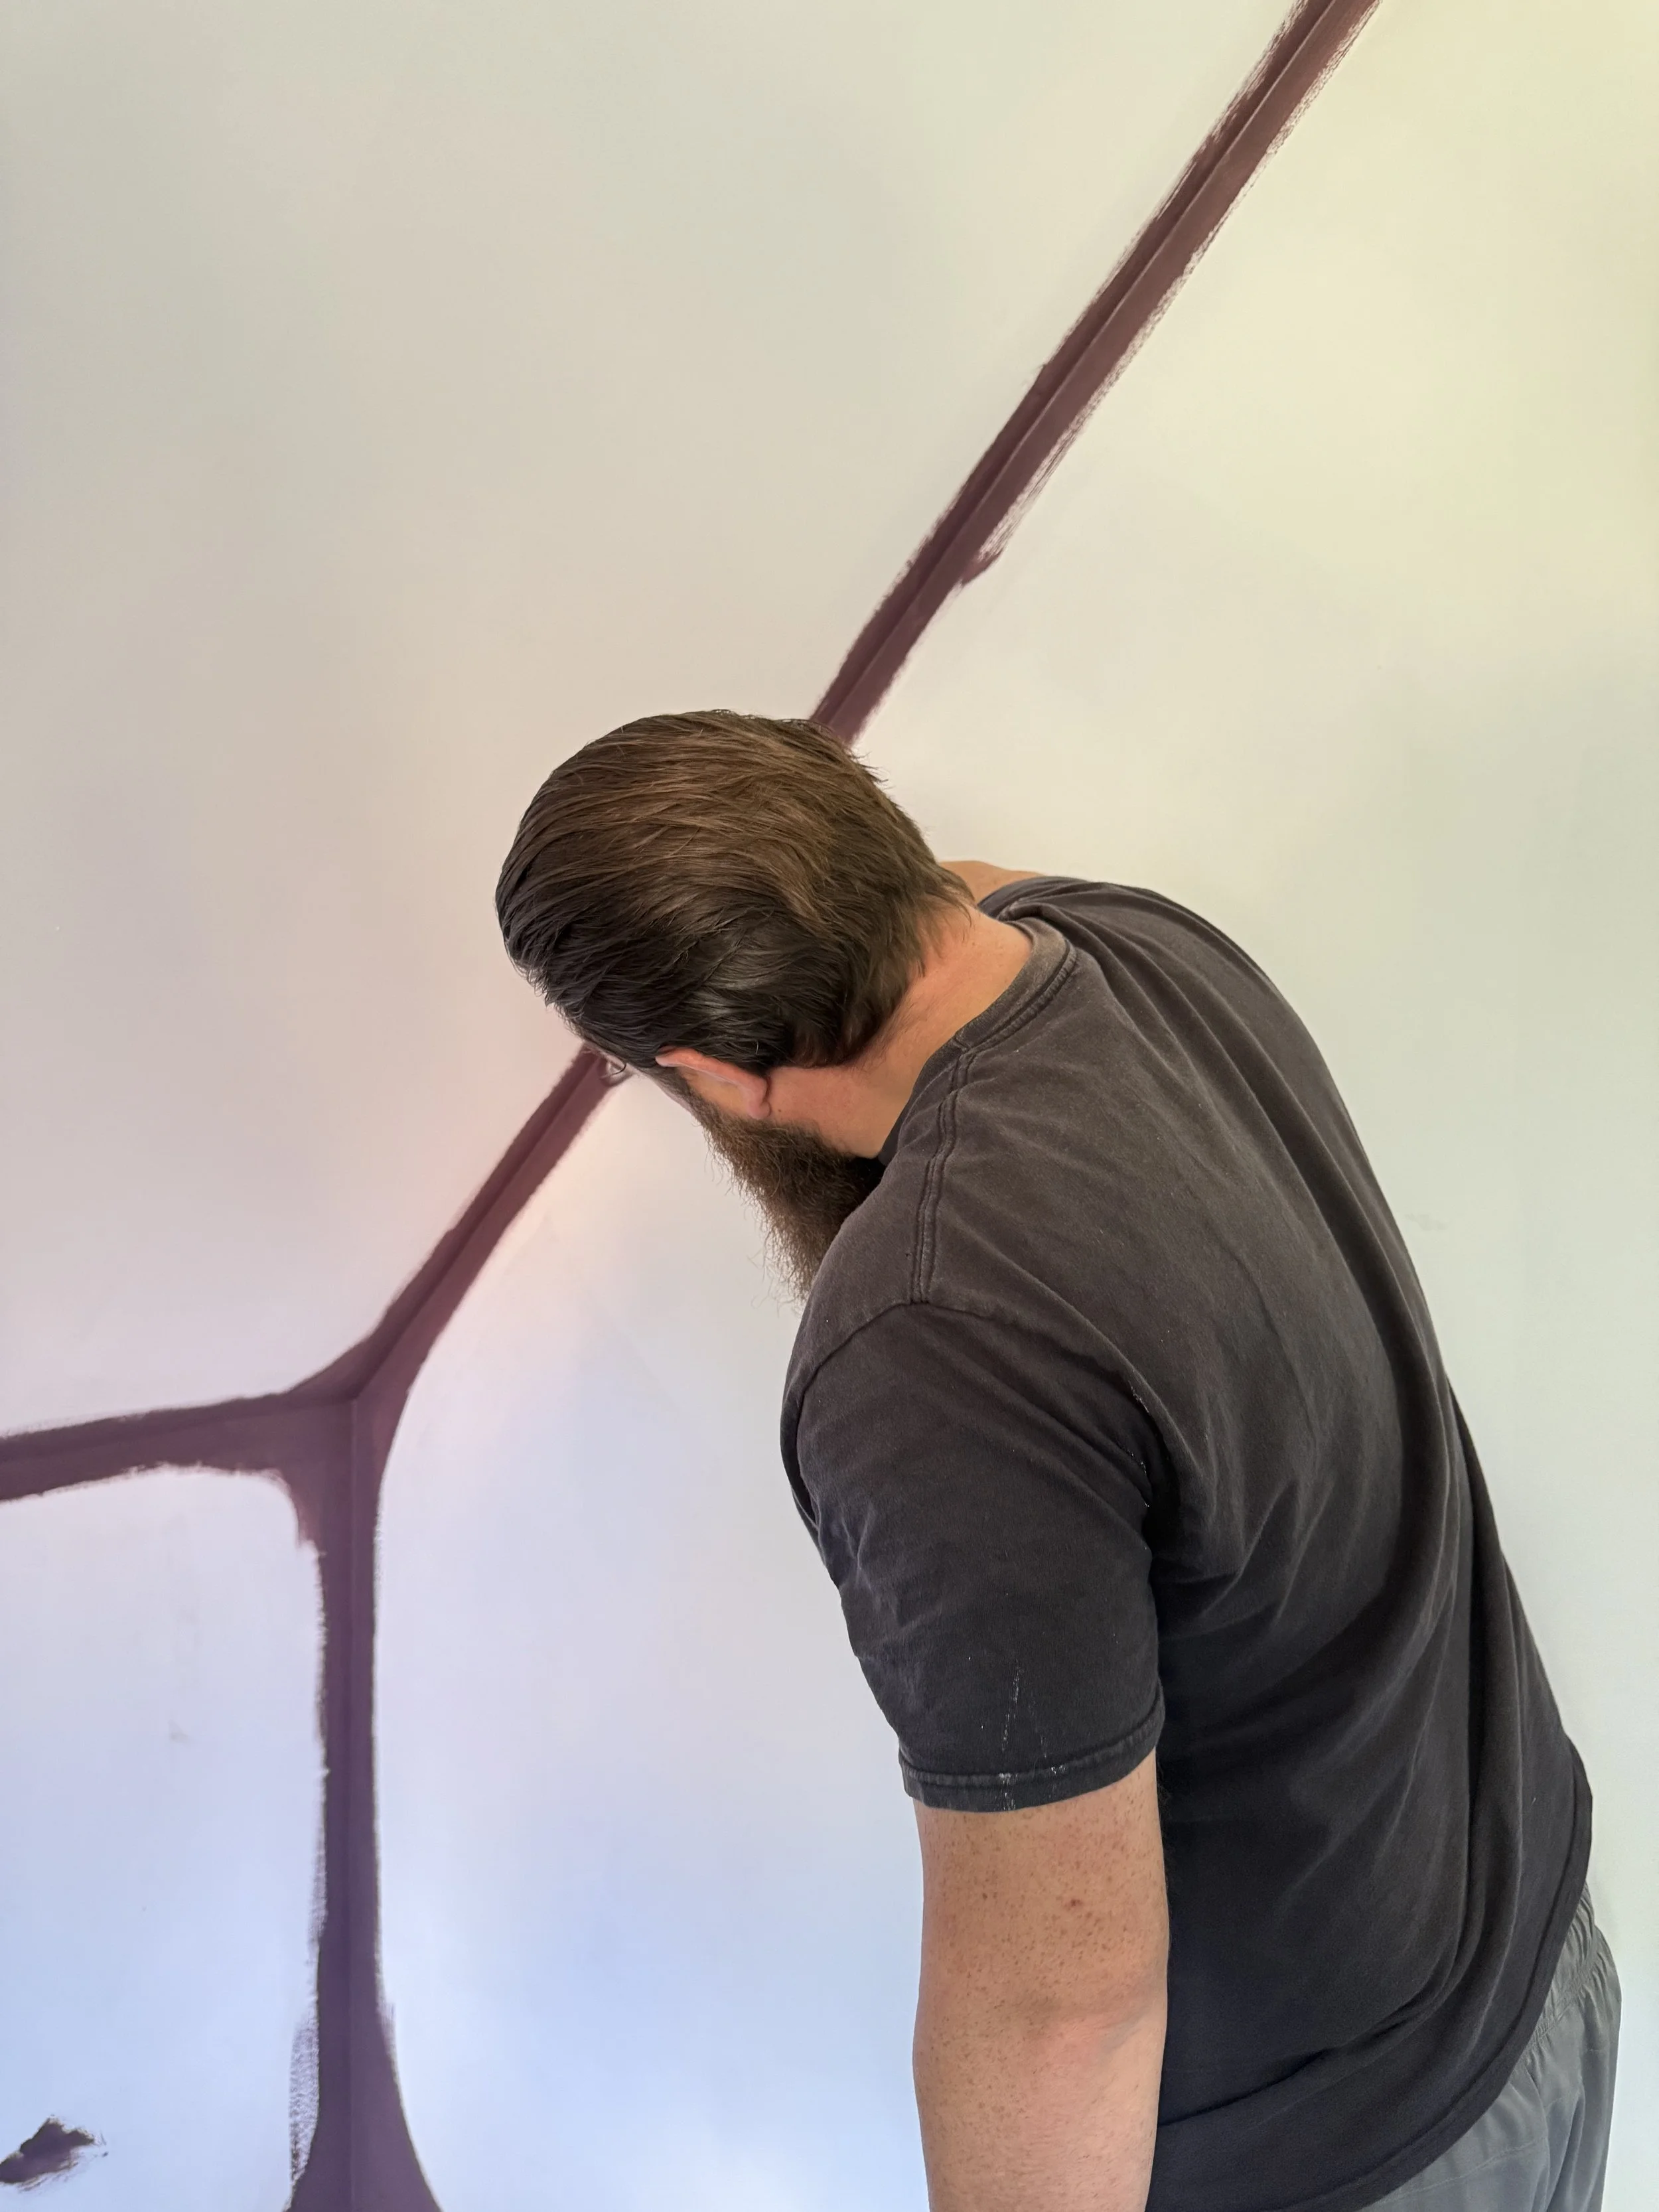
The walls and sloping ceiling were colour drenched in Farrow & Ball Brinjal No. 222, colour matched into Tikkurila Optiva Ceramic 3. Carrying the same deep aubergine tone across both surfaces creates a more immersive, cohesive feel within the room.
The prepared woodwork and doors were finished in Benjamin Moore Scuff-X, with de-nibbing between coats to progressively refine the finish.
As part of the wider project, the bedroom door was decorated on both sides using the same multi-stage preparation and finishing system applied to the other doors throughout the property. The doors received two coats of primer followed by two coats of Benjamin Moore Scuff-X, with de-nibbing between coats.
The old door furniture was removed during preparation and new handles and hardware were fitted once decorating was complete.
The Finished Result
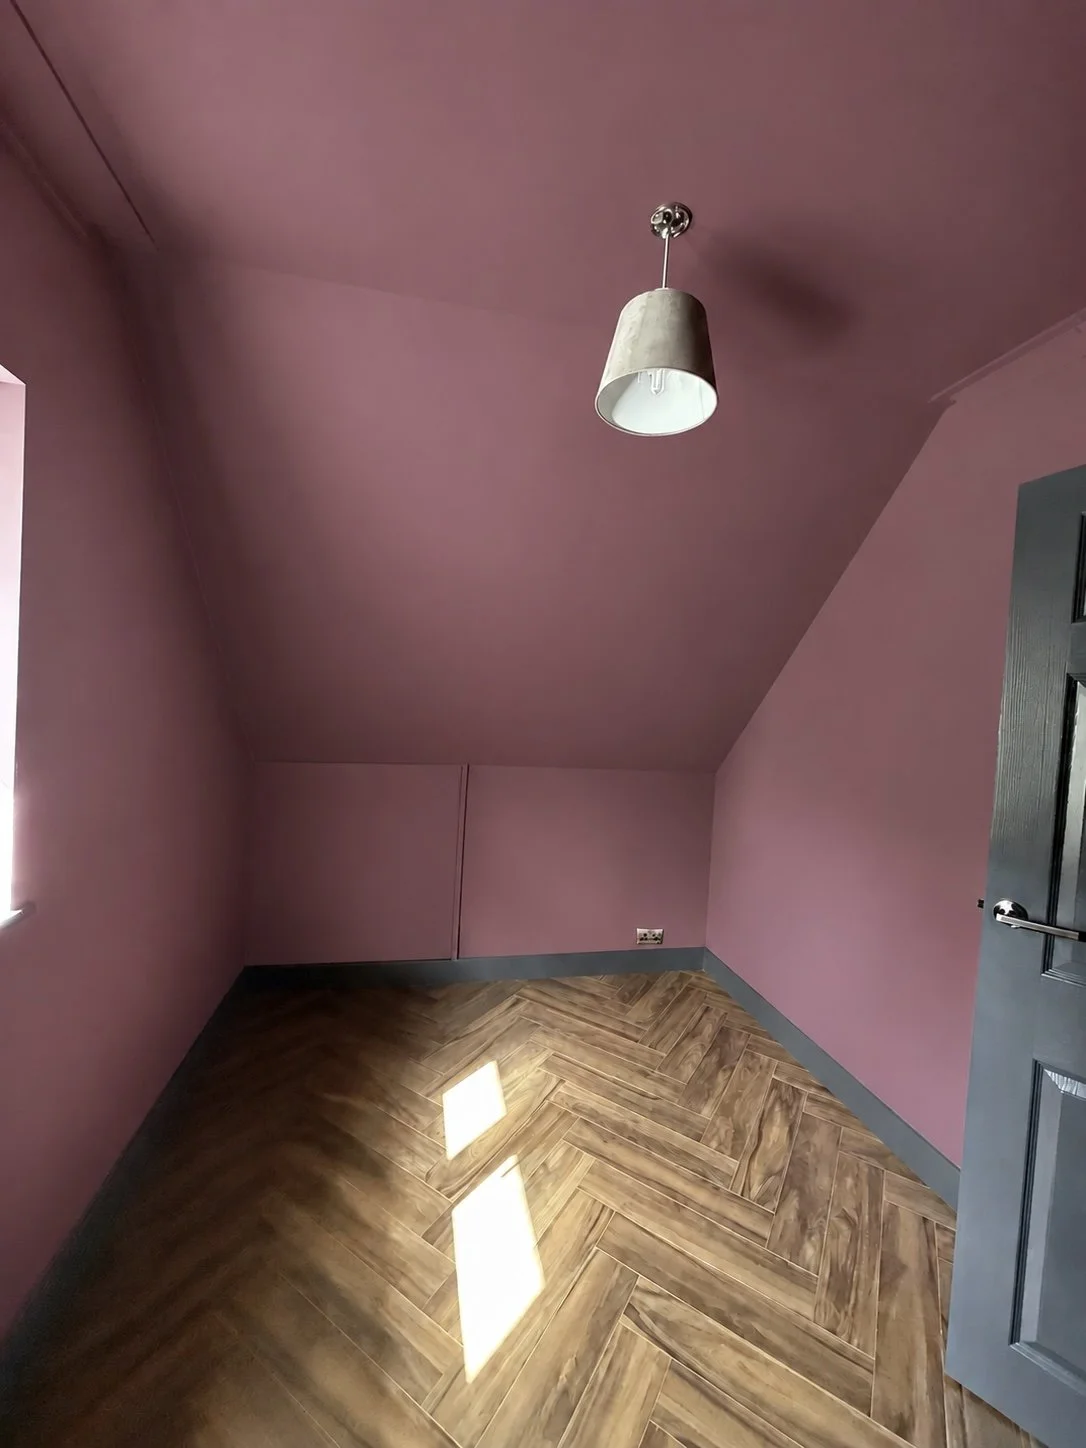
The completed room is transformed by the depth of Farrow & Ball Brinjal, with carrying the colour across the walls and sloping ceiling creating a confident, enveloping finish.
Against such a strong colour, the quality of the underlying preparation becomes particularly important. Thorough sanding of the new plaster, careful refinement of the coving and the multi-stage repair around the socket created the consistent surface needed for the finished scheme.
The result is a bold room that feels considered rather than simply dark, with crisp detailing and carefully finished woodwork providing definition around the colour-drenched interior.
Products Used
Walls and ceiling: Tikkurila Optiva Ceramic 3, colour matched to Farrow & Ball Brinjal No. 222
Bare plaster primer: Tikkurila Optiva Primer
Woodwork primer: Dulux Aqua UniPrimer
Woodwork and doors: Benjamin Moore Scuff-X
Surface stabiliser: Zinsser Gardz to the damaged area around the socket
Looking for Something Similar?
Whether you're planning a complete home redecoration or restoring original features, we'd be happy to discuss your project.
