
Open-Plan Kitchen, Dining & Living Transformation
Extensive crack repairs, surface preparation and a complete redecoration of a light-filled open-plan family living space.
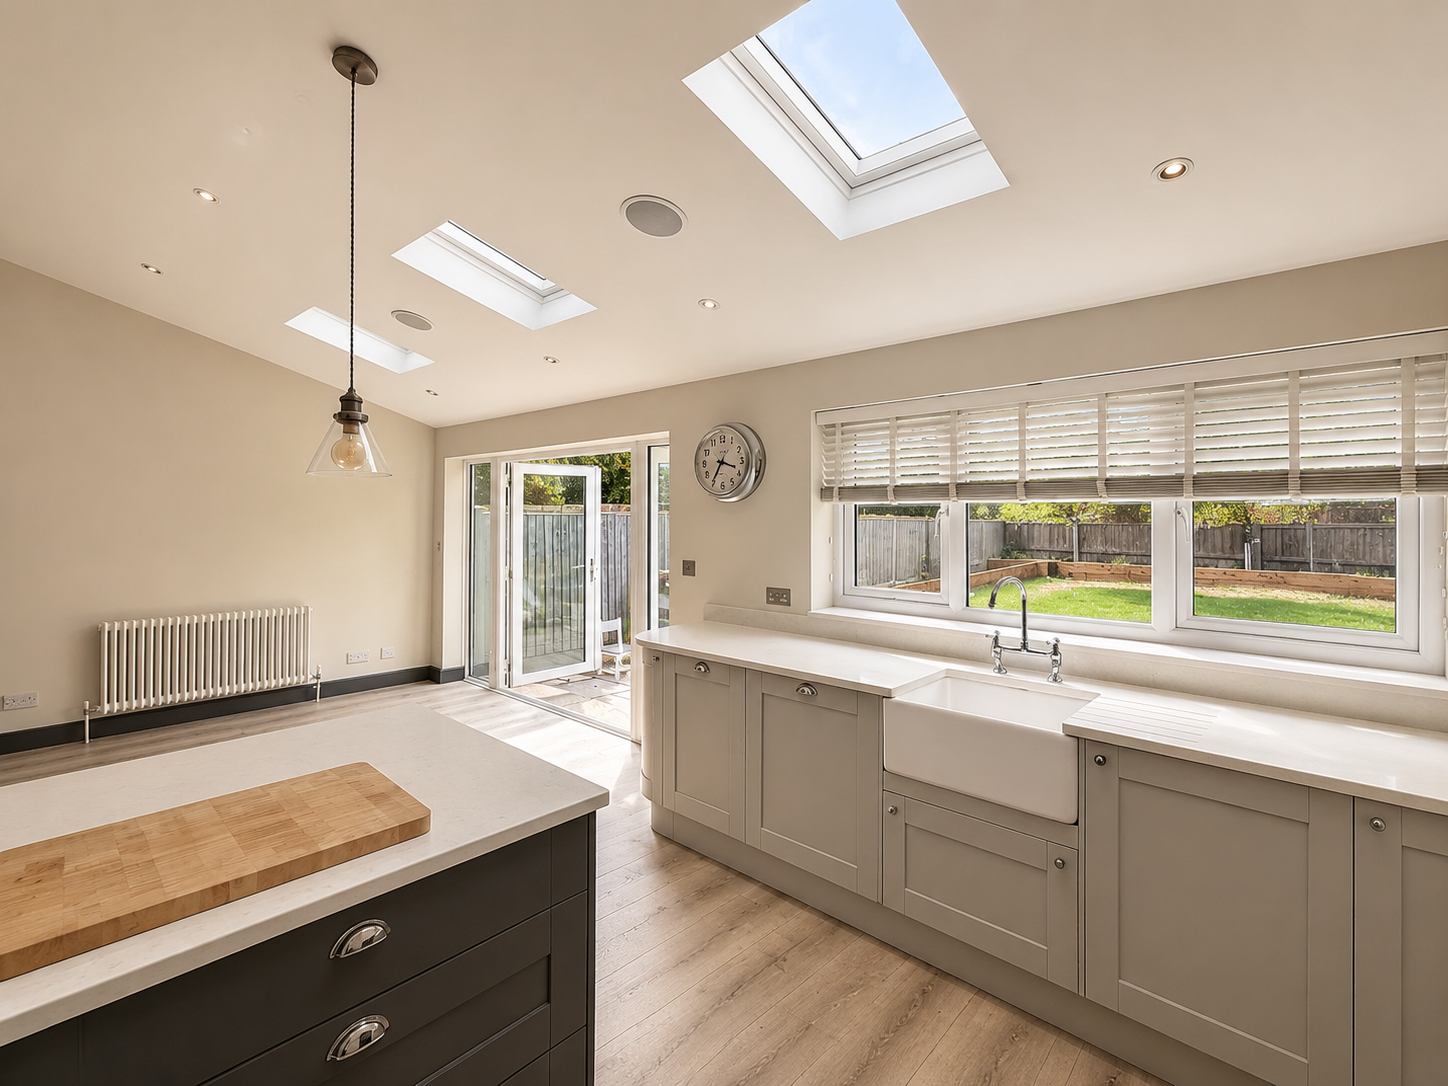
Overview
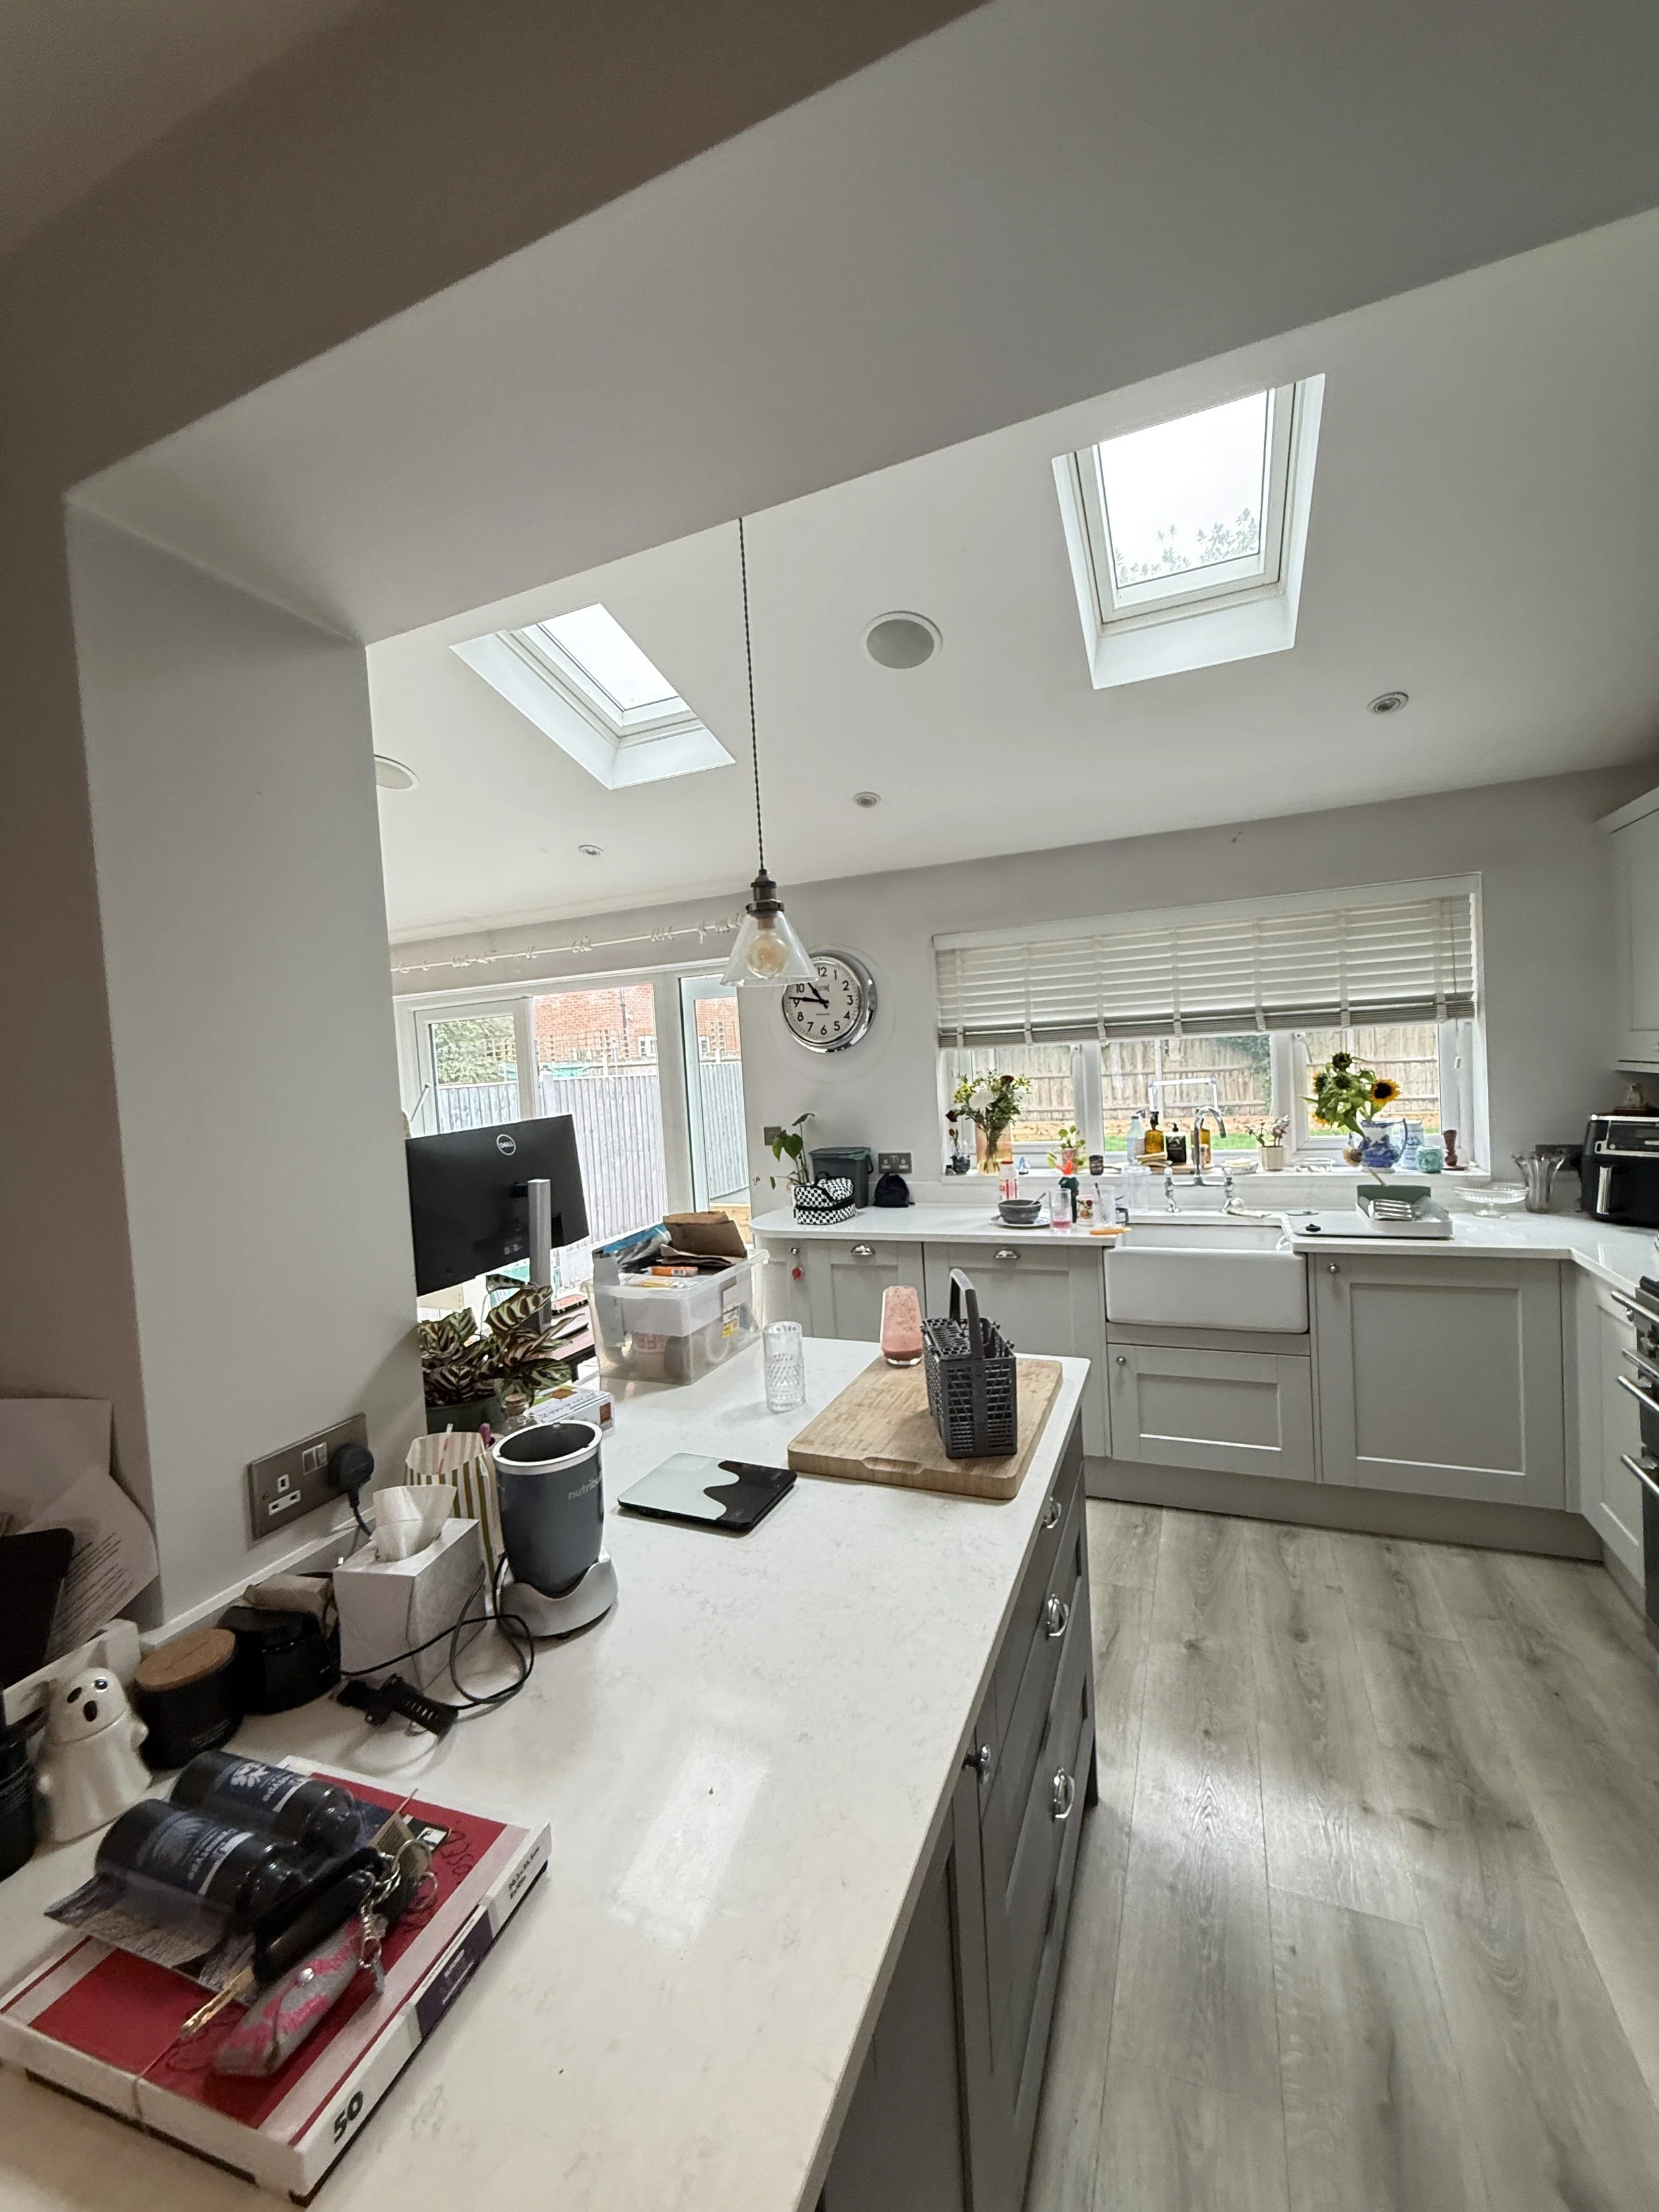
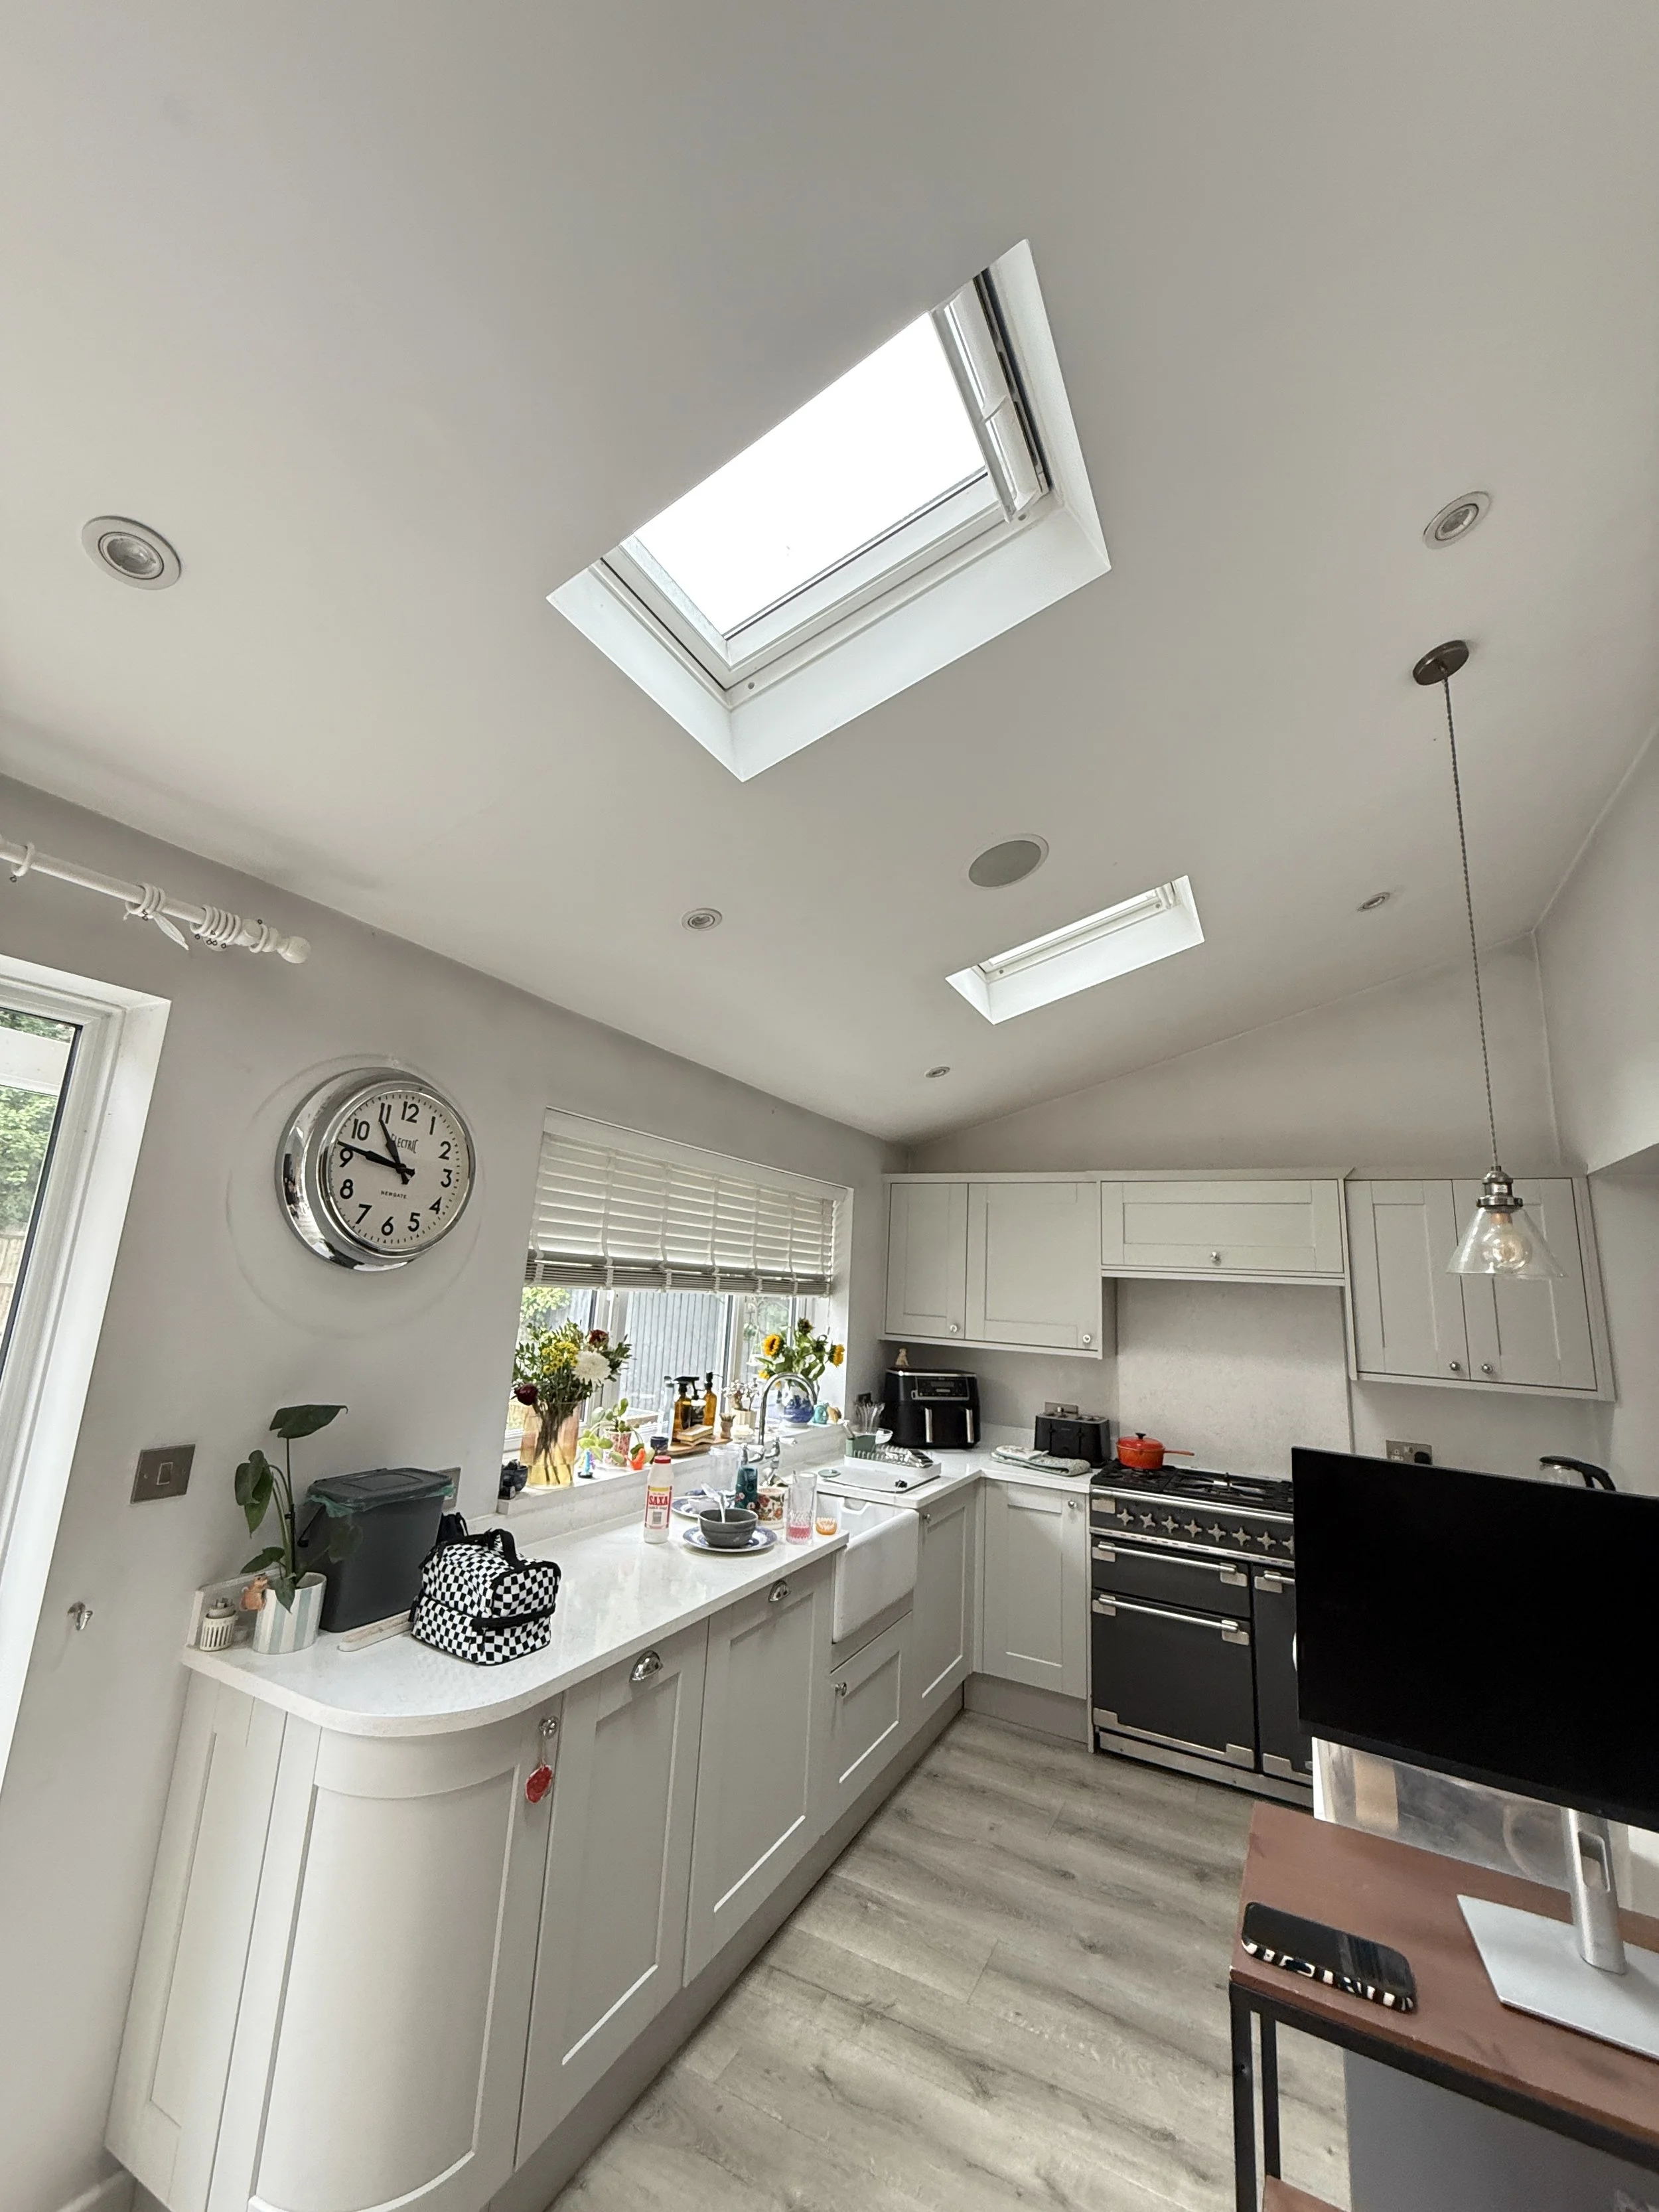
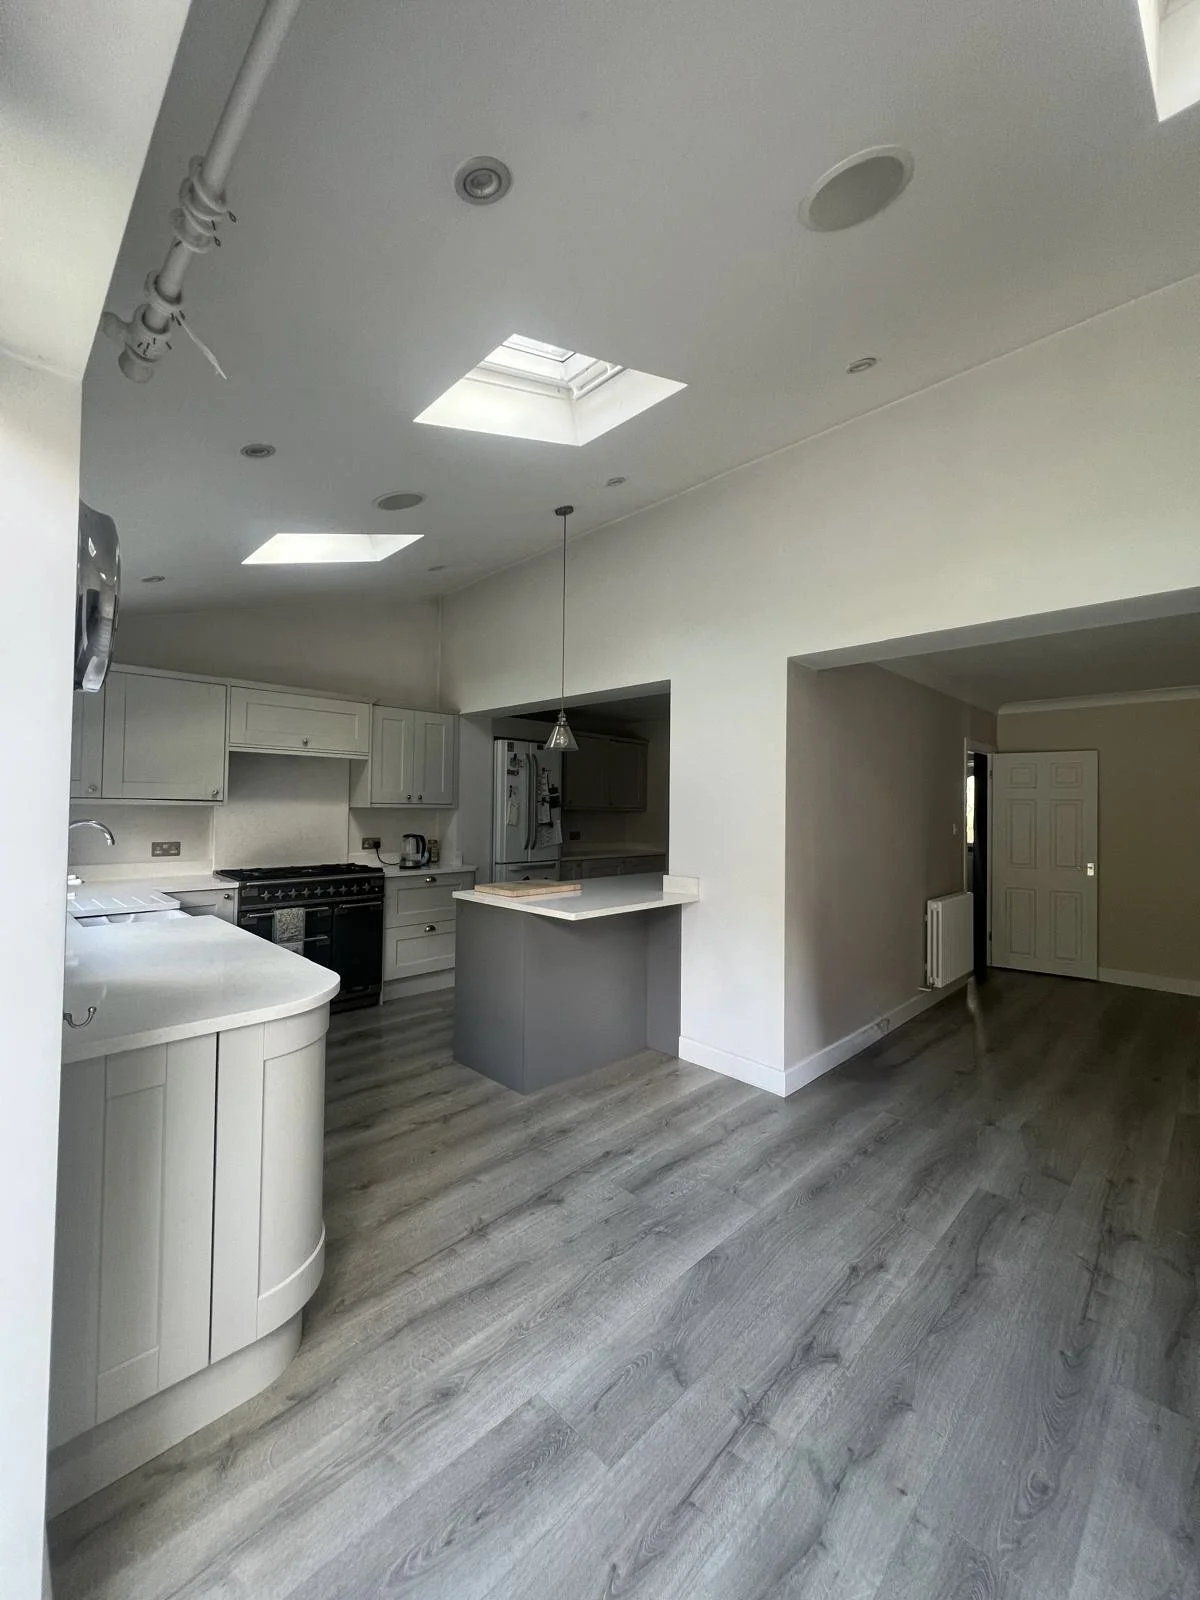
This large open-plan kitchen, dining and living area required extensive preparation and repair work before decorating could begin.
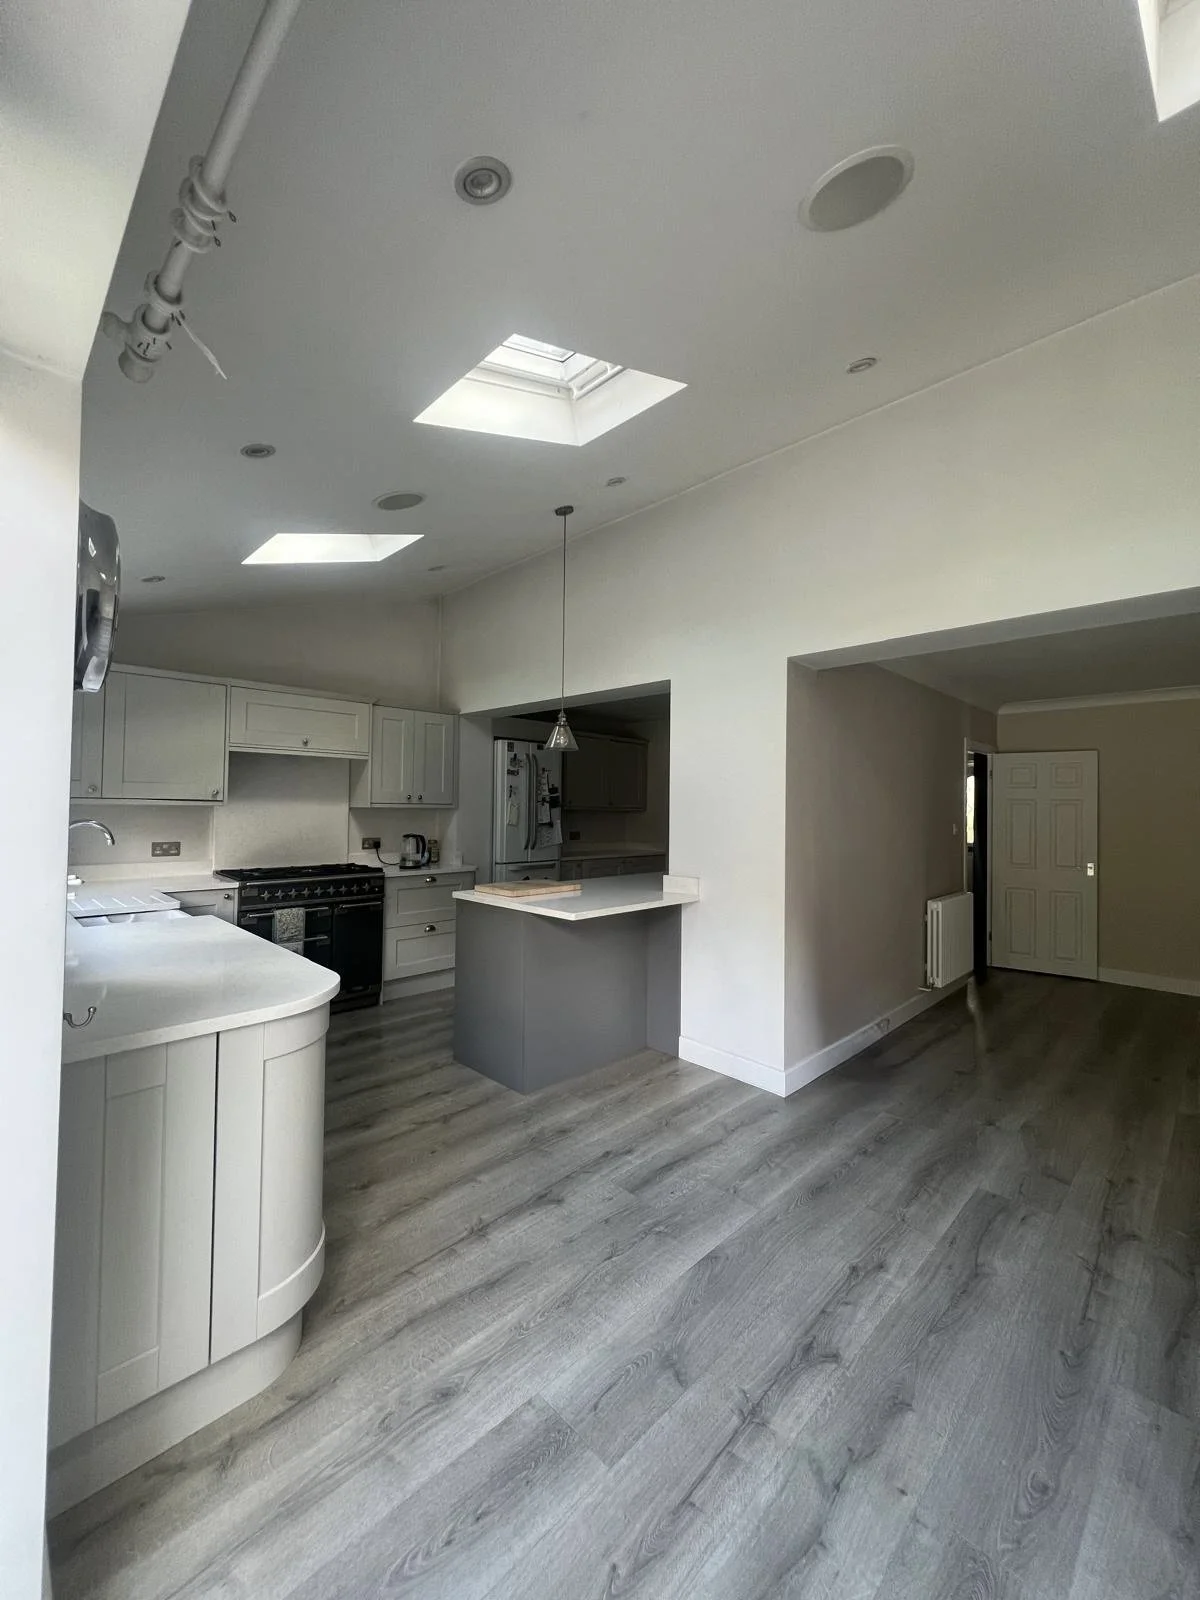
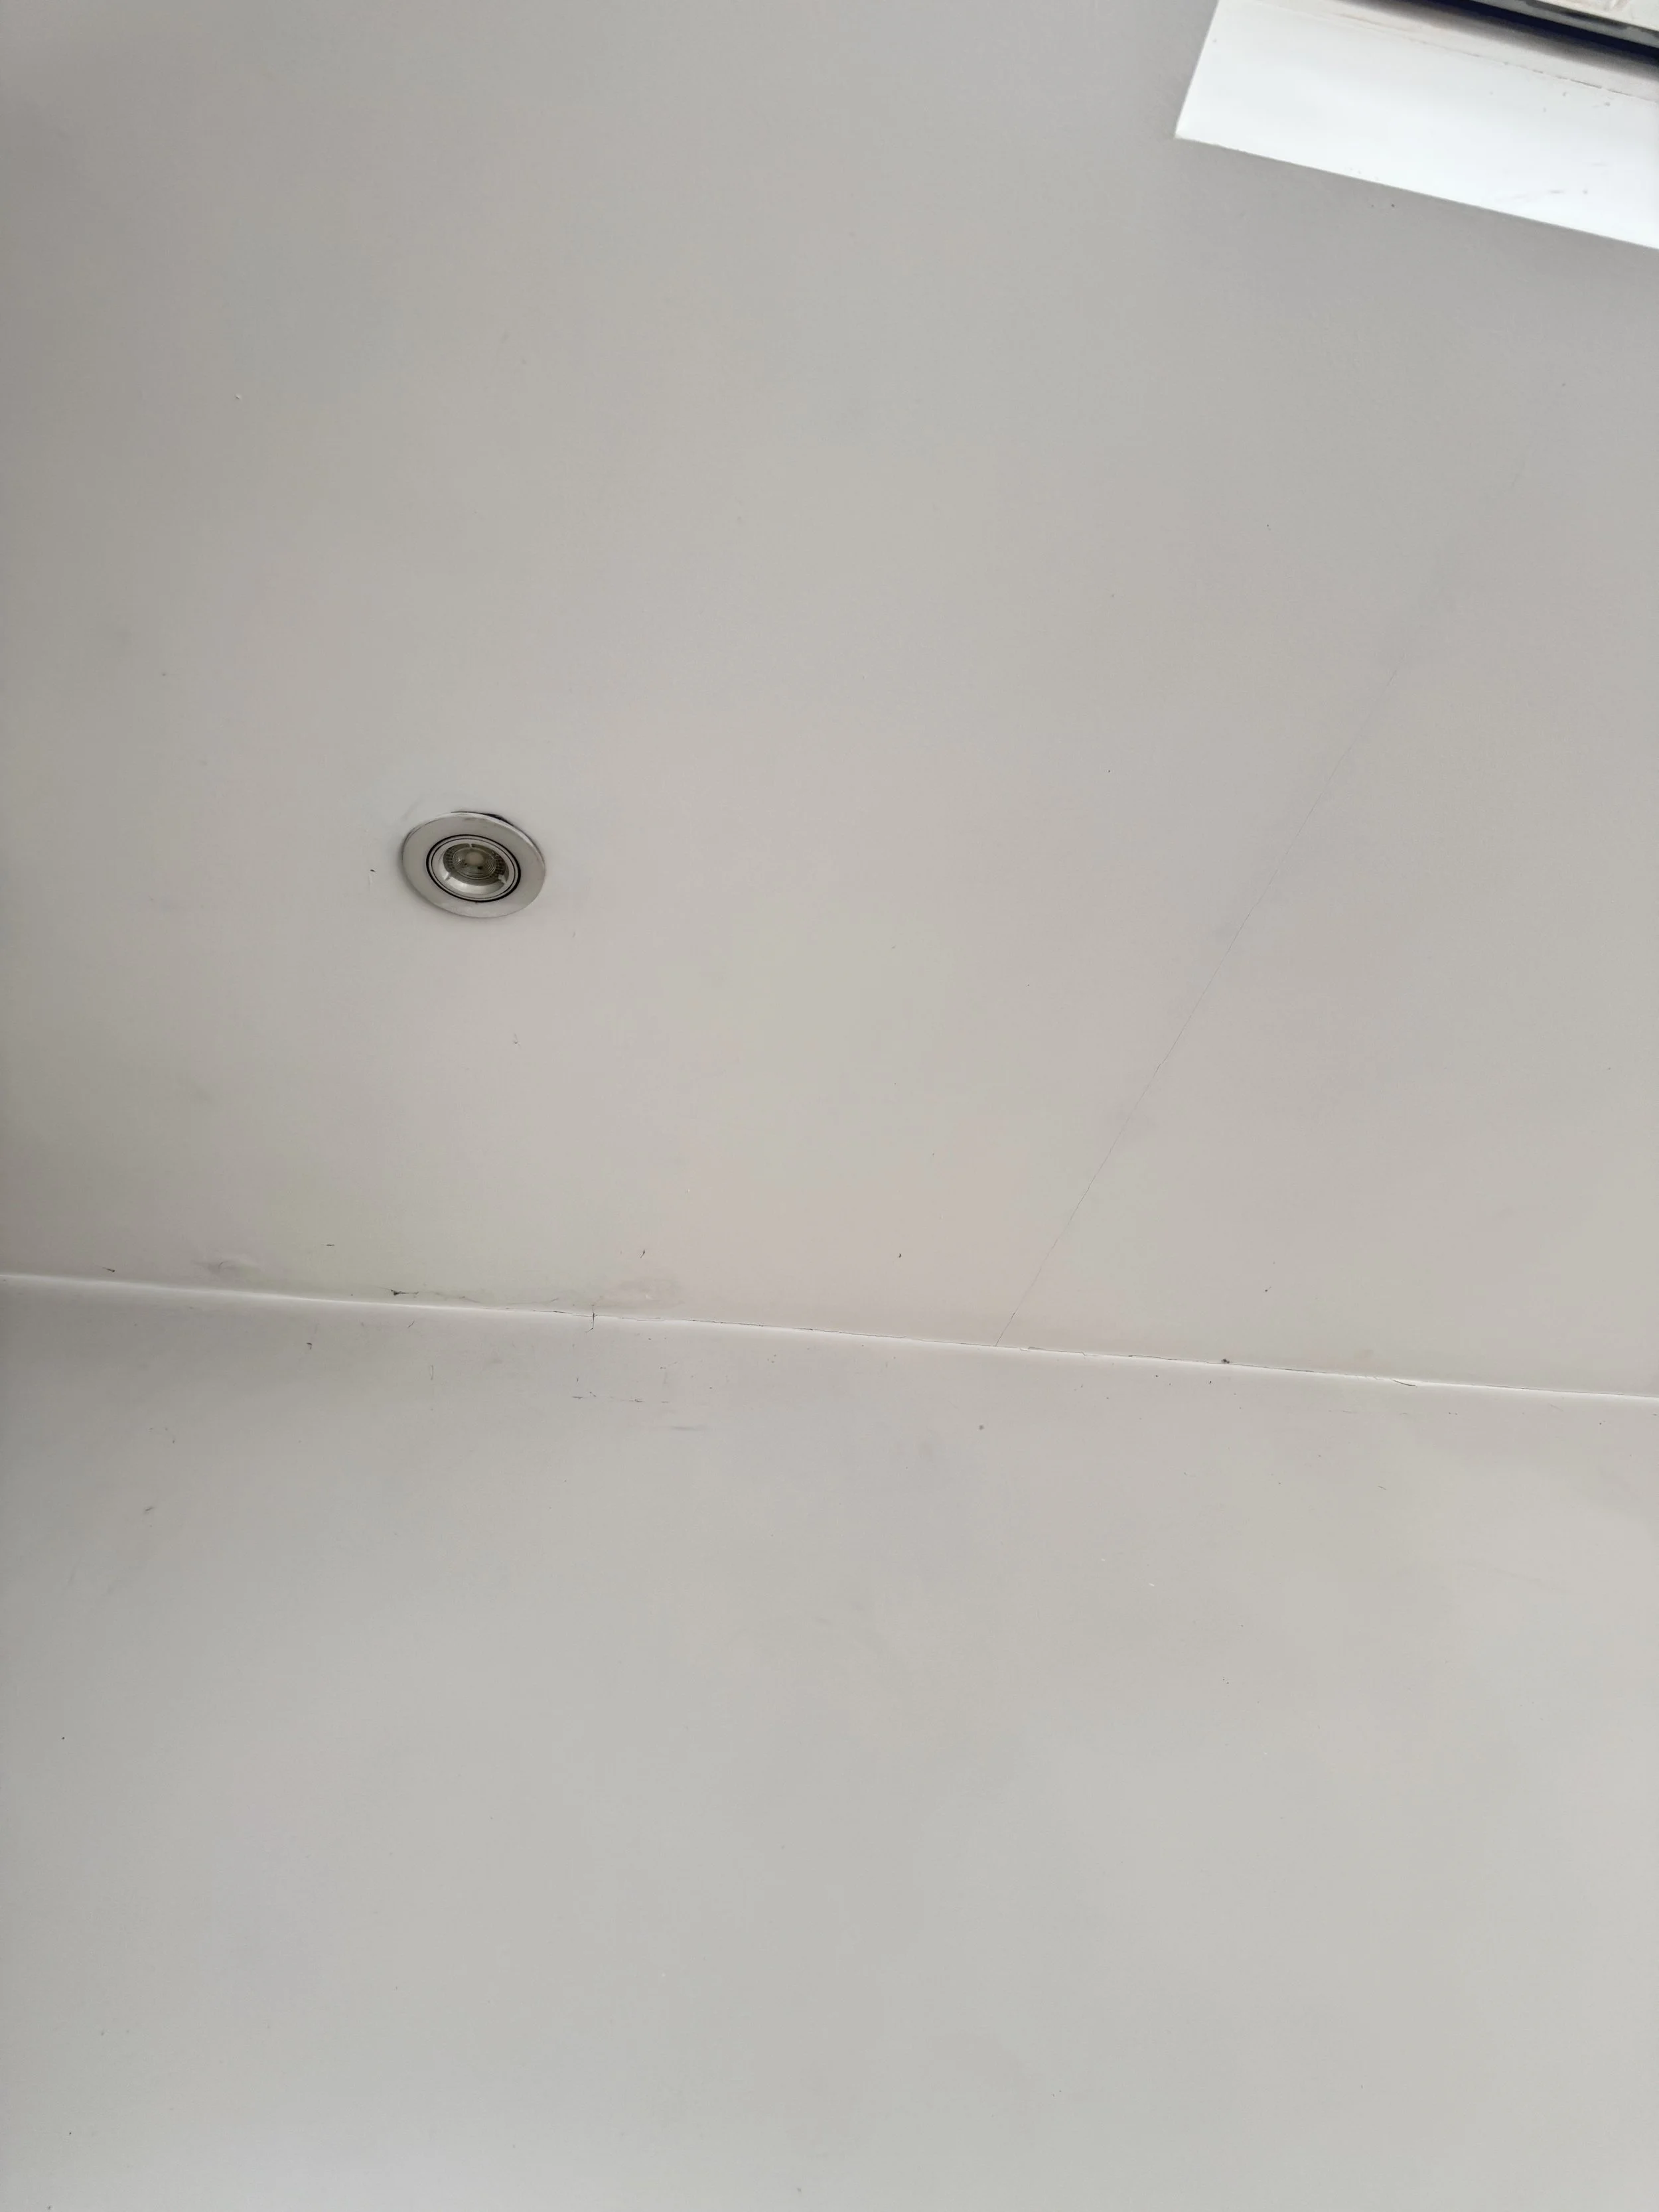
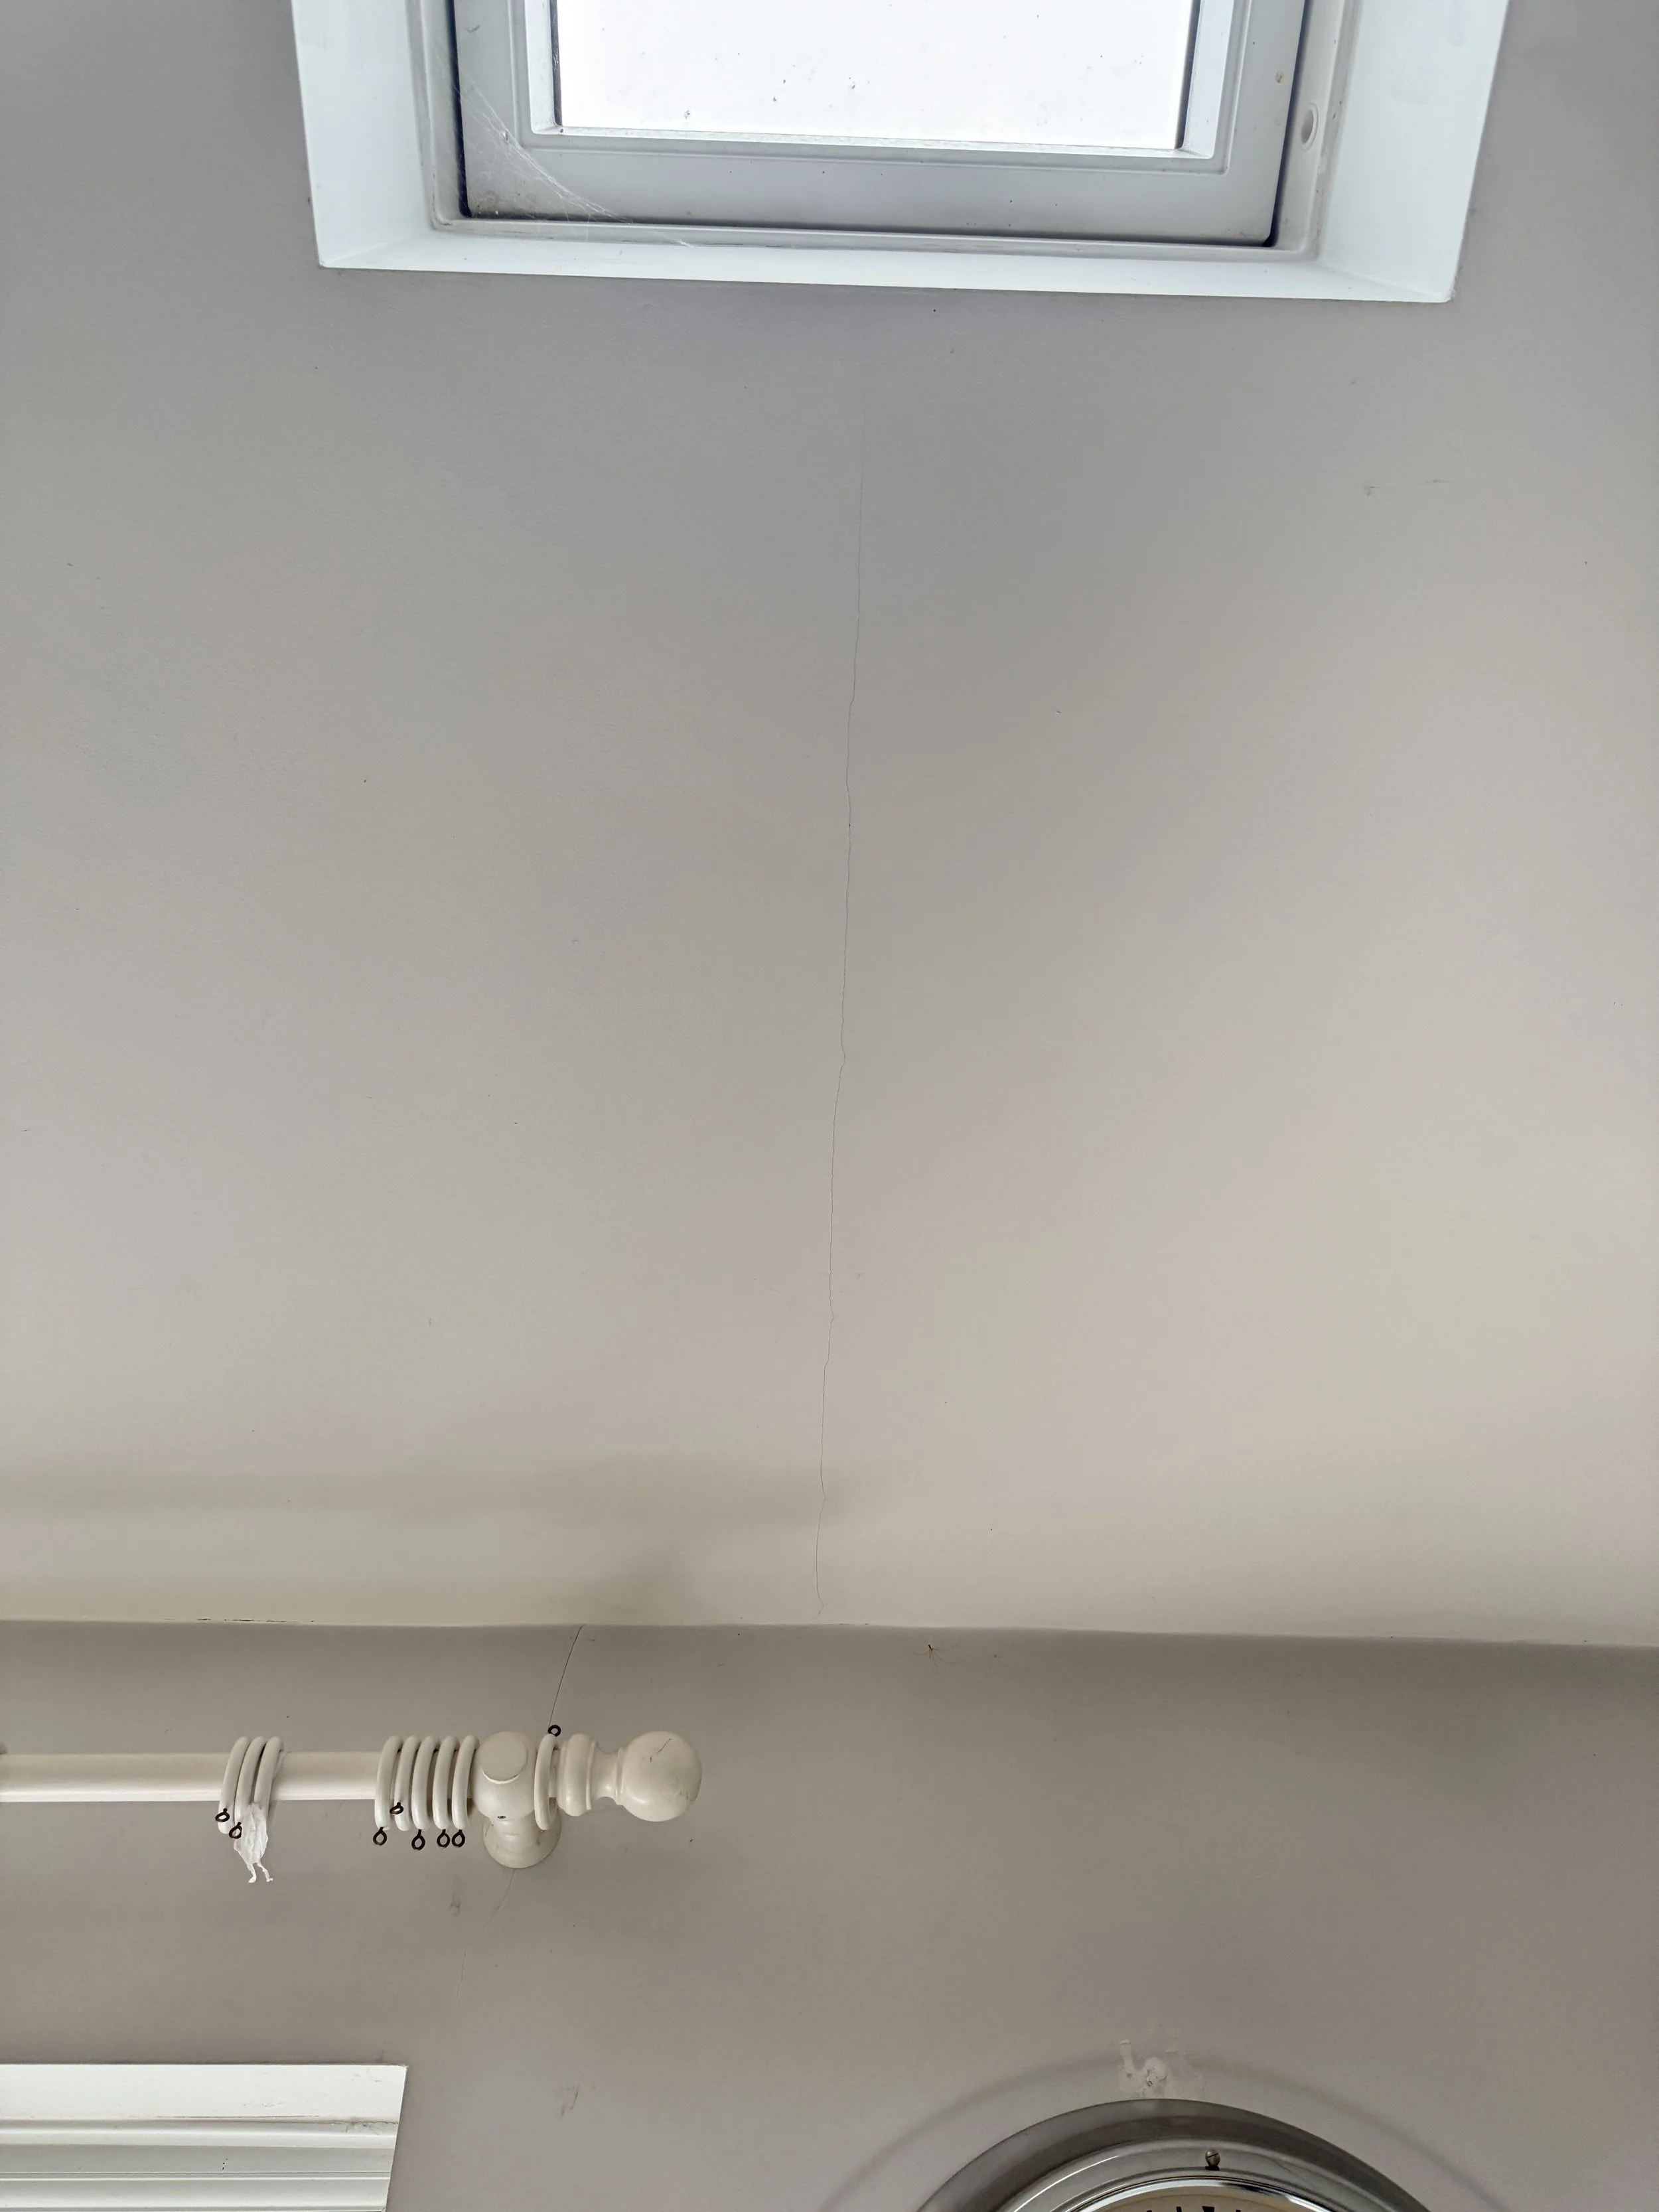
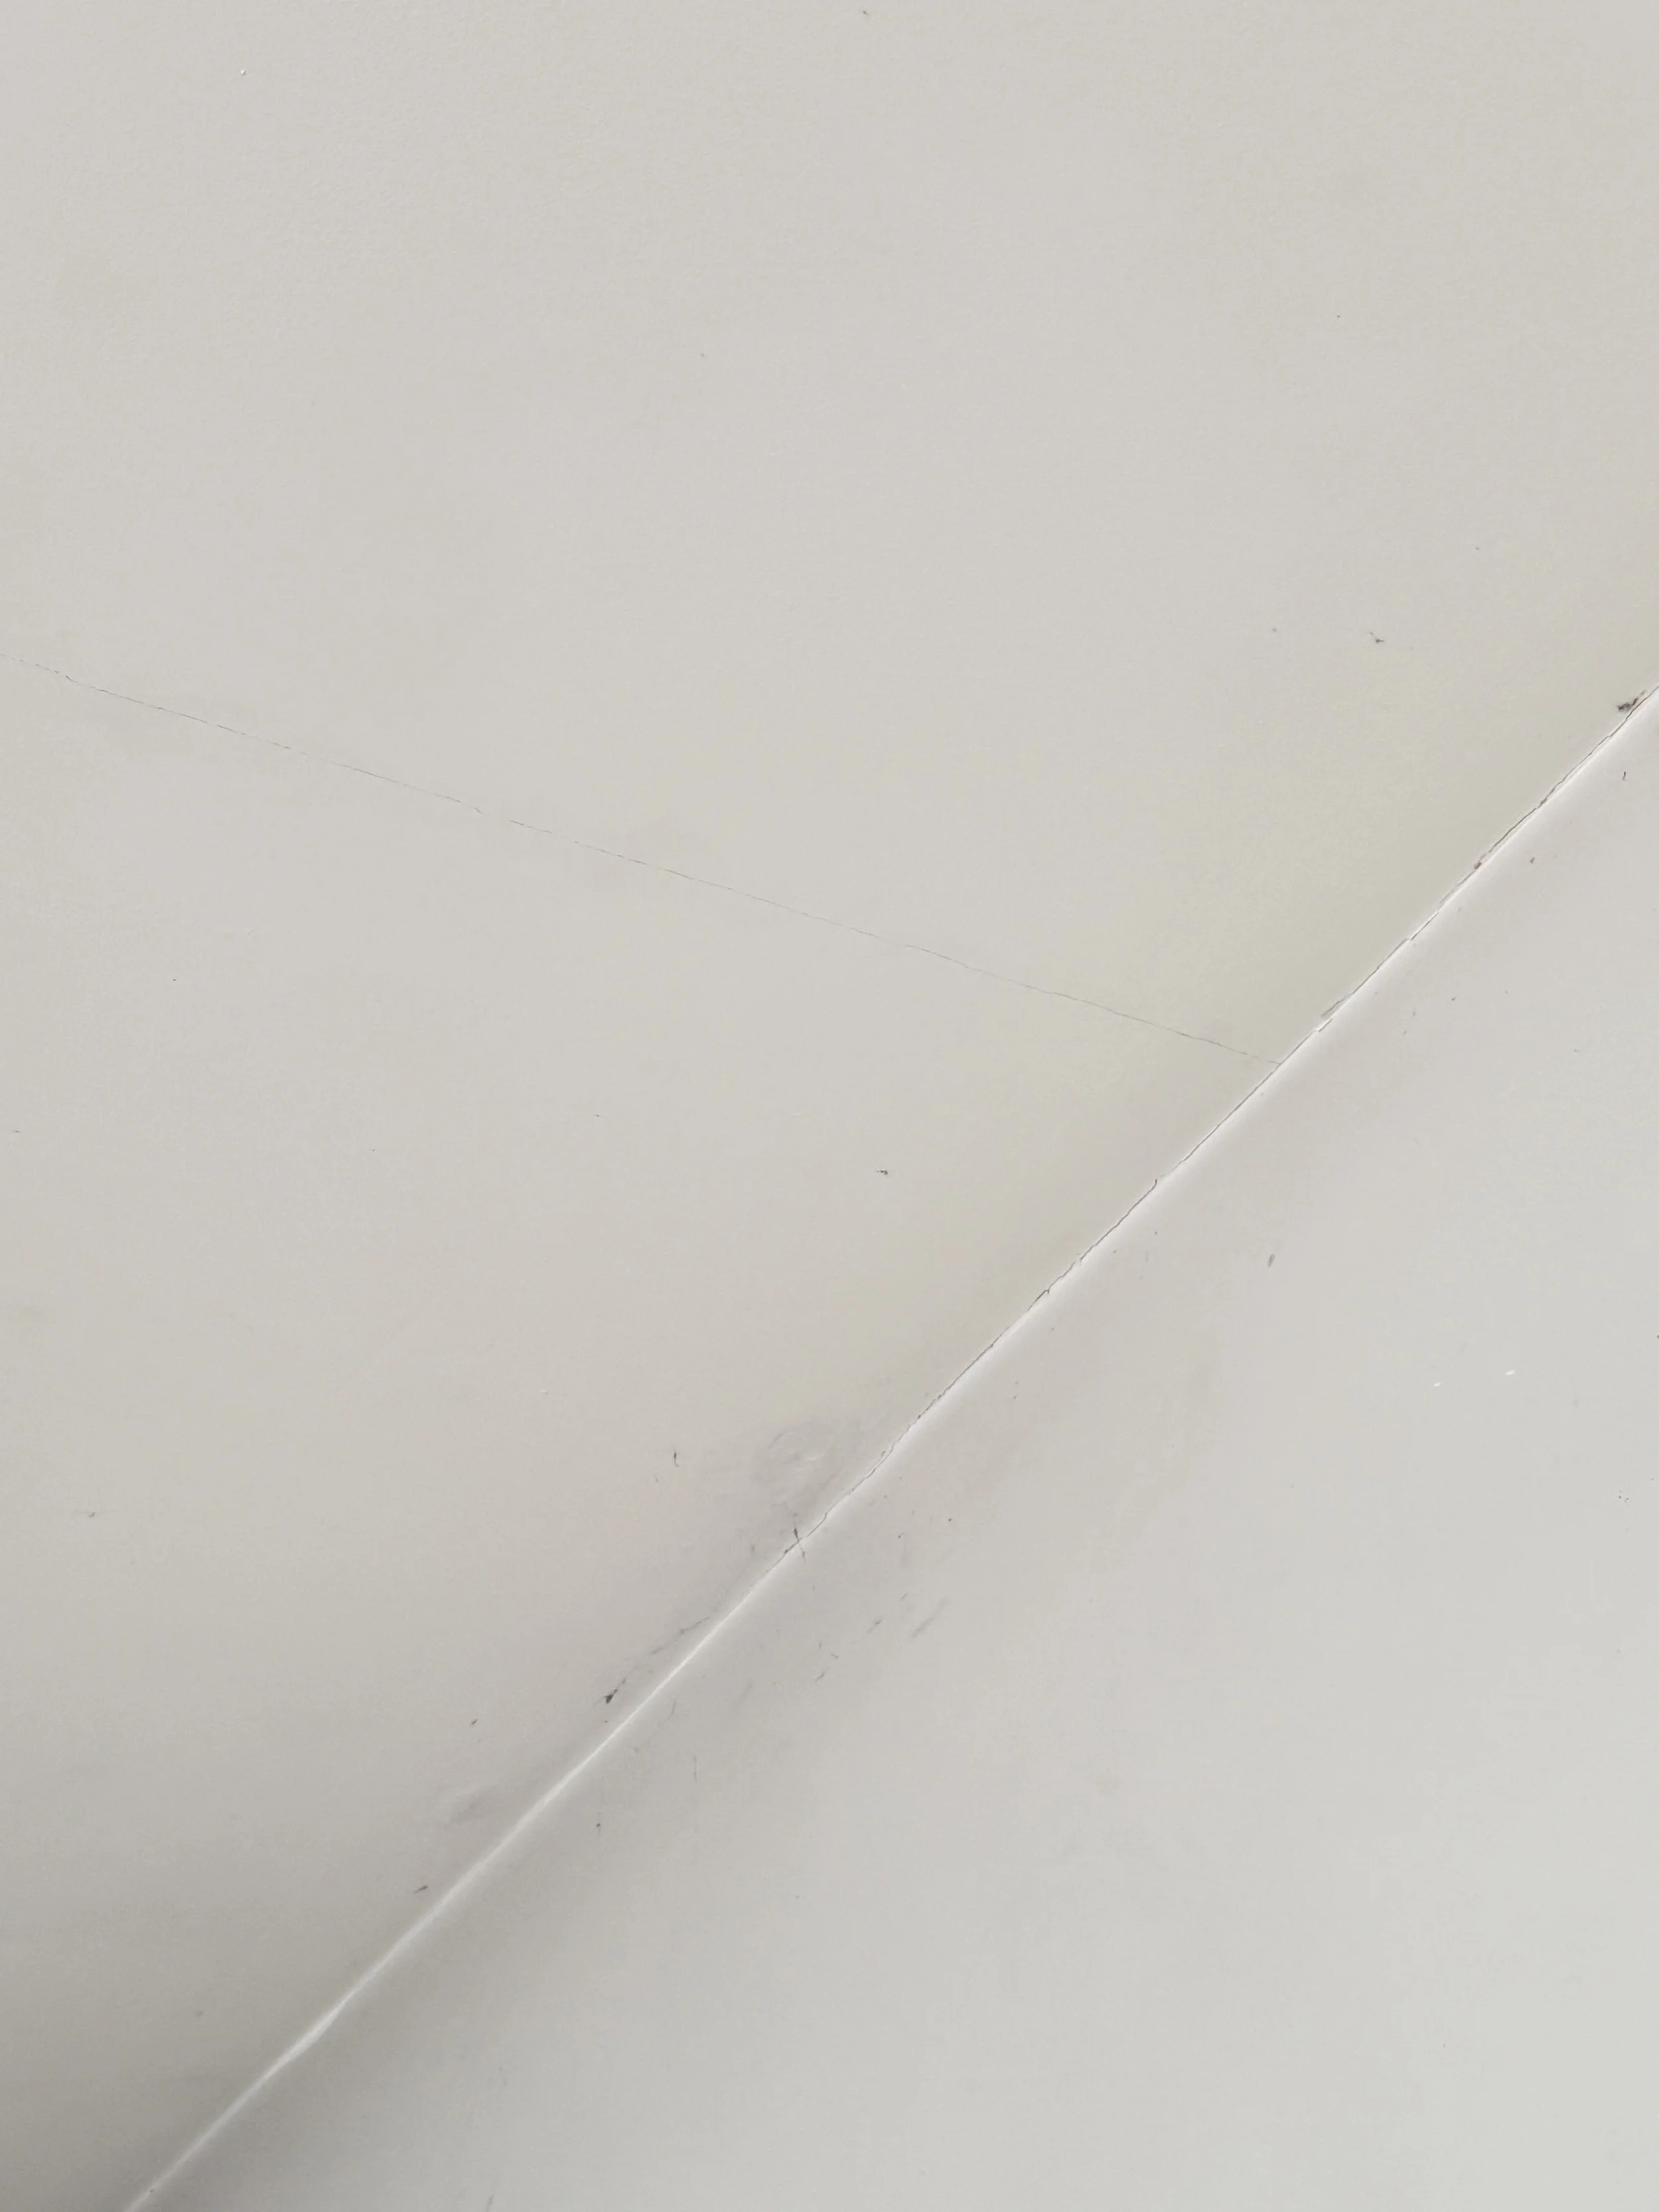
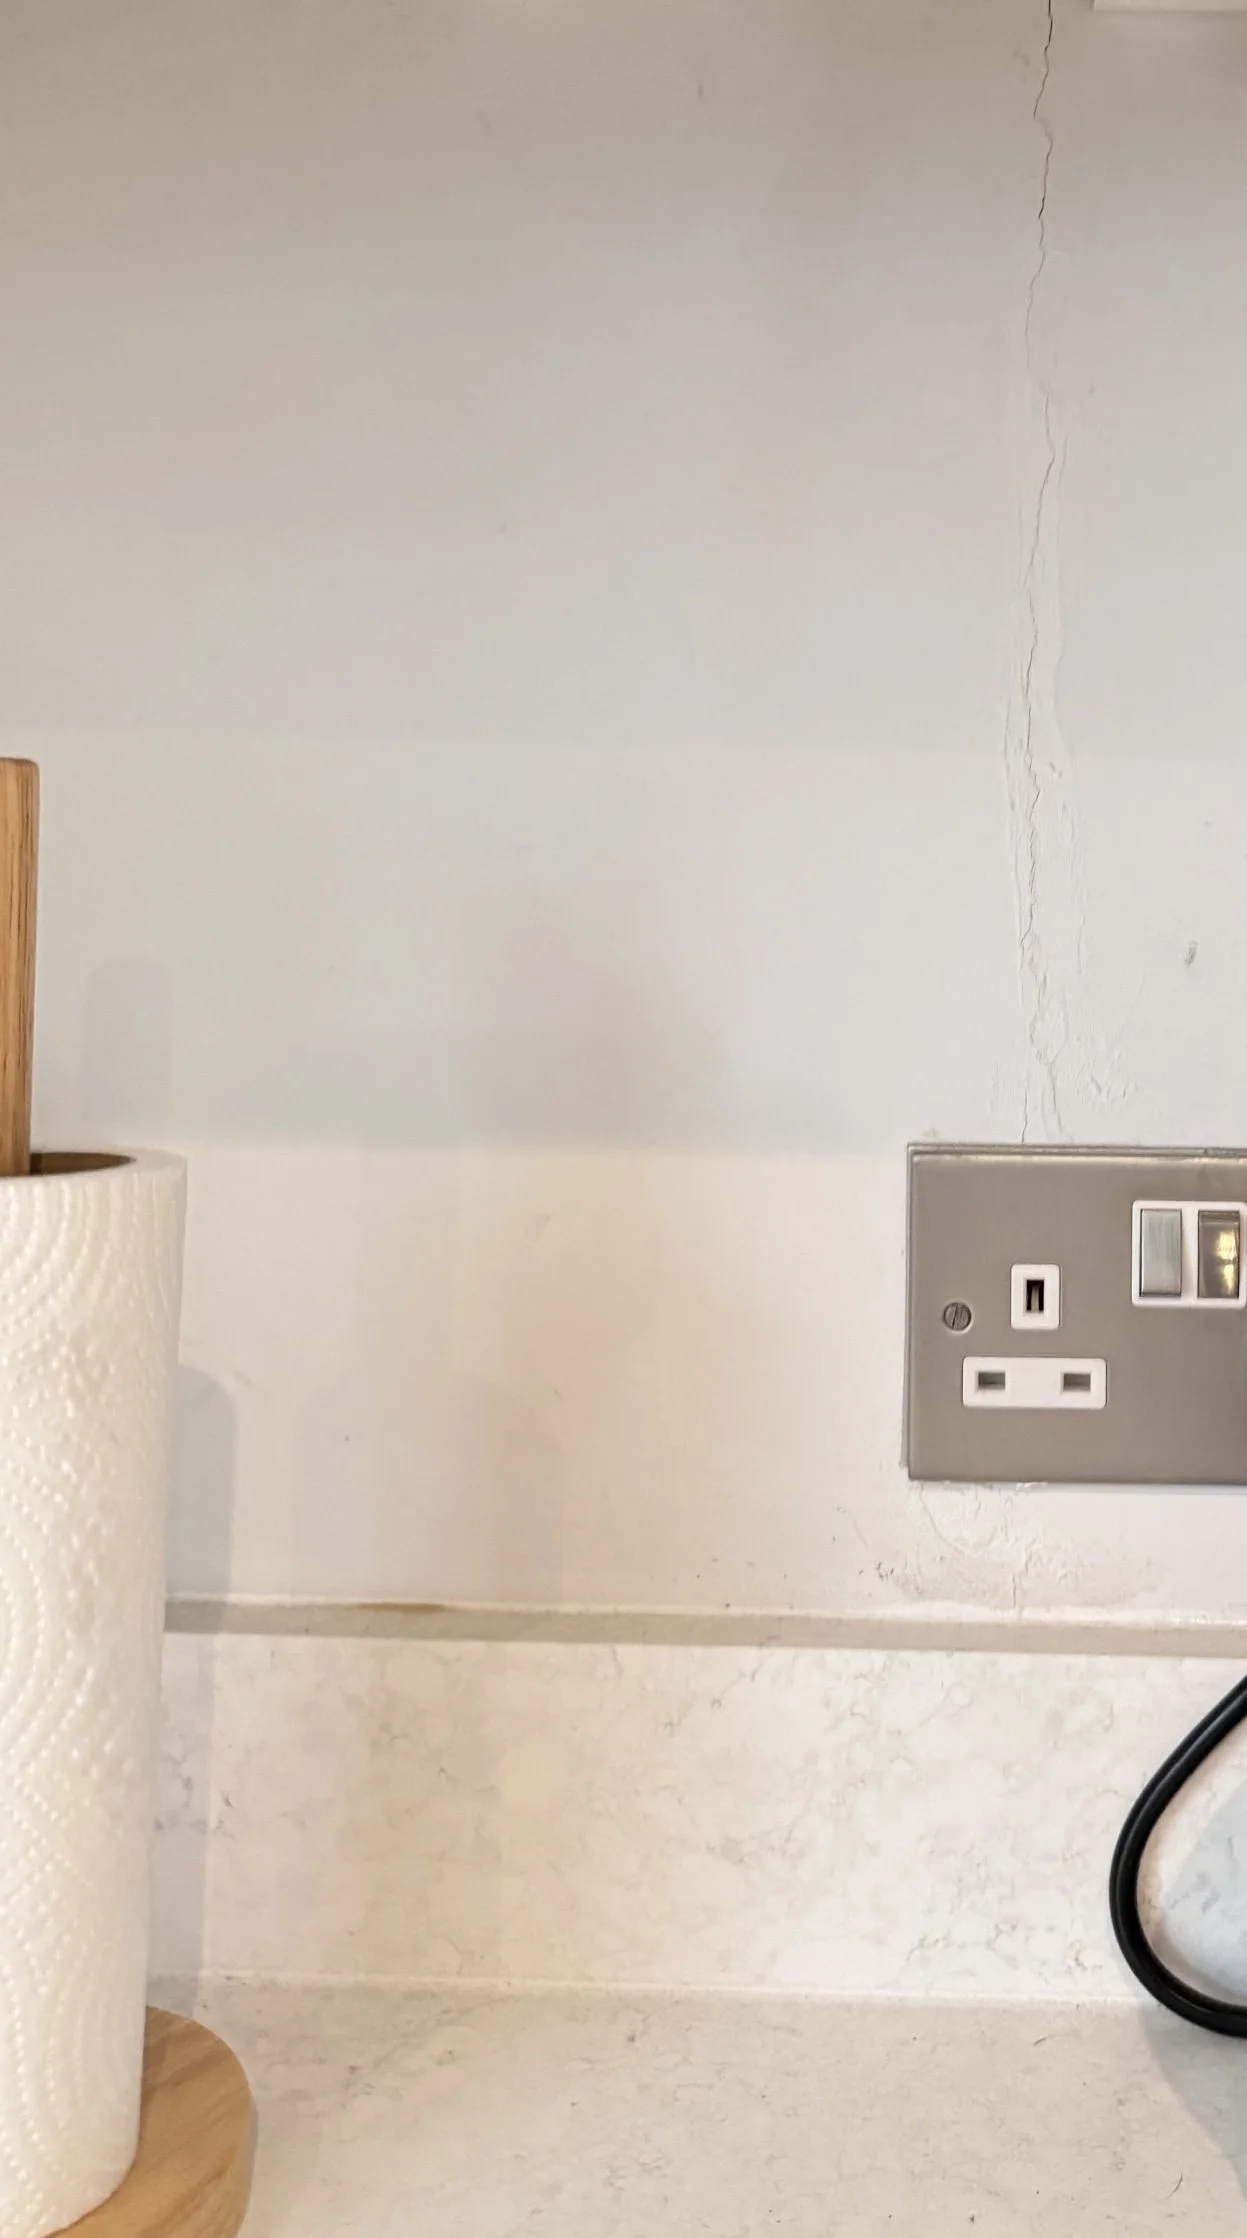
The existing walls and ceilings had numerous cracks and surface defects, while removing the feature wallpaper revealed considerably more cracking underneath. Several significant ceiling cracks followed plasterboard joints that had not originally been reinforced correctly, and failed fixing points had also resulted in visible plaster pops.
Rather than simply filling over the visible defects, the affected areas were opened up, stabilised and repaired before the entire space was prepared and redecorated.
The Brief
The aim was to give the complete open-plan space a clean, consistent finish while properly addressing the defects that had developed across the walls and ceilings.
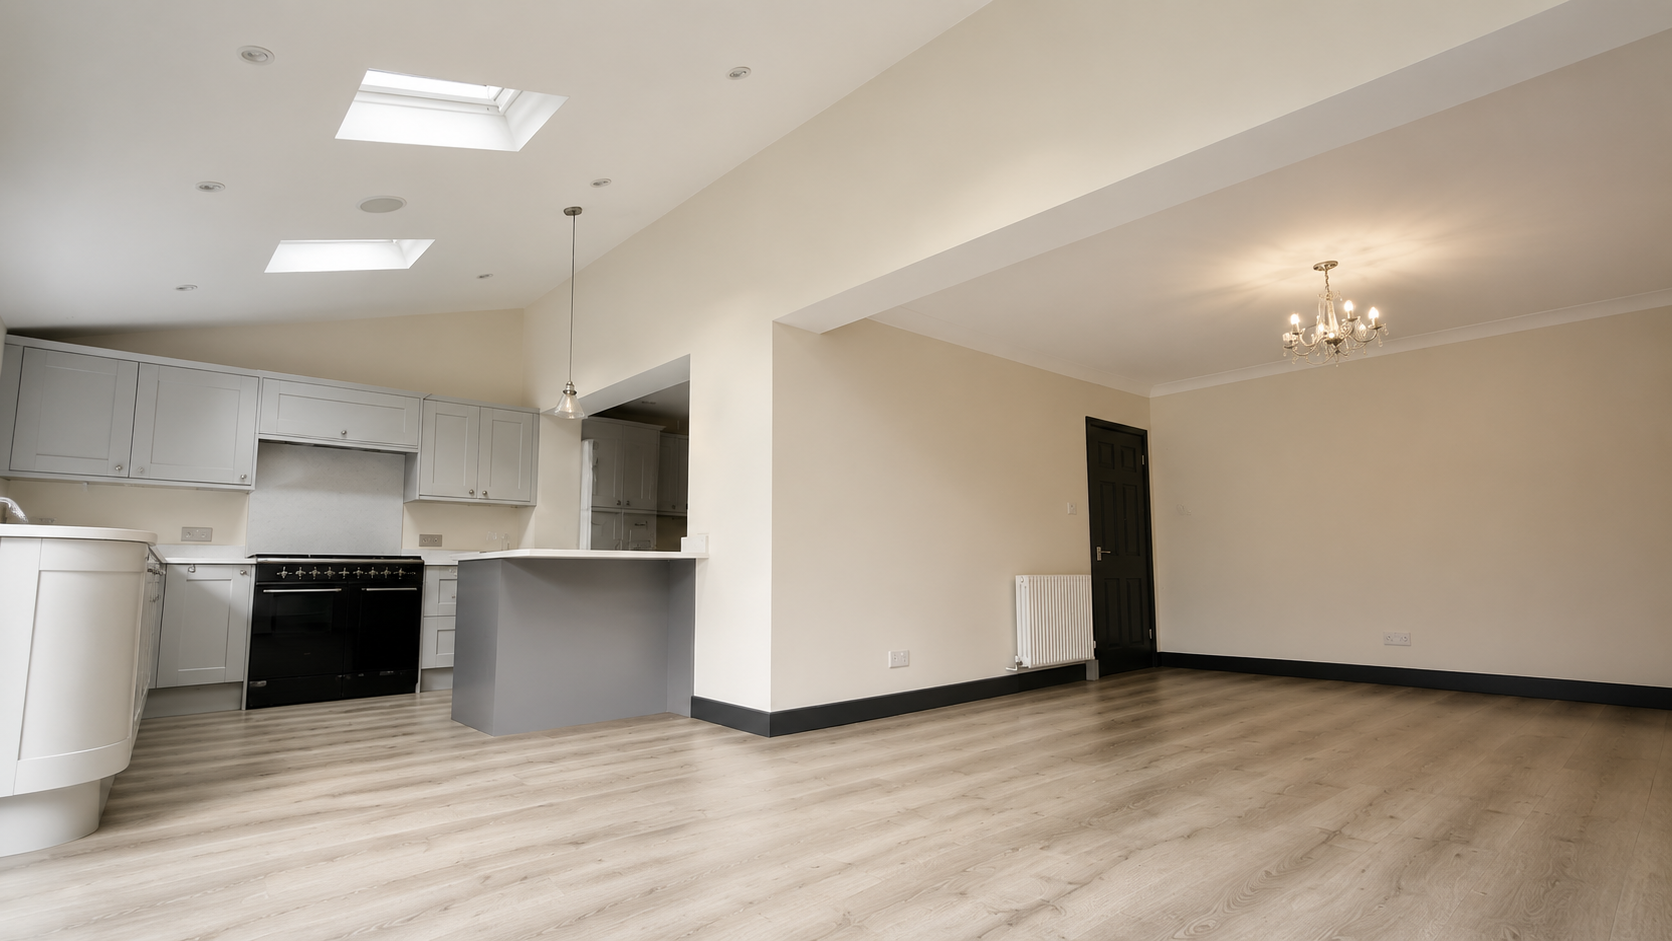
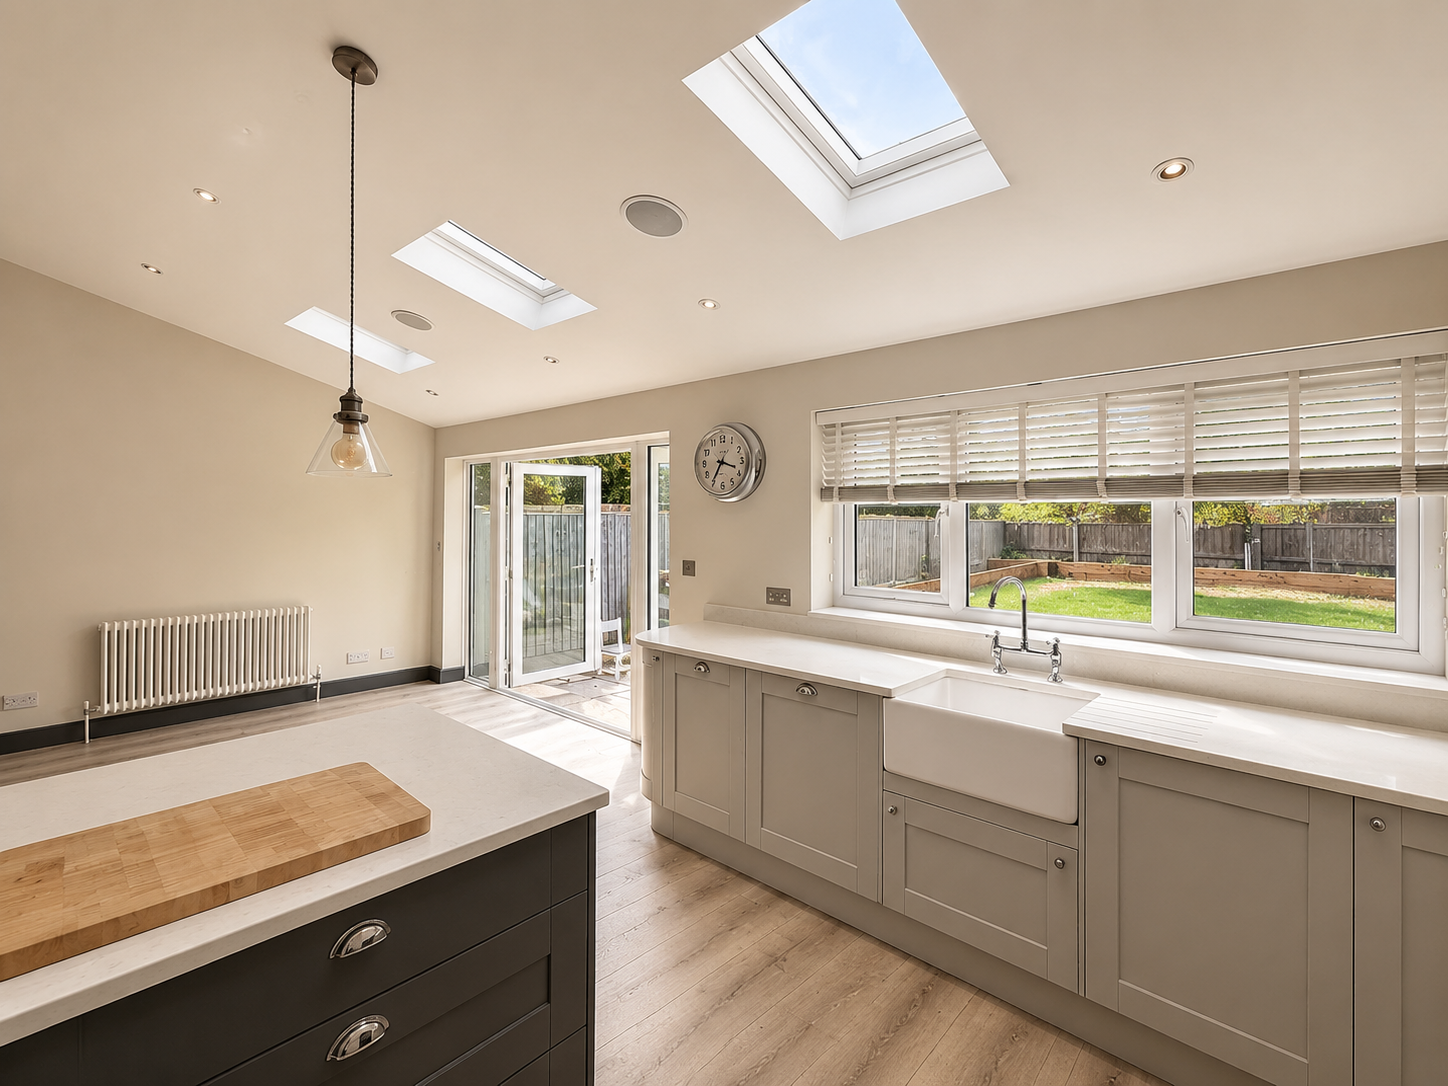
Because this is a large, bright room with extensive glazing and rooflights, natural light falls directly across many of the finished surfaces. Thorough preparation was therefore particularly important, as imperfections in large walls and ceilings become much more noticeable in strong natural light.
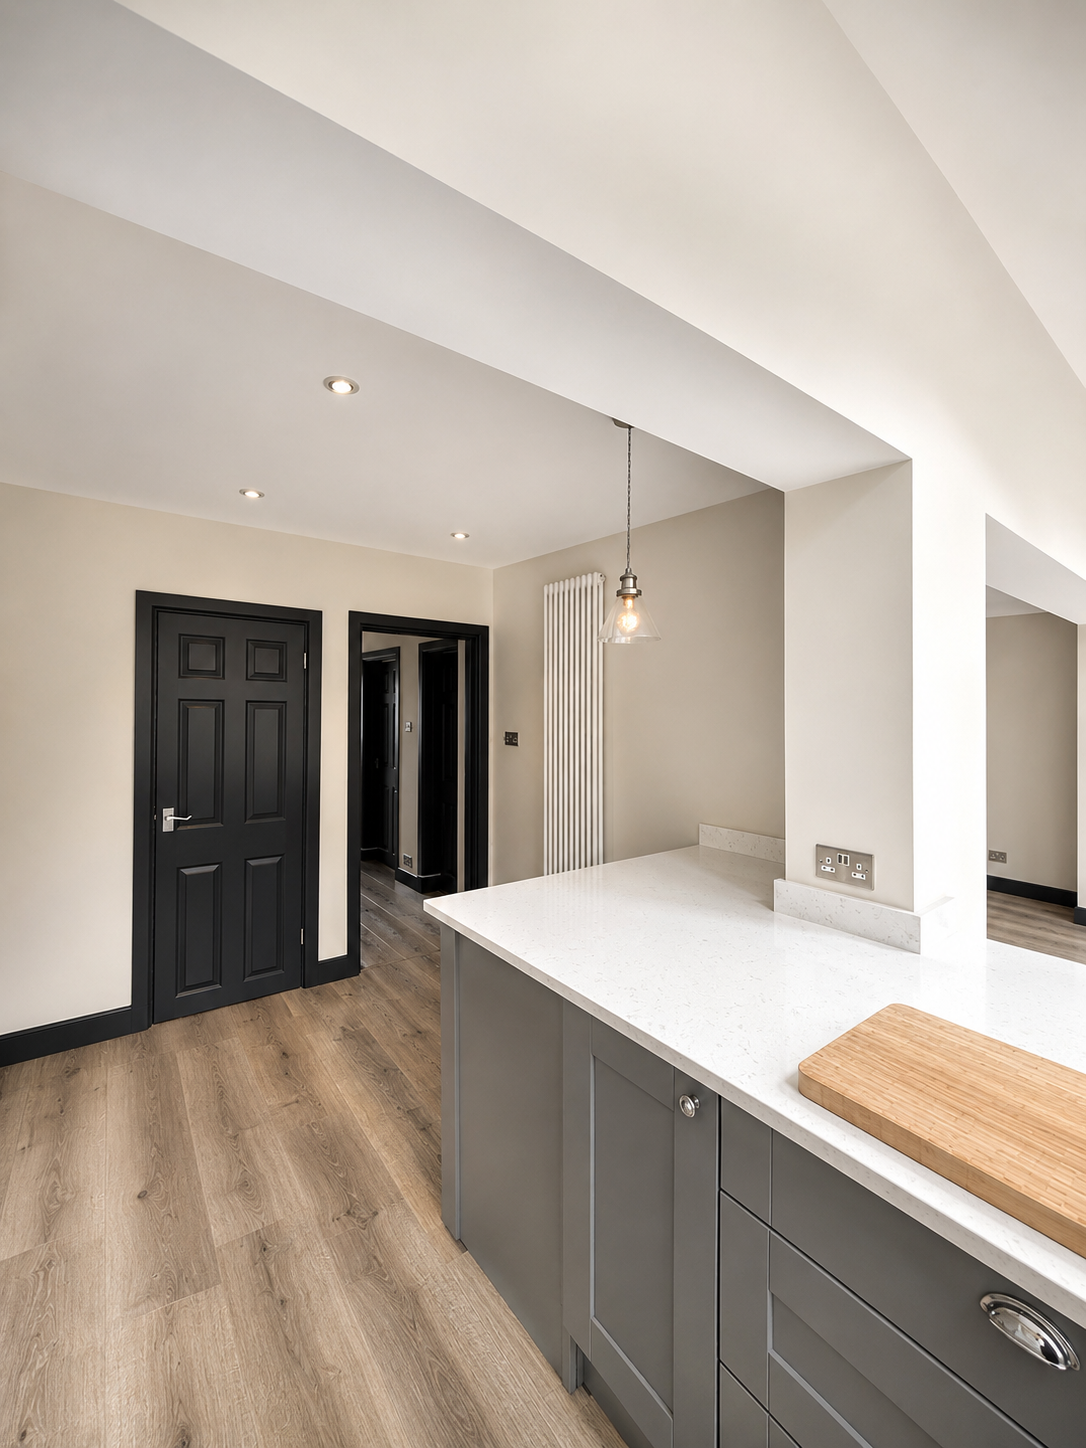
The existing doors, architraves and skirting boards were also included in the project, allowing the whole space to be brought to a consistent standard.
Before We Started
Before work began, the floors, kitchen worktops, cupboards and surrounding surfaces were carefully protected.
The walls and ceilings had accumulated kitchen grease together with residue from candles and incense. These surfaces were thoroughly cleaned using a sugar soap solution to remove the contamination and provide a clean base for the preparation and coatings that followed.
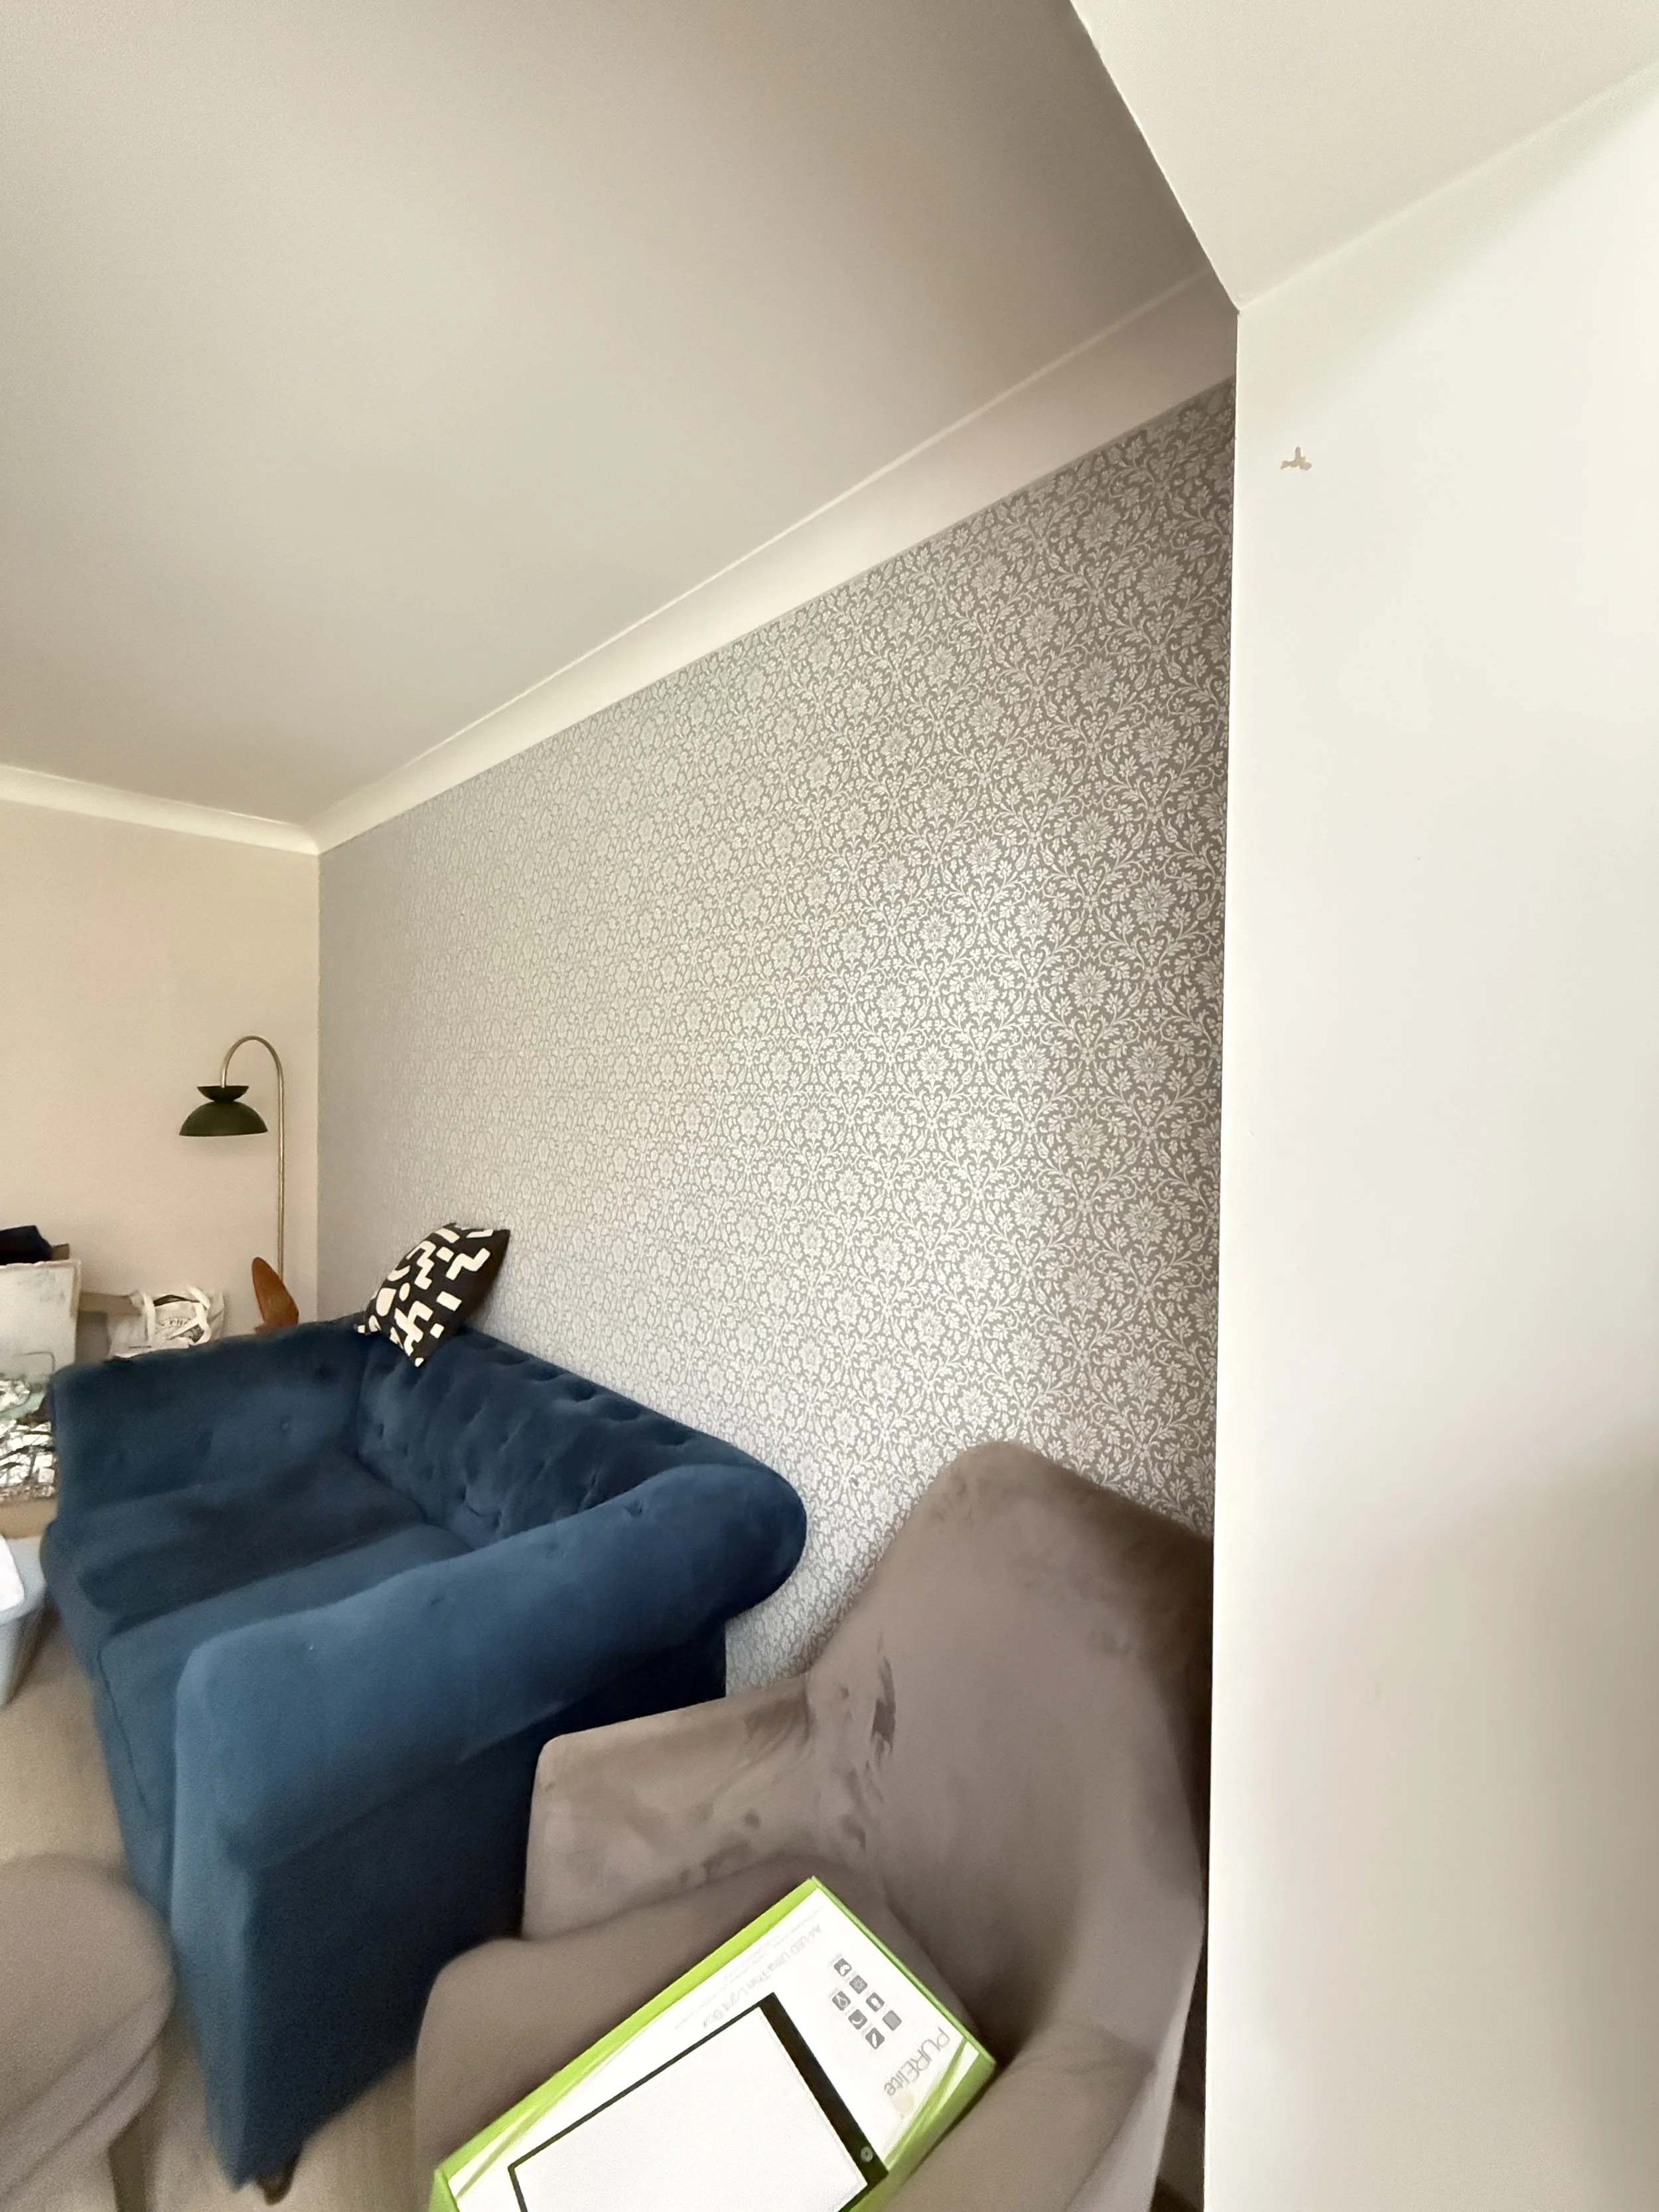
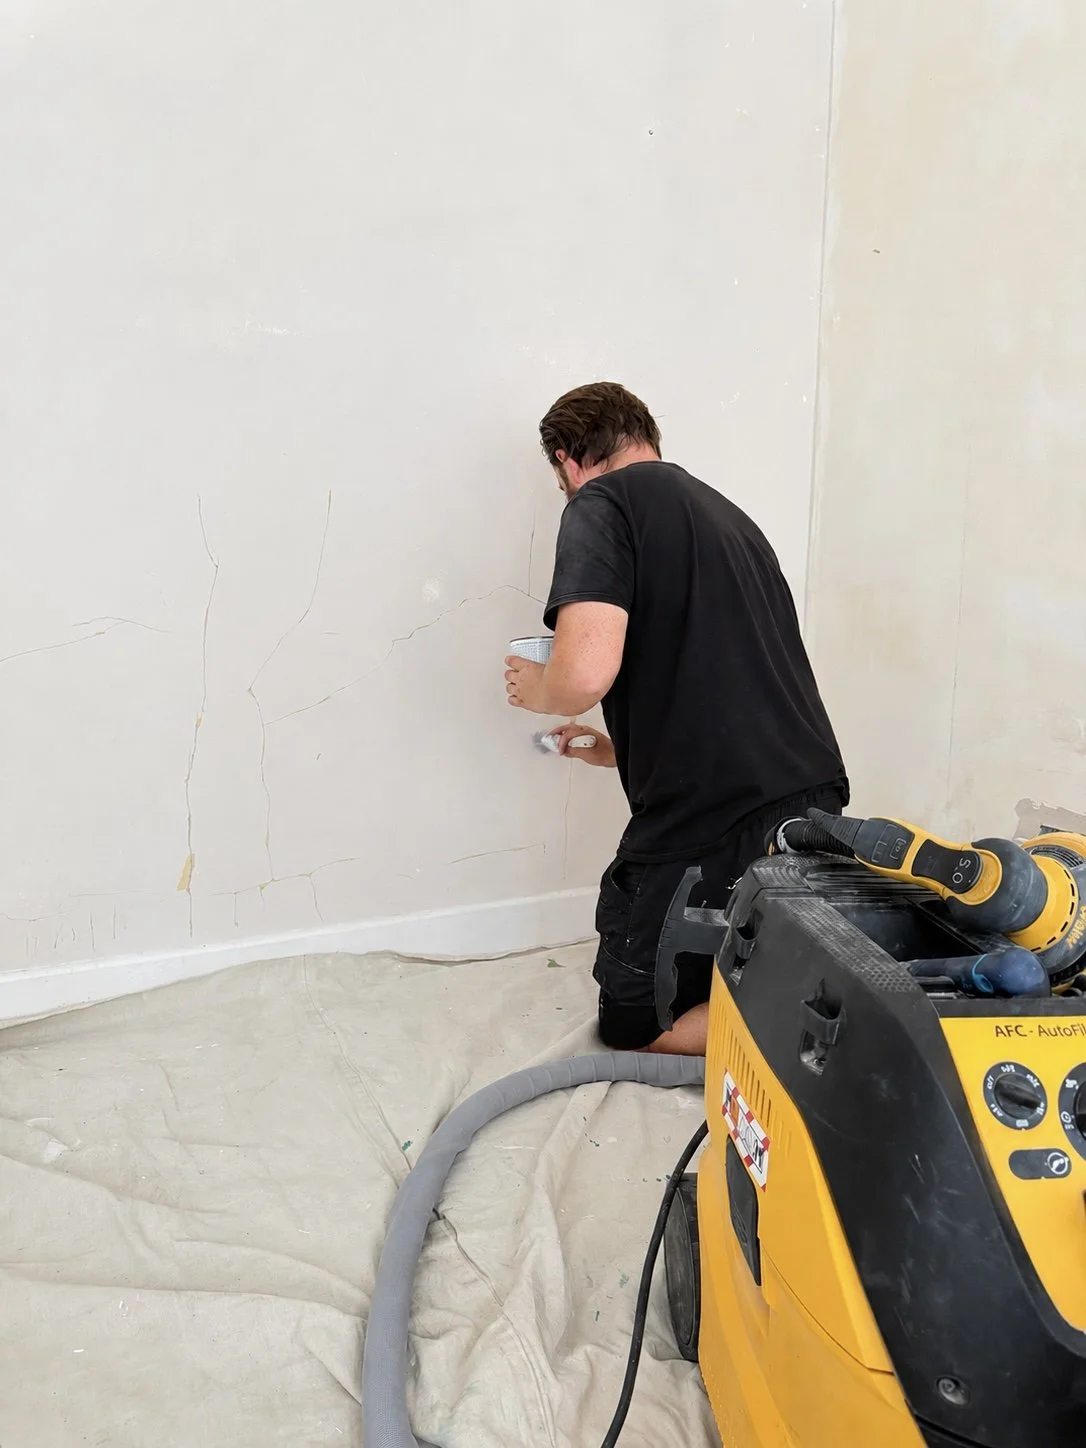
The existing feature wallpaper in the living area was then completely removed. This exposed a significant amount of additional cracking that had previously been hidden behind the paper.
Preparation & Repairs
Cracks throughout the walls and ceilings were opened up and raked out to remove loose and unstable material rather than simply filling over the surface. Zinsser Peel Stop was applied to the opened areas to bind and stabilise any remaining loose or dusty material before repairs began.
Several of the more significant ceiling cracks followed plasterboard butt joints where scrim tape had not originally been used. These joints were reinforced with scrim tape where required before the first application of filler.
Once the initial repairs had dried, they were sanded before a second pass of filler was applied over a slightly wider area. This allowed the repairs to be feathered gradually into the surrounding surfaces rather than leaving visible raised patches.
A number of failed plasterboard fixing points had also caused visible plaster pops in the ceilings. The defective material was removed, the screws correctly adjusted and secured, and the affected areas stabilised with Peel Stop before being filled and skimmed flush with the surrounding ceiling.
Further imperfections throughout the walls and ceilings were filled and sanded as required. Once the crack repairs, plaster-pop repairs and general filling were complete, the surfaces were thoroughly sanded using dust-extracted sanding equipment to create a smooth and consistent base for decoration.
The wall where the feature wallpaper had been removed received Tikkurila Optiva Primer following stripping and preparation to provide a consistent surface for the new finish.
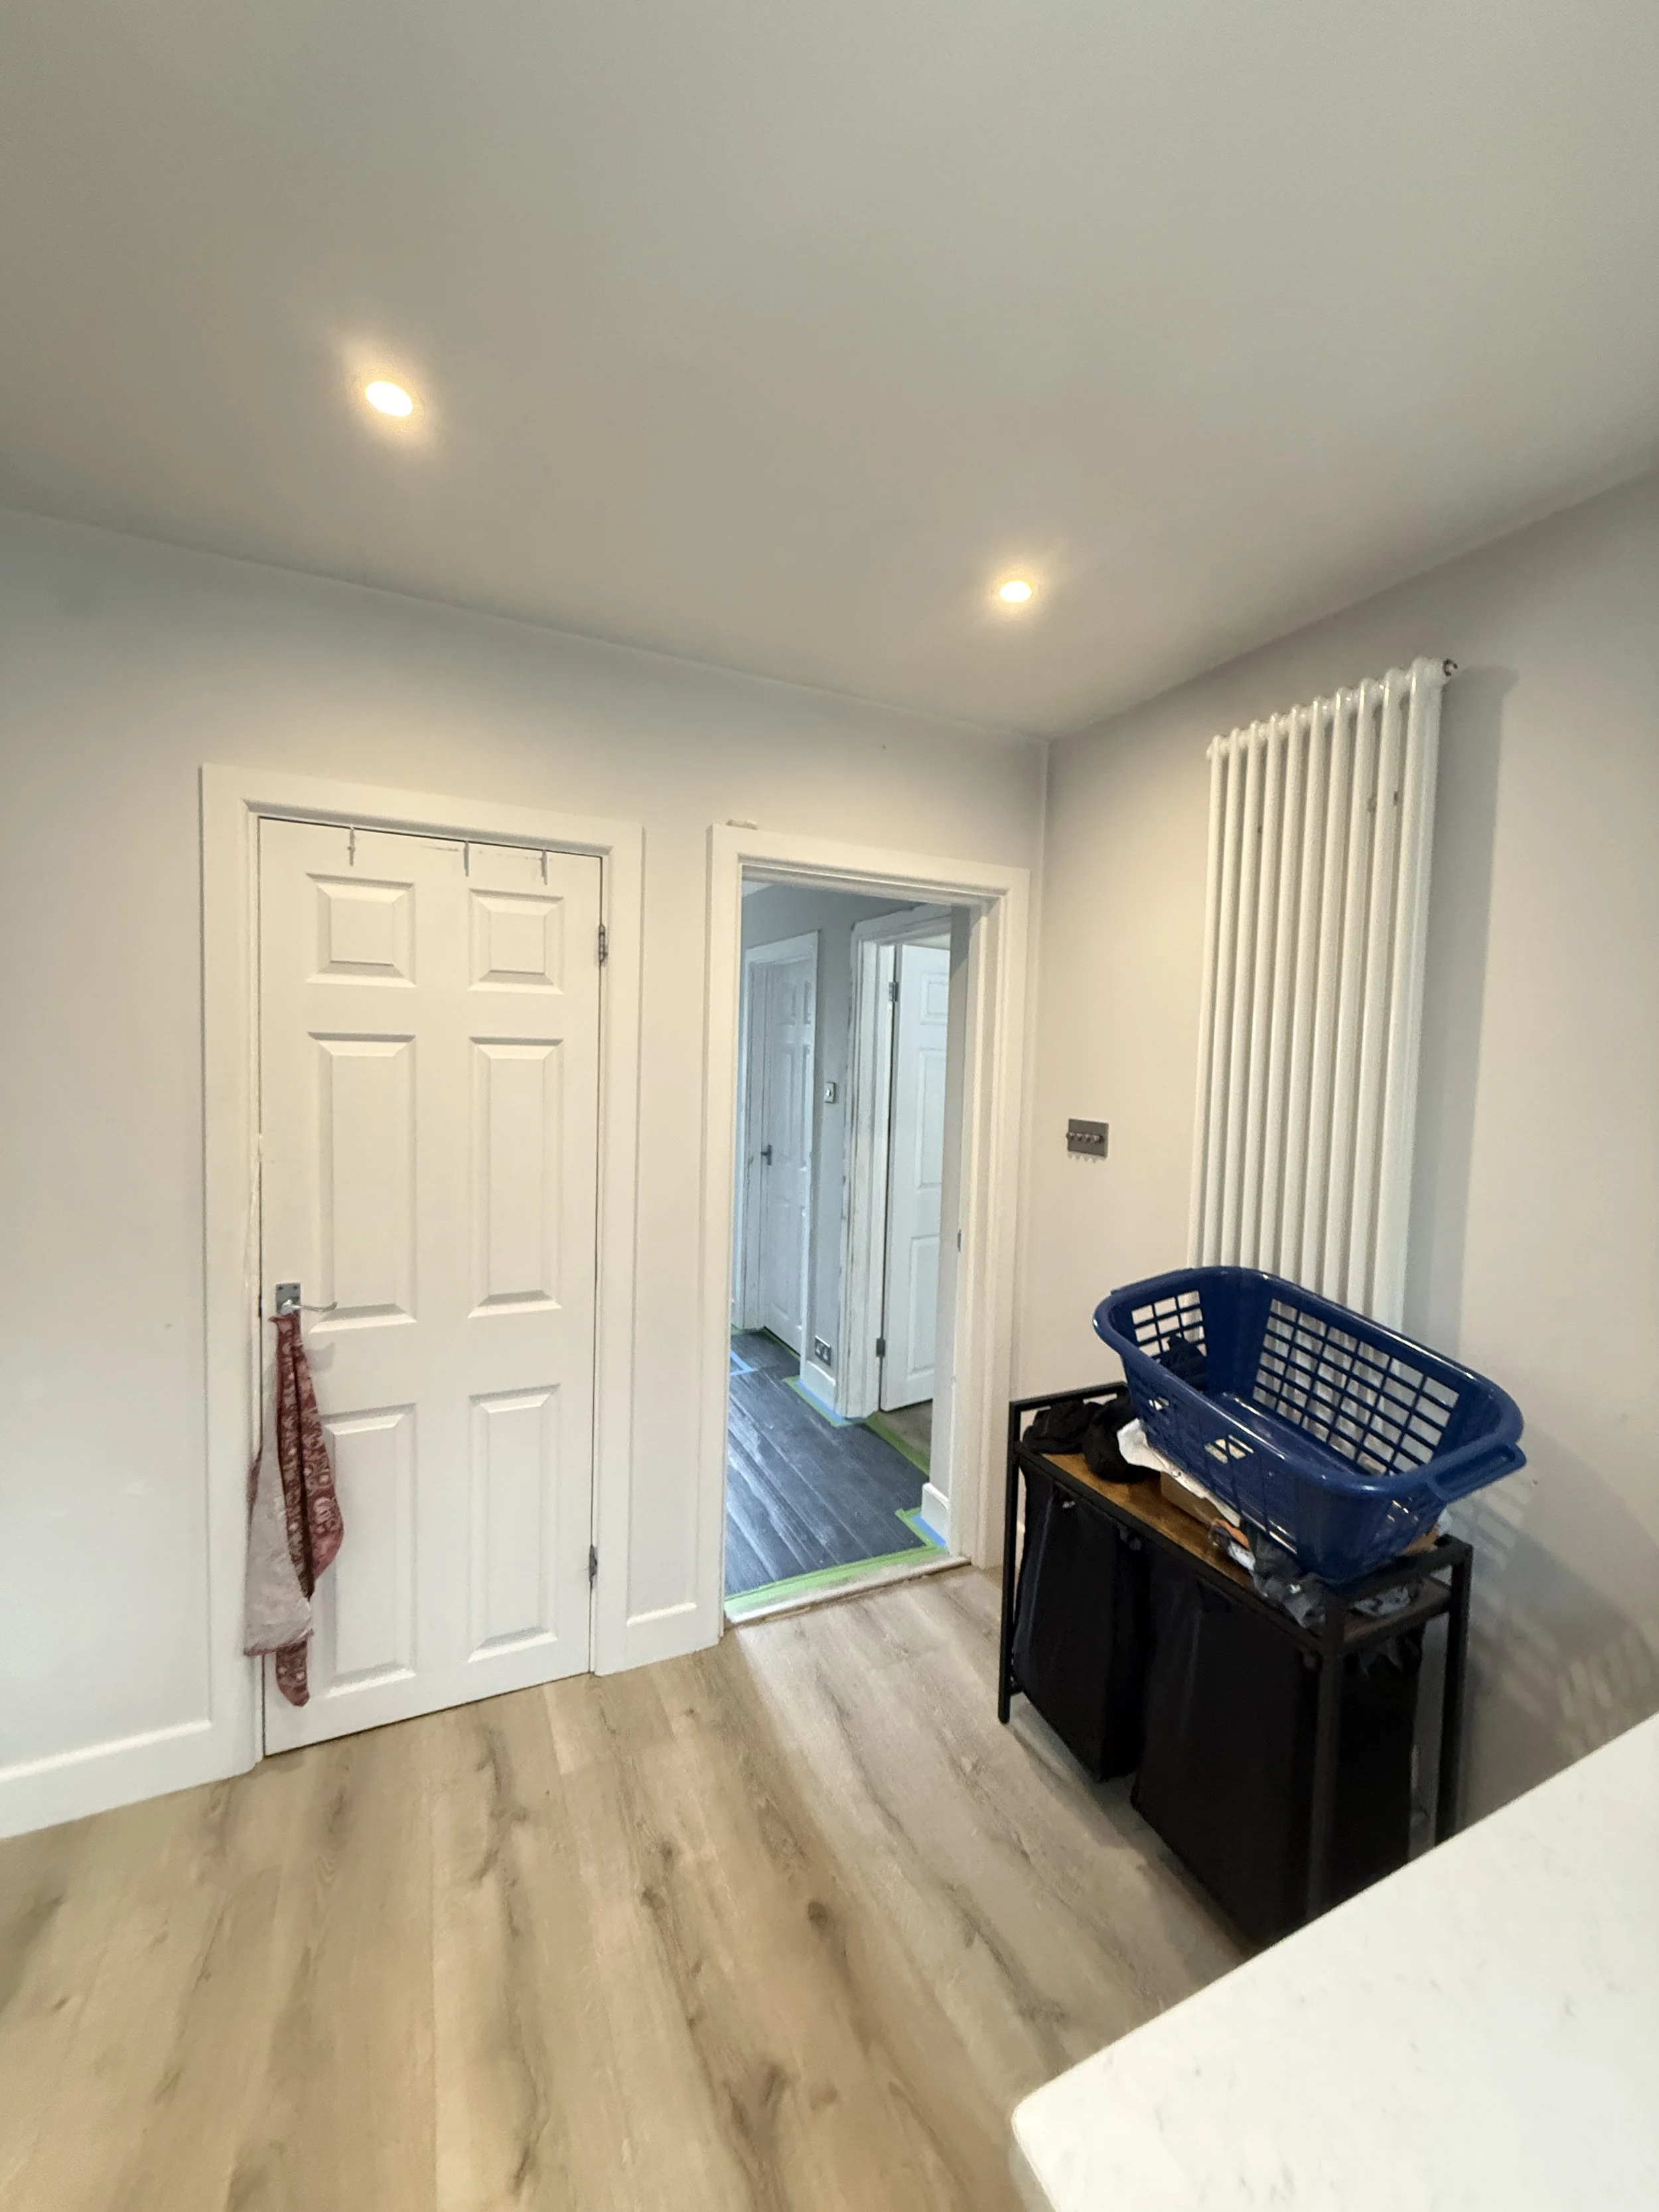
The doors, architraves and skirting boards also went through a multi-stage preparation process. Existing defects were filled and sanded before the first coat of Dulux Aqua UniPrimer was applied. The primer revealed smaller imperfections that had been less obvious beforehand, allowing a second detailed filling and sanding stage to be completed before further priming.
Selected wall-to-ceiling junctions were also corrected and refined to improve the existing lines and create cleaner transitions between the finished surfaces.
The Work
The ceilings were finished with two coats of Tikkurila Anti-Reflex 2.
Following the additional filling and sanding stages, the prepared woodwork received its second coat of Dulux Aqua UniPrimer before two topcoats of Benjamin Moore Scuff-X Eggshell were applied to the doors, architraves and skirting boards.
Once the woodwork was finished and sufficiently dry, it was carefully masked before the walls were decorated. This protected the completed surfaces from paint splatter while helping to create clean, controlled lines between the walls and woodwork.
The walls then received two coats of Tikkurila Optiva Ceramic 3, tinted to Farrow & Ball School House White.

The Finished Result
The completed space is considerably brighter and more consistent, with School House White creating a calm backdrop across the large kitchen, dining and living area.
The extensive glazing and rooflights allow natural light to travel across the walls and ceilings, highlighting the clean finished surfaces throughout the room.
As with many of Blackmore's projects, much of the most important work is no longer visible. Cracks were opened and stabilised rather than simply covered, poorly reinforced plasterboard joints were repaired, failed fixings were corrected and the defects uncovered behind the old wallpaper were properly addressed before decorating began.
Once the work was complete, all masking and protective coverings were carefully removed and the floors and surrounding areas thoroughly cleaned ready for handover.
Products Used
Ceilings: Tikkurila Anti-Reflex 2, two coats
Walls: Tikkurila Optiva Ceramic 3, tinted to Farrow & Ball School House White, two coats
Previously wallpapered wall: Tikkurila Optiva Primer following wallpaper removal and preparation
Woodwork primer: Dulux Aqua UniPrimer, two coats
Doors, architraves & skirting boards: Benjamin Moore Scuff-X Eggshell, two topcoats
Crack & surface stabilisation: Zinsser Peel Stop
Ceiling crack reinforcement: Scrim tape with multi-stage filling, feathering and sanding where required
Looking for Something Similar?
Whether you're planning a complete home redecoration or restoring original features, we'd be happy to discuss your project.
